
| Home | Current Inventory | Projects | Services | Company | Stuff | Bob's Car Collection | Contact Us |
|
on Facebook |
"Full Inventory" (Projects, Completions and Personal Collection) |
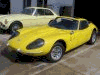
 77 Lancia Scorpion |
 67 Camaro RS Conv. |
|
68 Austin Healey Sprite |
 68 Cougar |
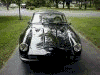
 69 Corvette |
 70 Opel GT |
 69 Marcos 3000GT |
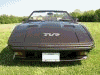 86 TVR 280i |
 73 TVR 2500M |
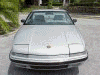 90 Buick Reatta |
1979 TOYOTA
|
"Frame-On" Restoration |
Client Project |
 |
||||||
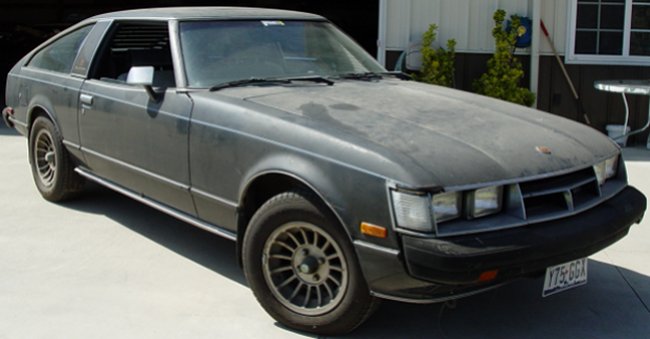
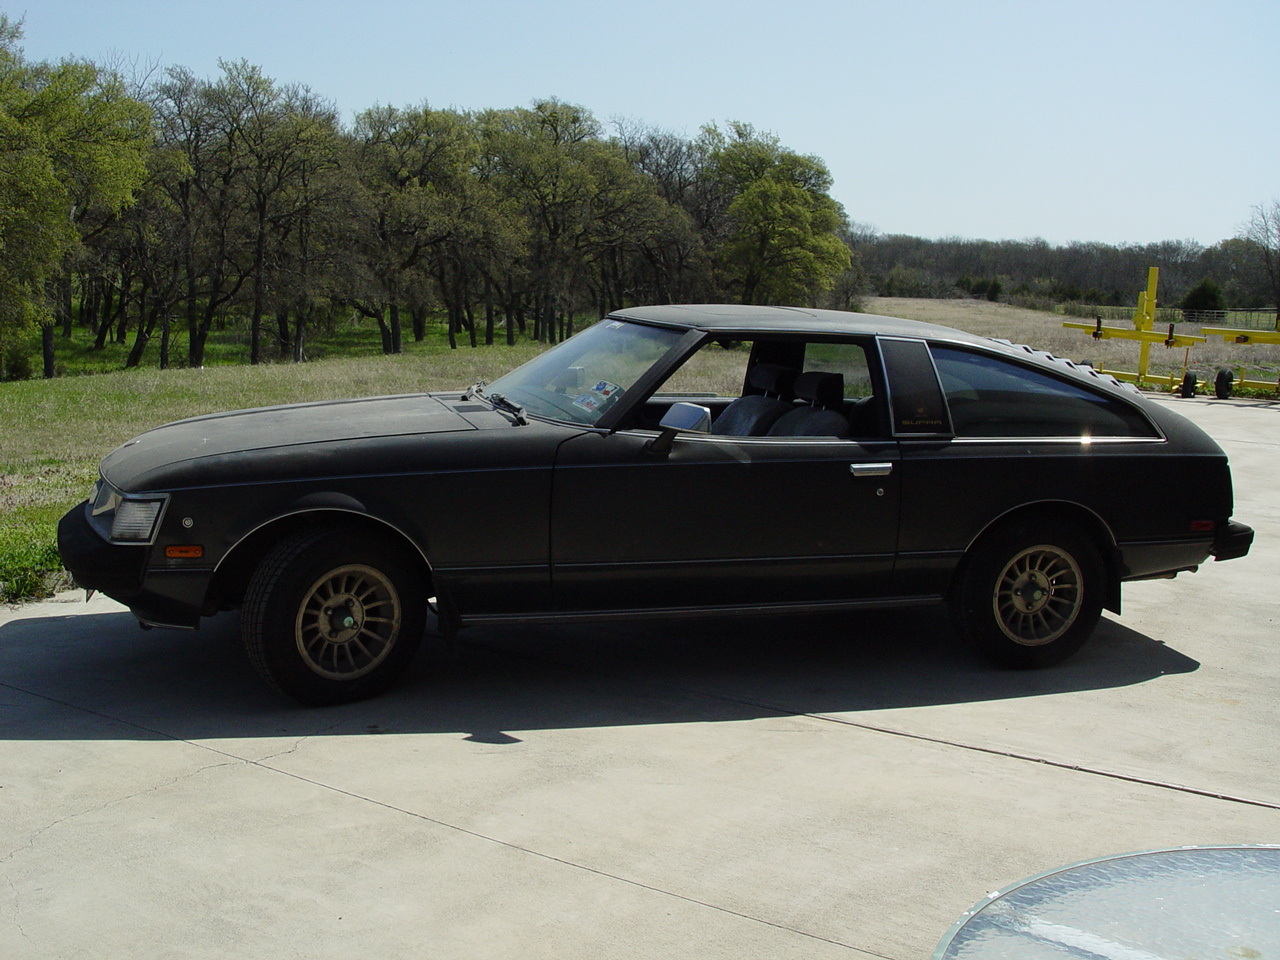
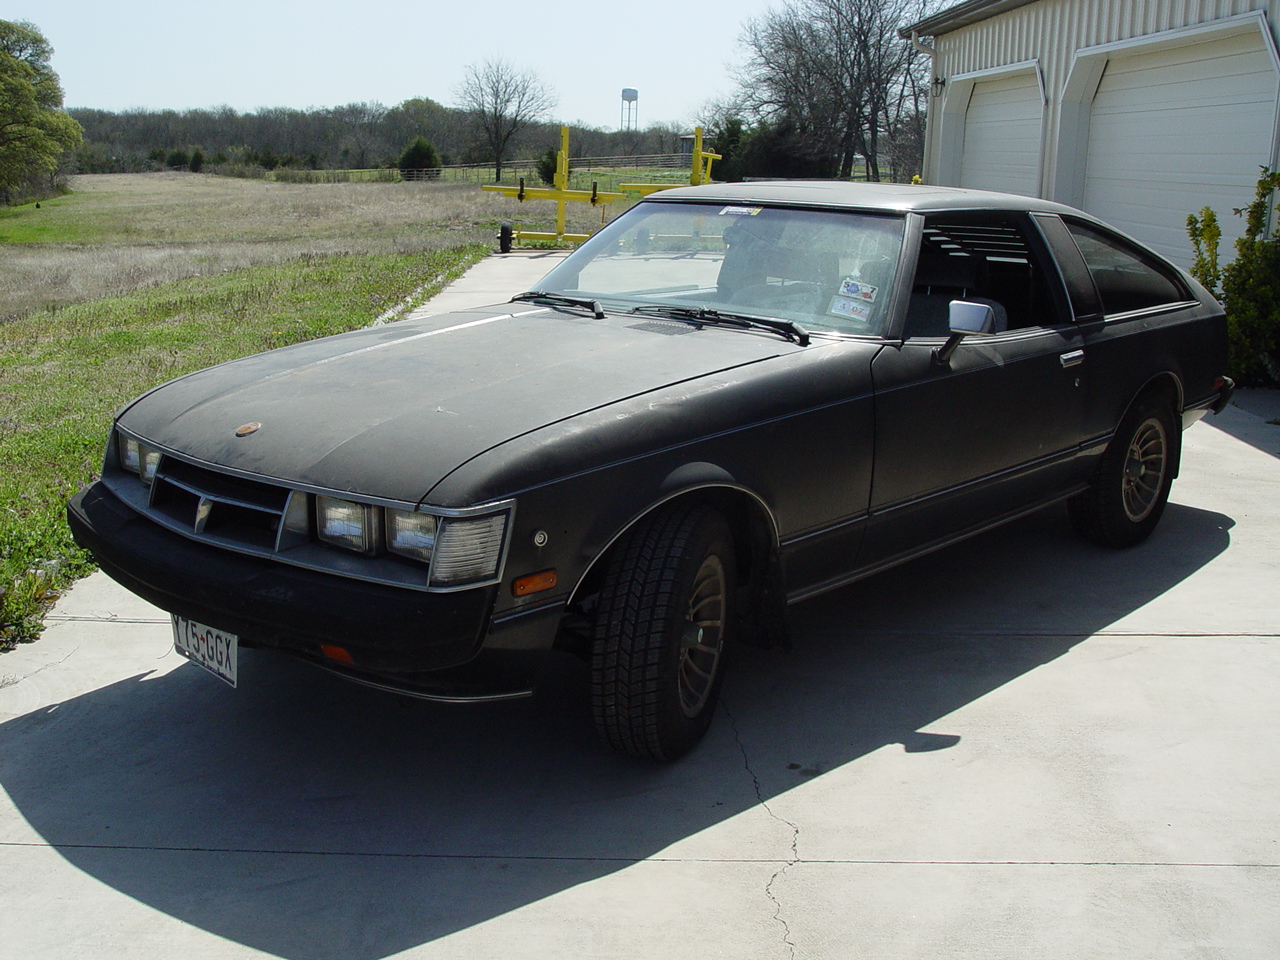
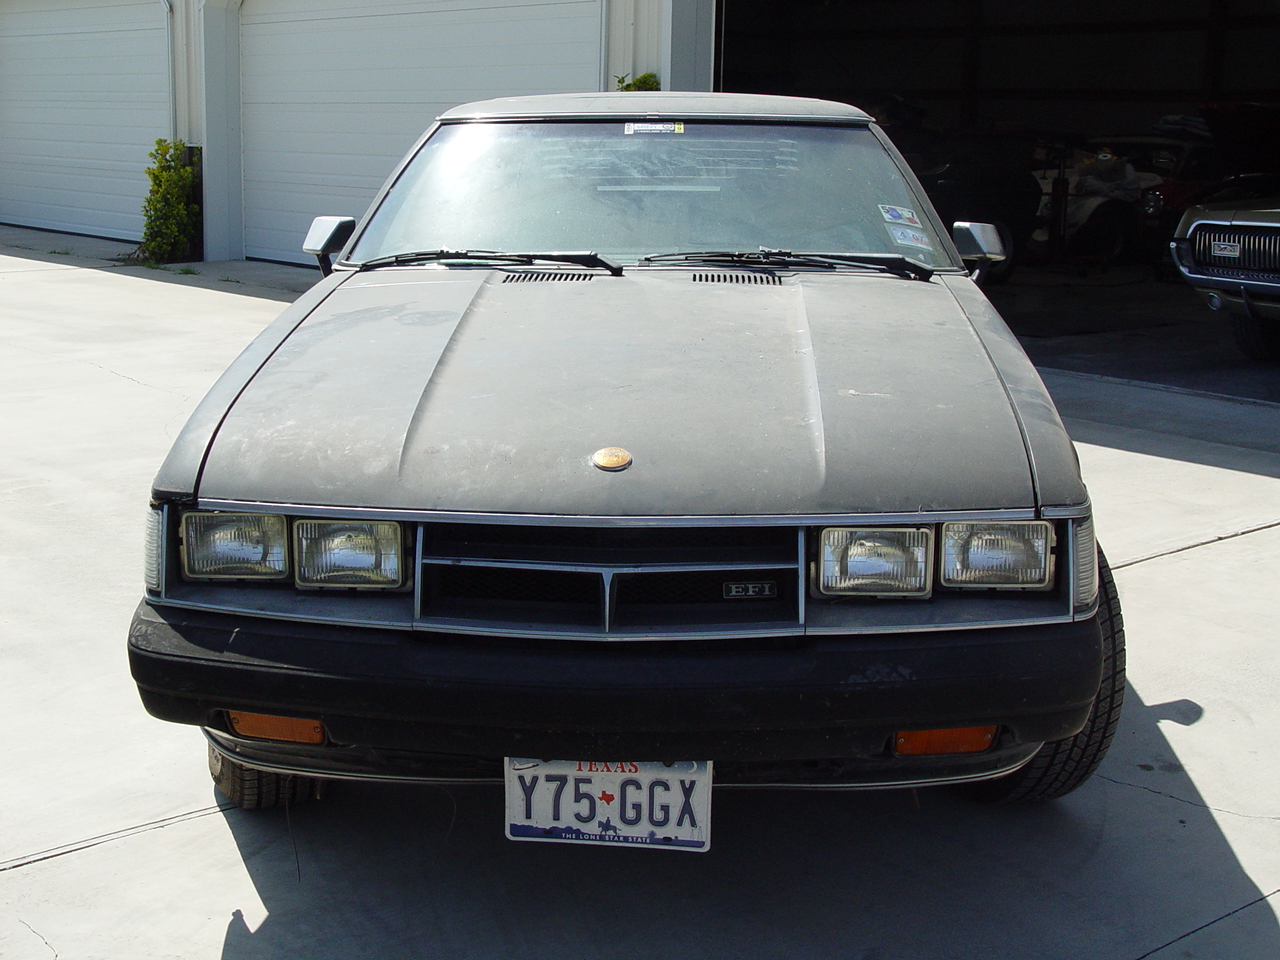
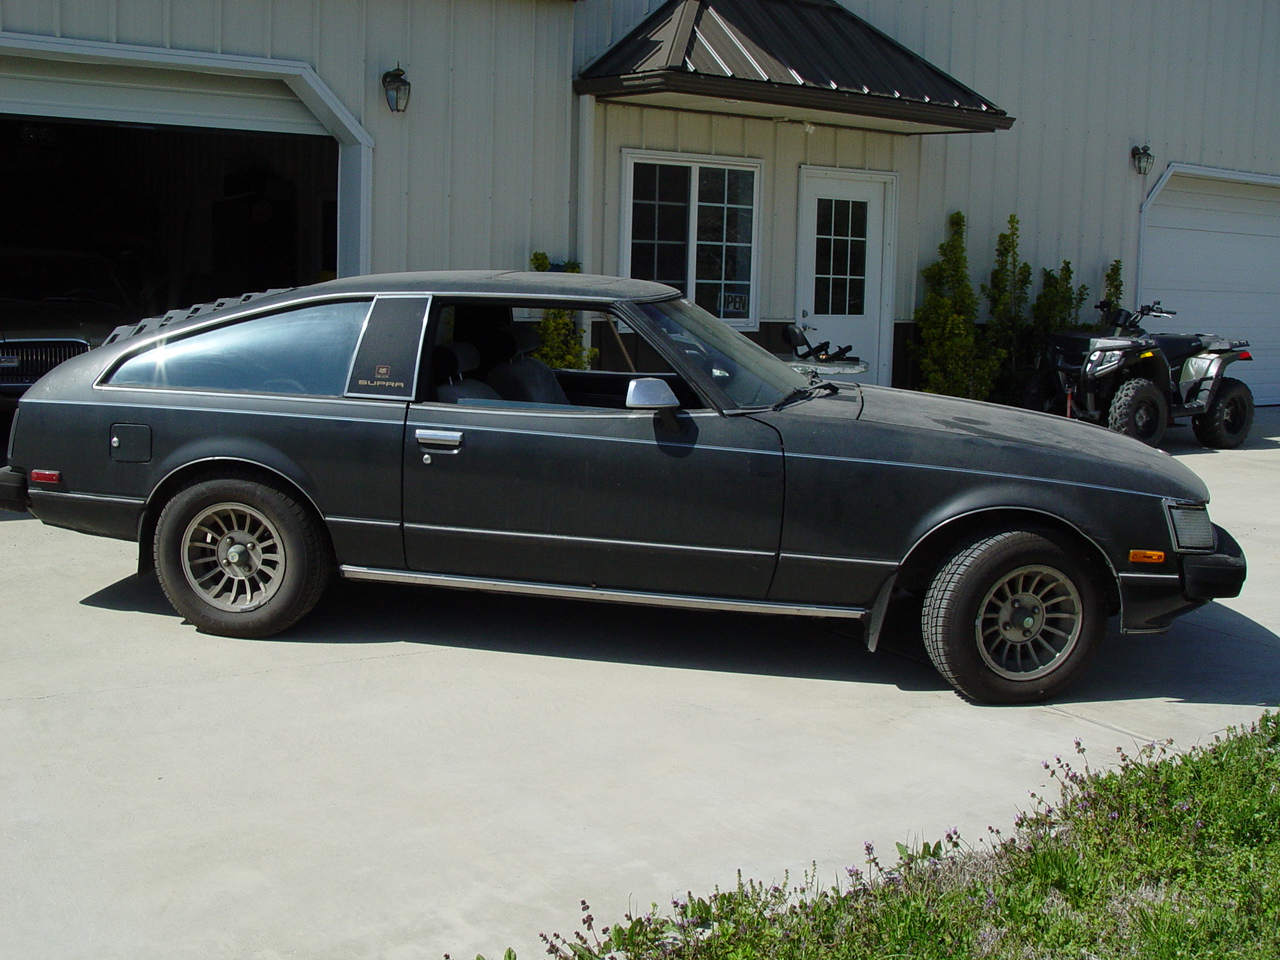
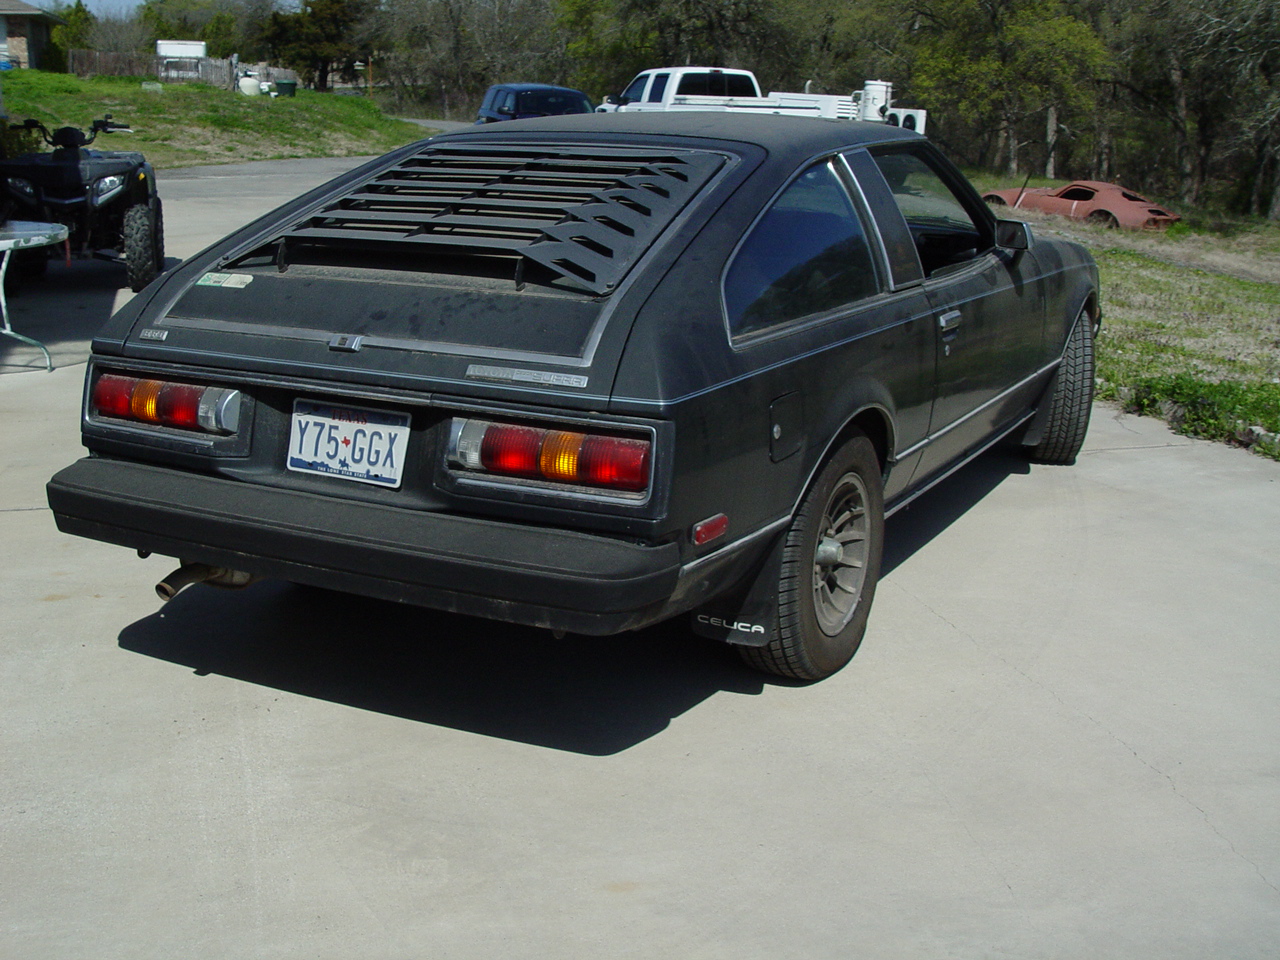
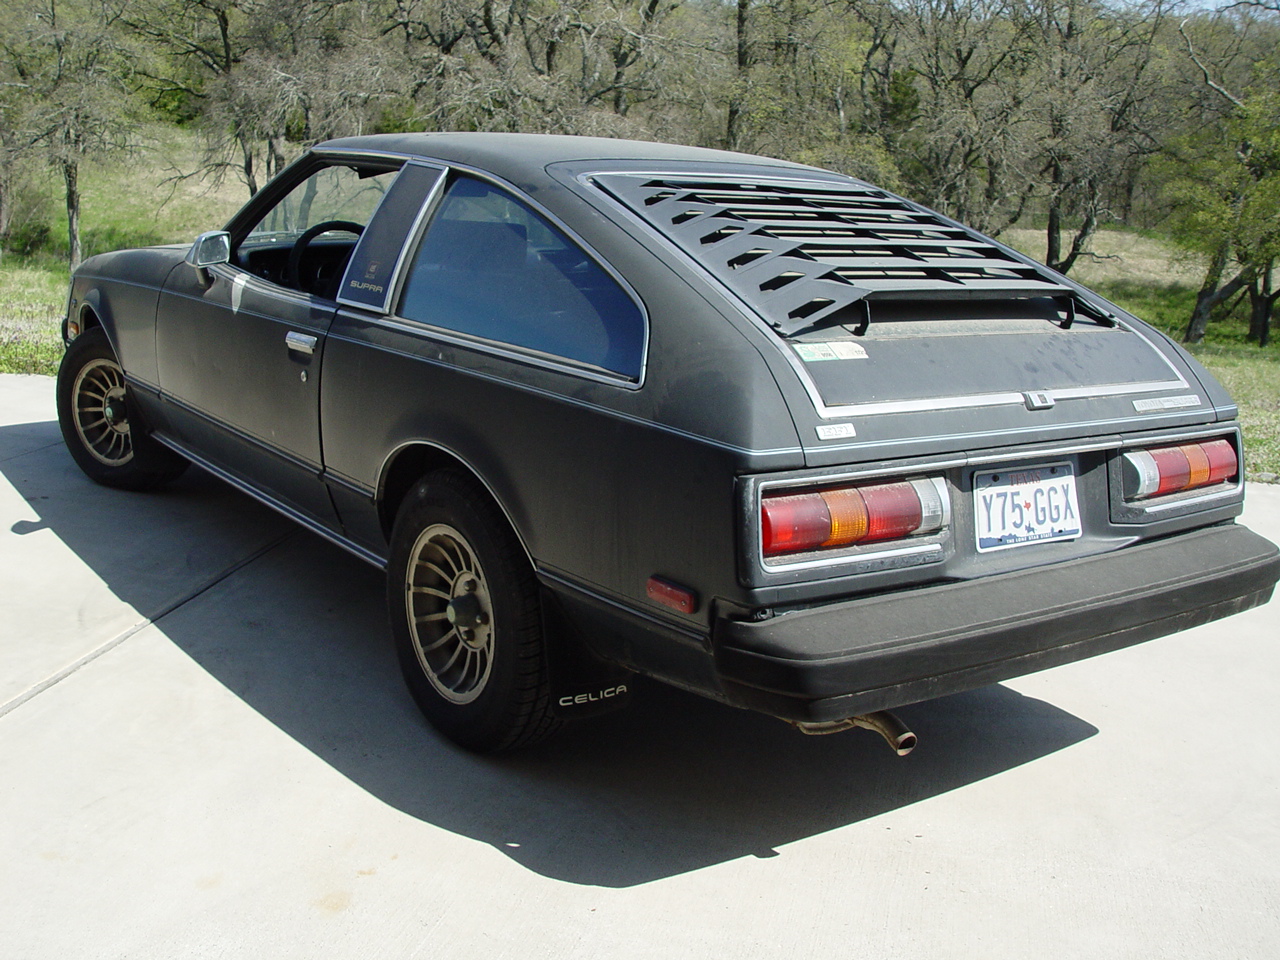
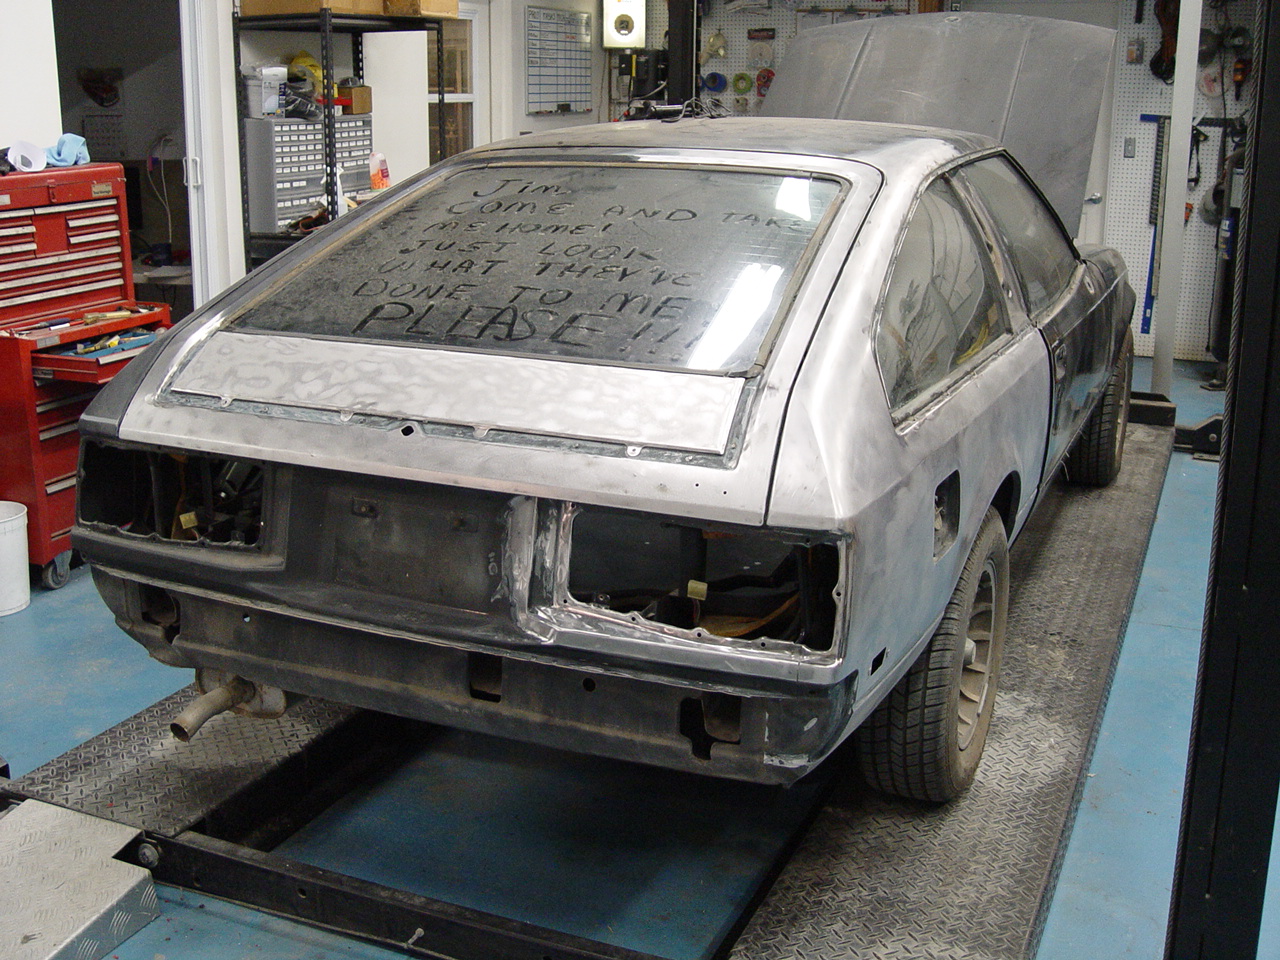
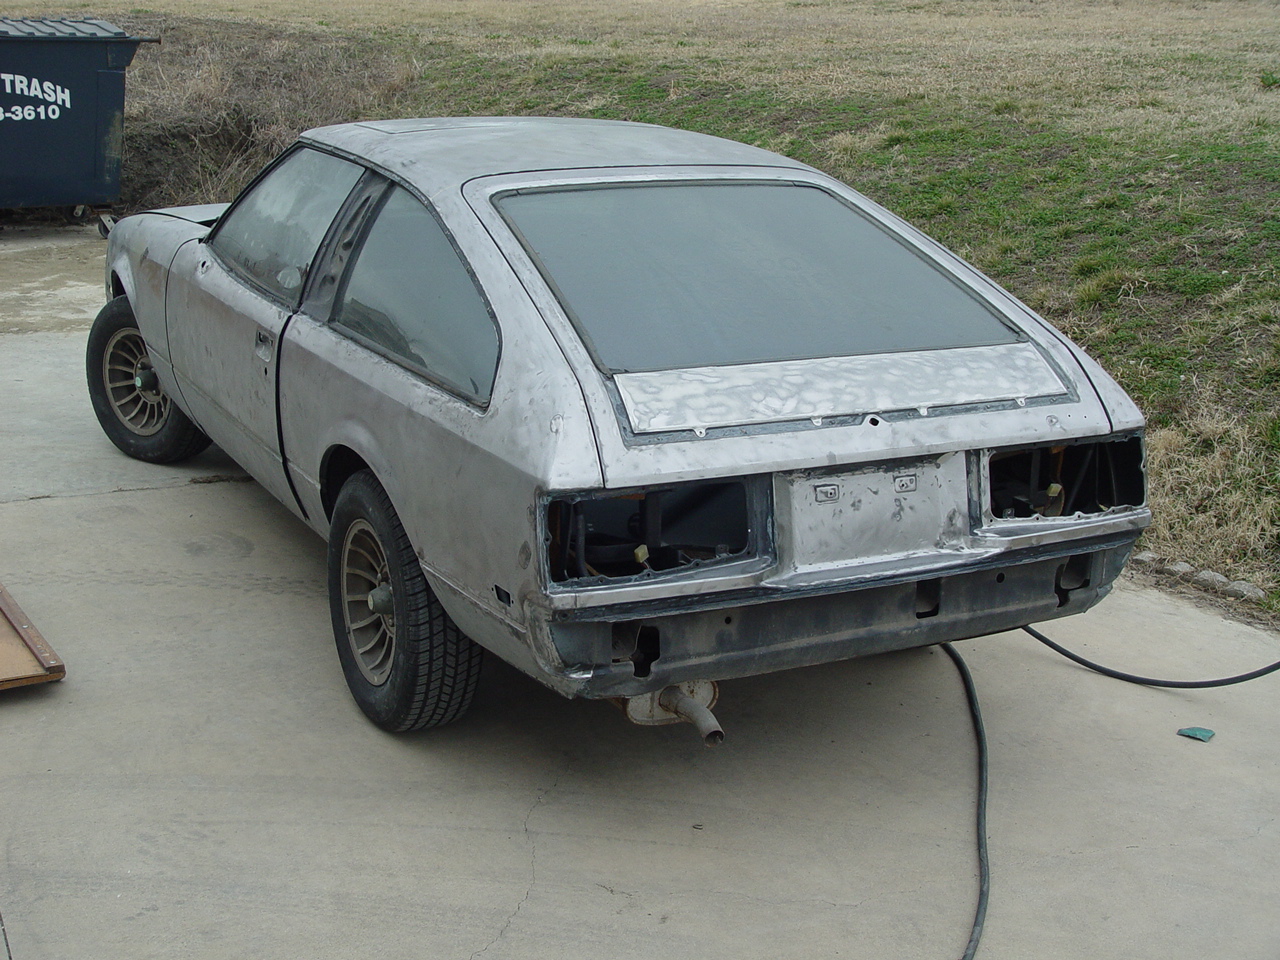
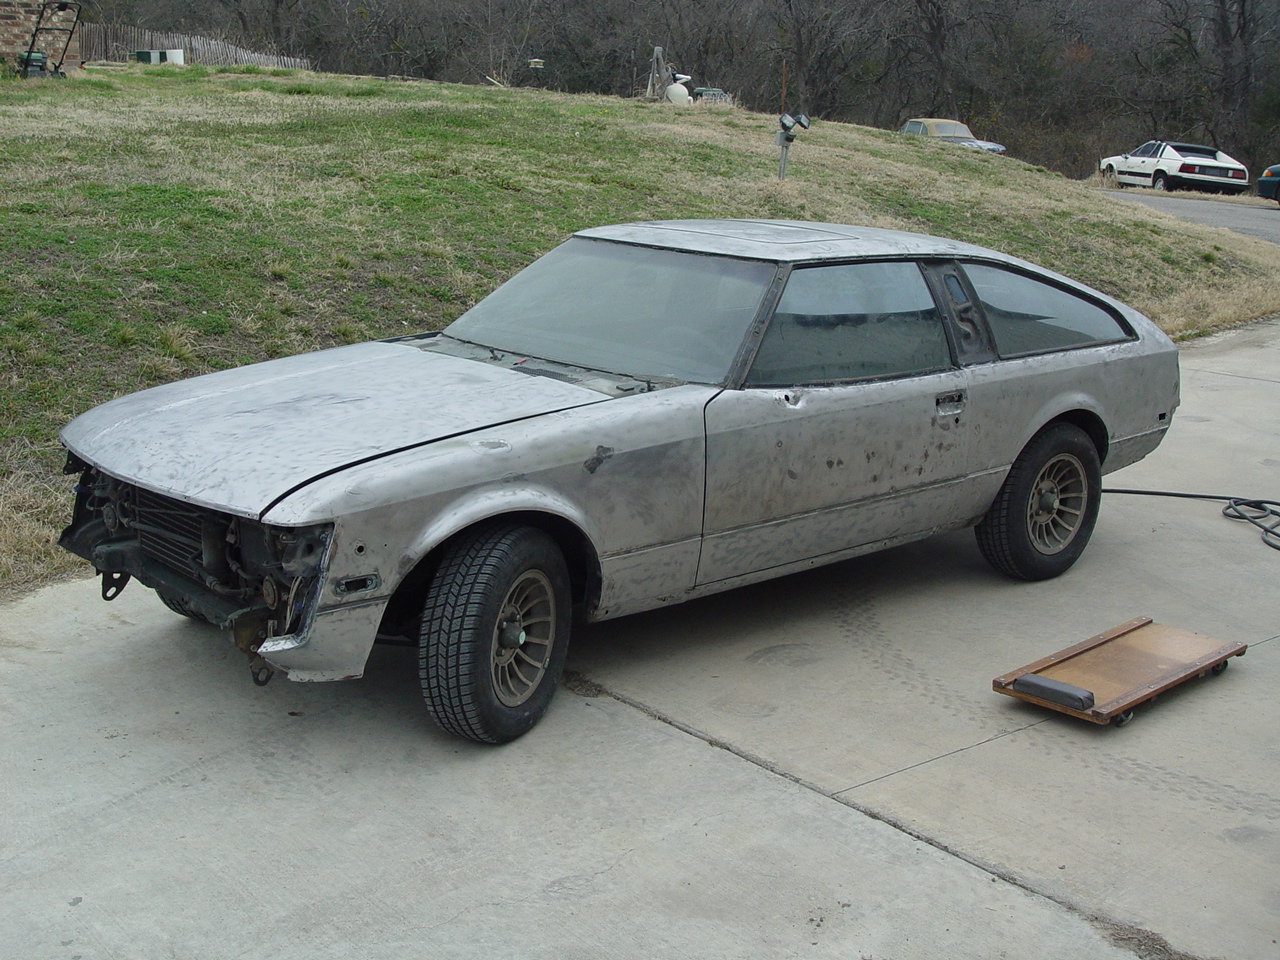
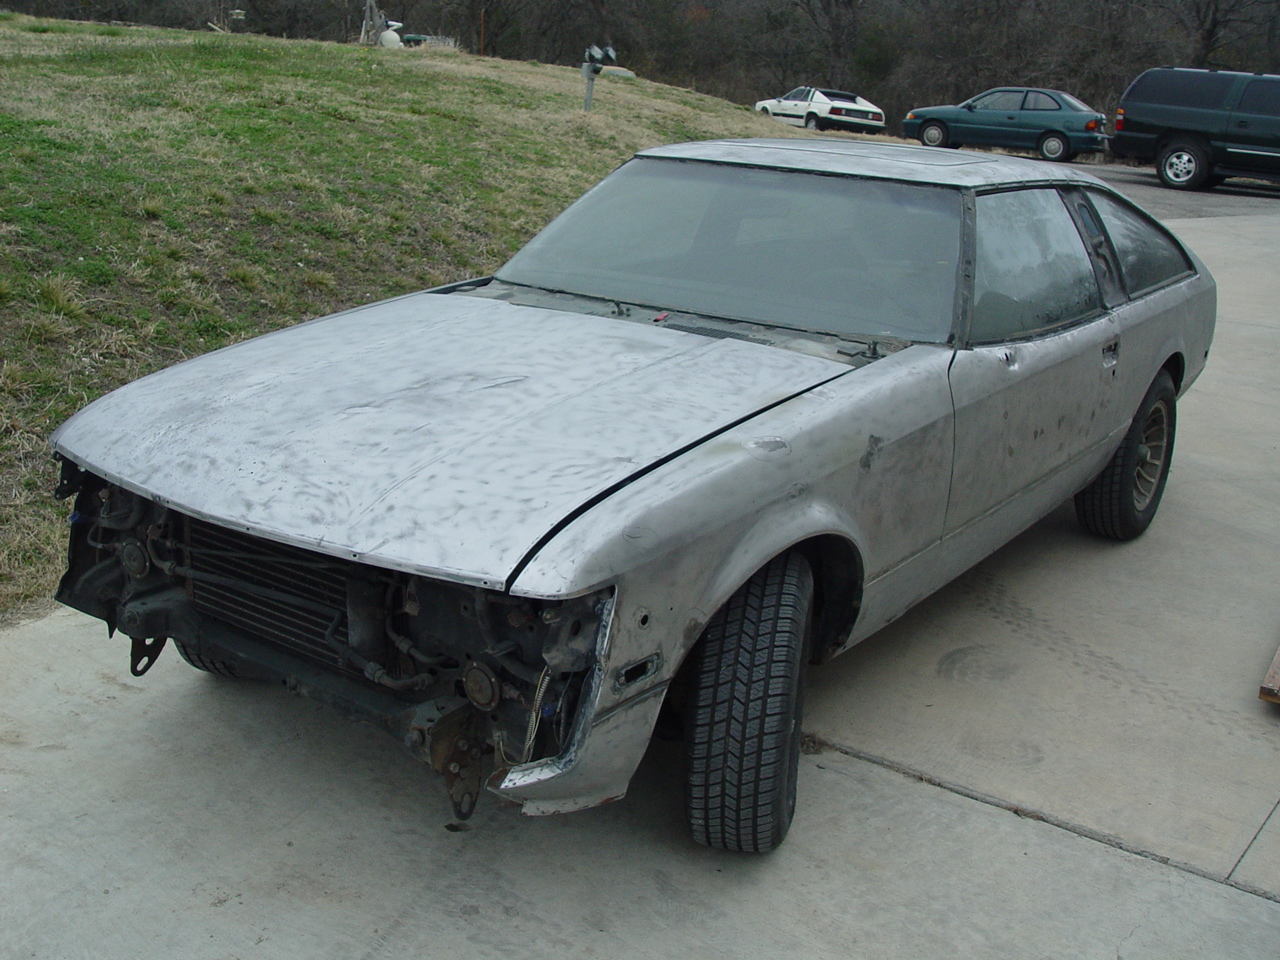
BEFORE | ||||||
|
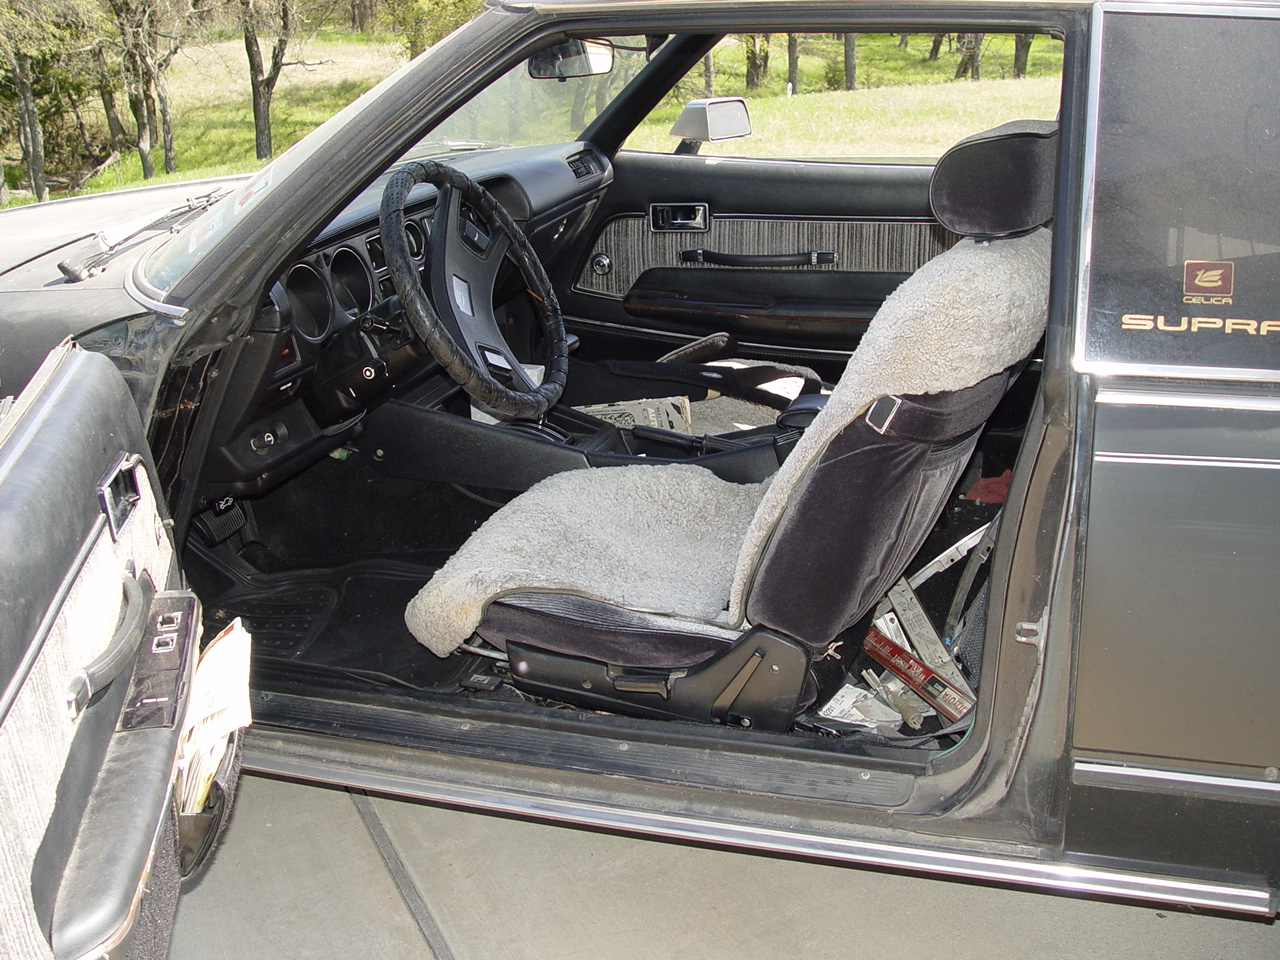
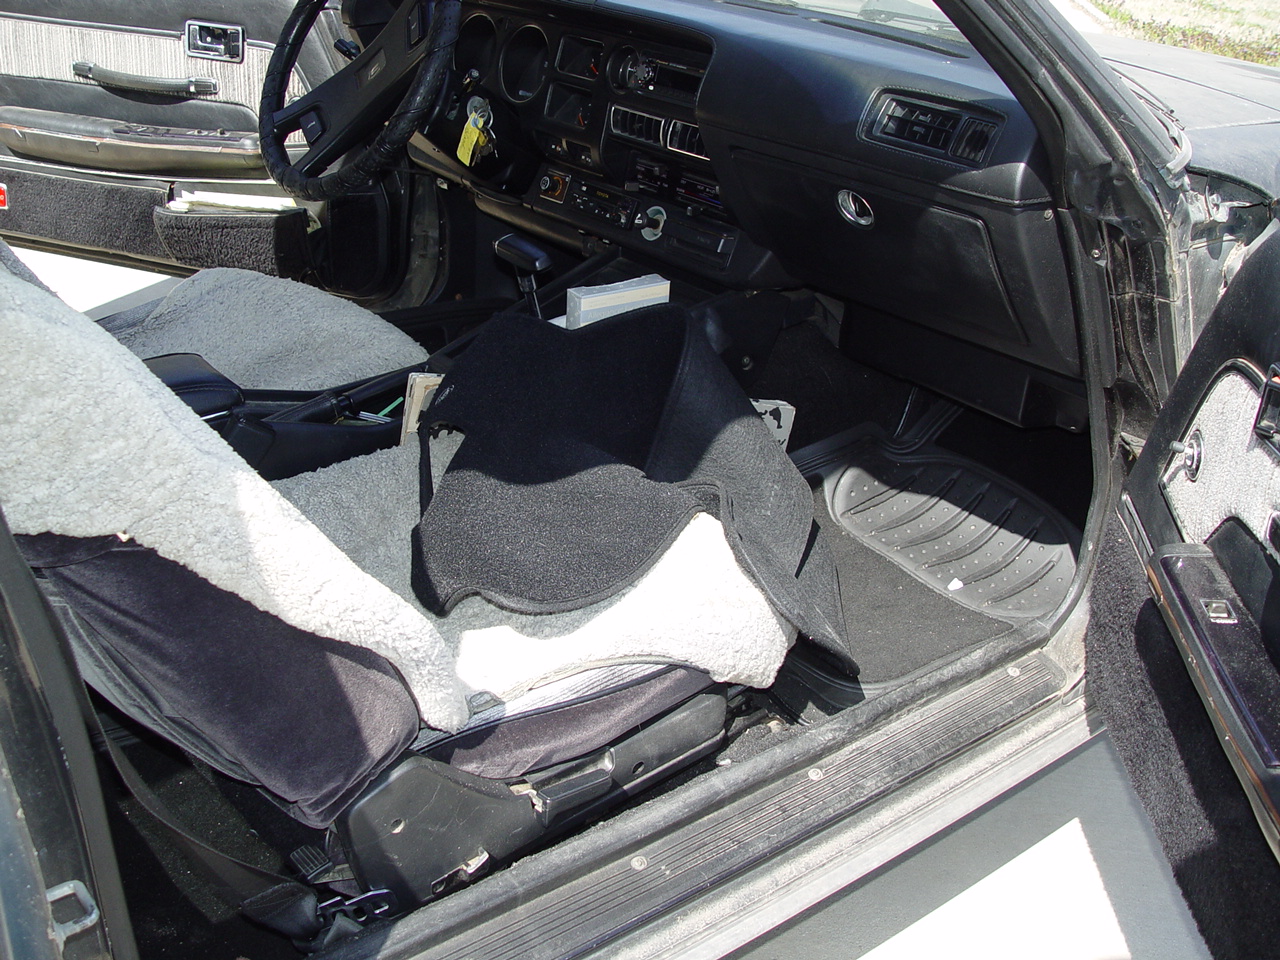
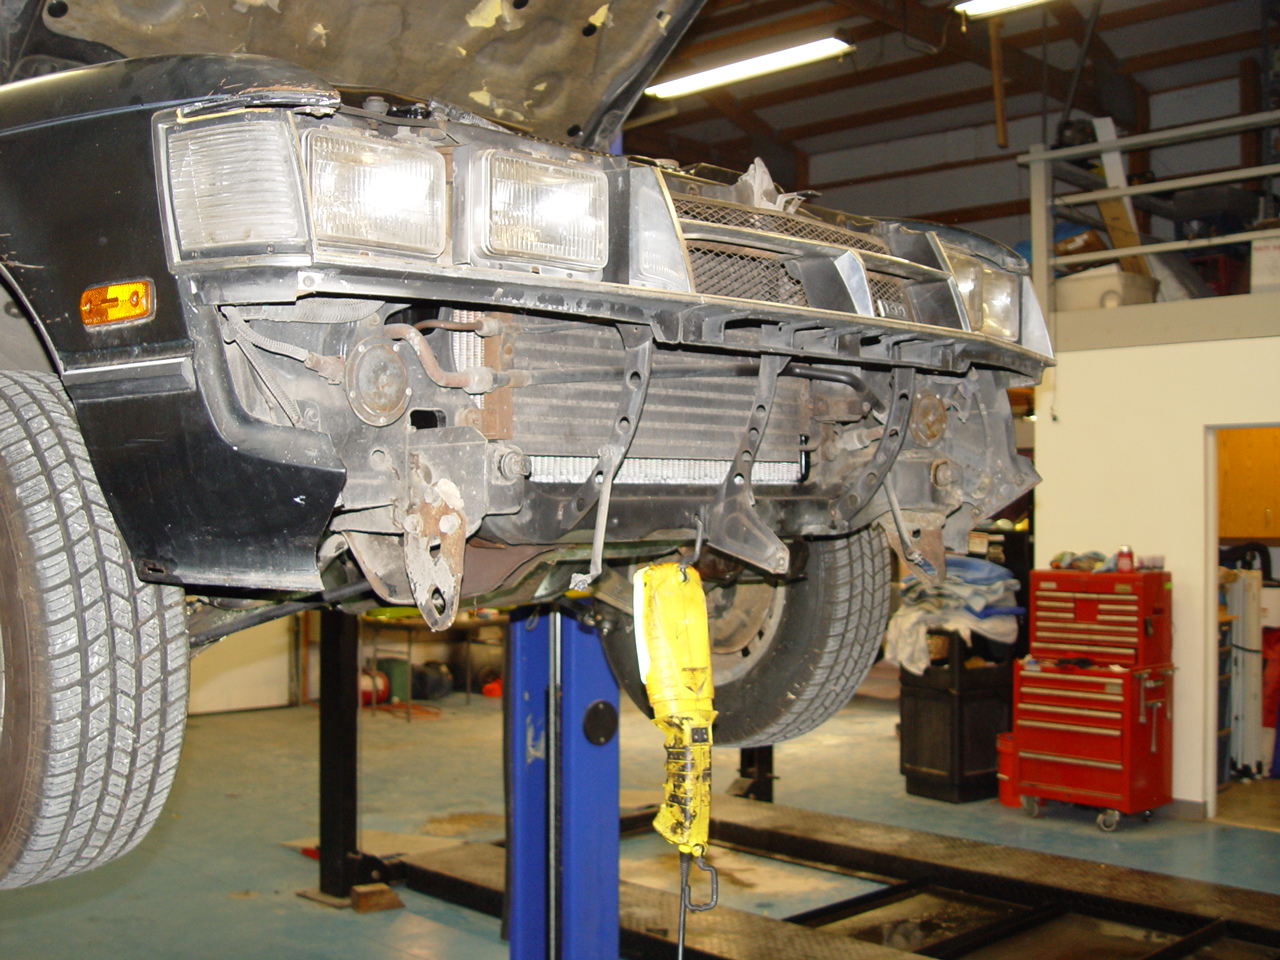
This first-generation Toyota Supra has been in the same owner's hands since new. He currently resides in Palestine and works with the owner of the 1969 Charger that was also here for restoration.
His desire is to return his Supra back to its original glory - or at least as close to that as can be achieved. The real challenge with this project is going to be parts availability. The MKI Supra does not enjoy the following of the later MKII and MKIII models, so aftermarket parts support is minimal. In fact, aside from the basic maintenance and repair items, there is little to be found through normal channels. So, a great deal of time is likely to be spend locating everything needed to meet the owner's goals. Fortunately, this Supra is virtually complete and will mostly need normal wear-and-tear items (somewhat available) and rubber weatherstripping (for which we will likely have to resort to generic components).
Since this car has been sitting idle for a few years, the first task will be to get the engine running so that we know what we have to work with. As usual, this starts with an oil change and a complete flushing of the fuel (in this case EFI) system.
|
||||||
 |
 |
 |
 |
 |
||
 |
 |
 |
 |
 |
||
 |
 |
 |
 |
 |
||
| Click on an image for a larger view | ||||||
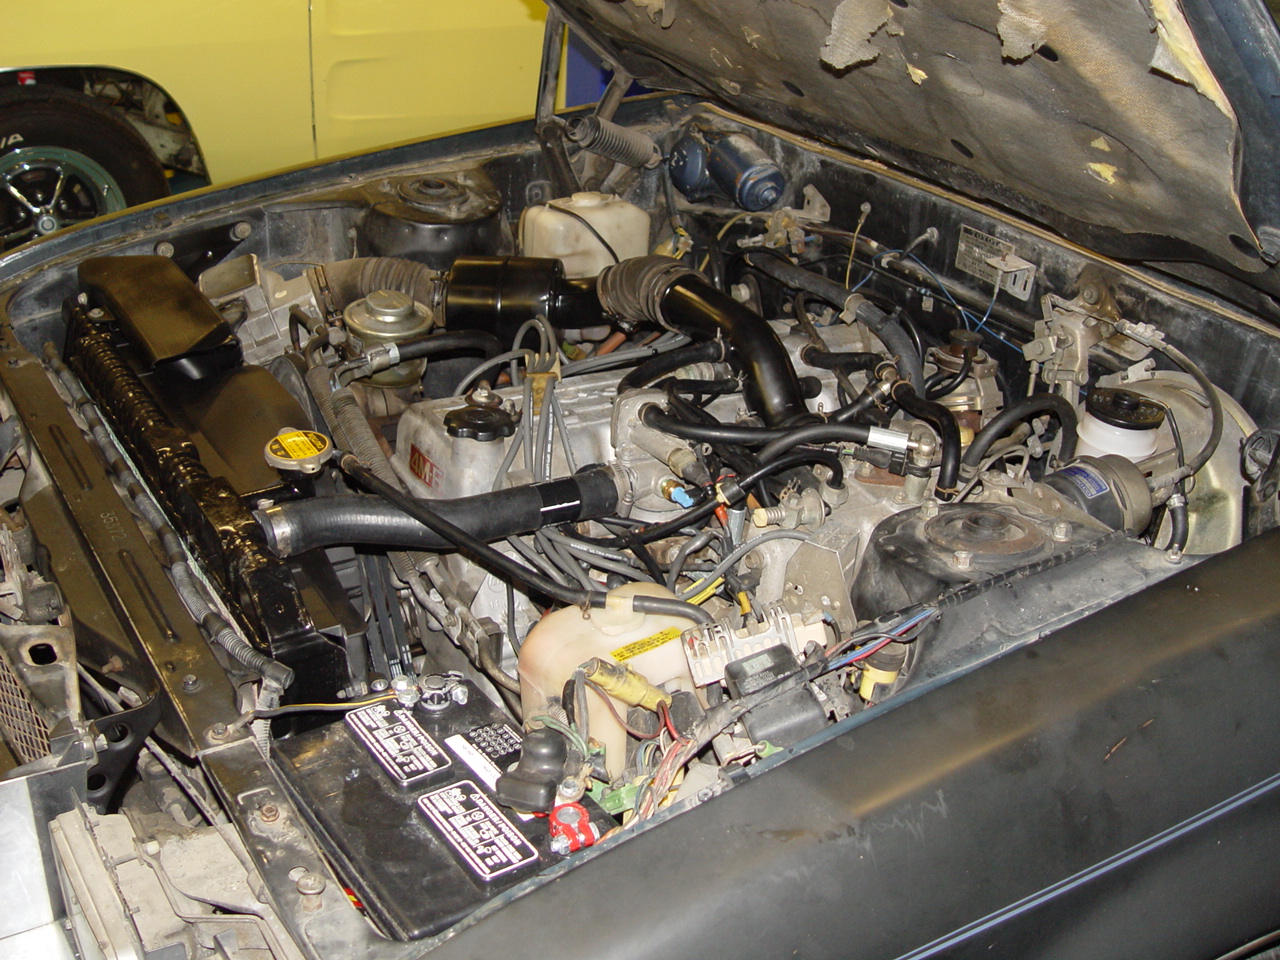
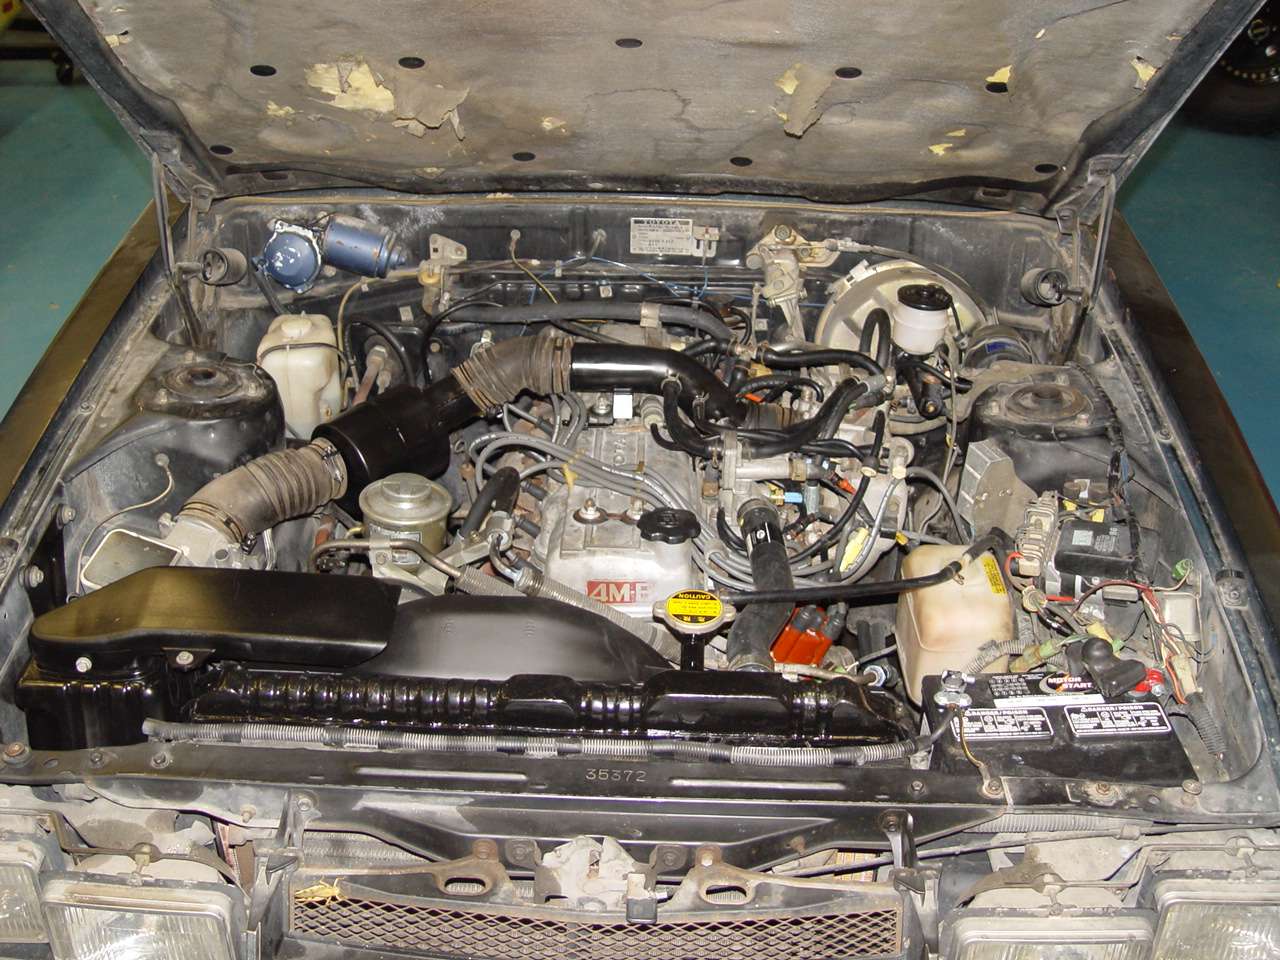
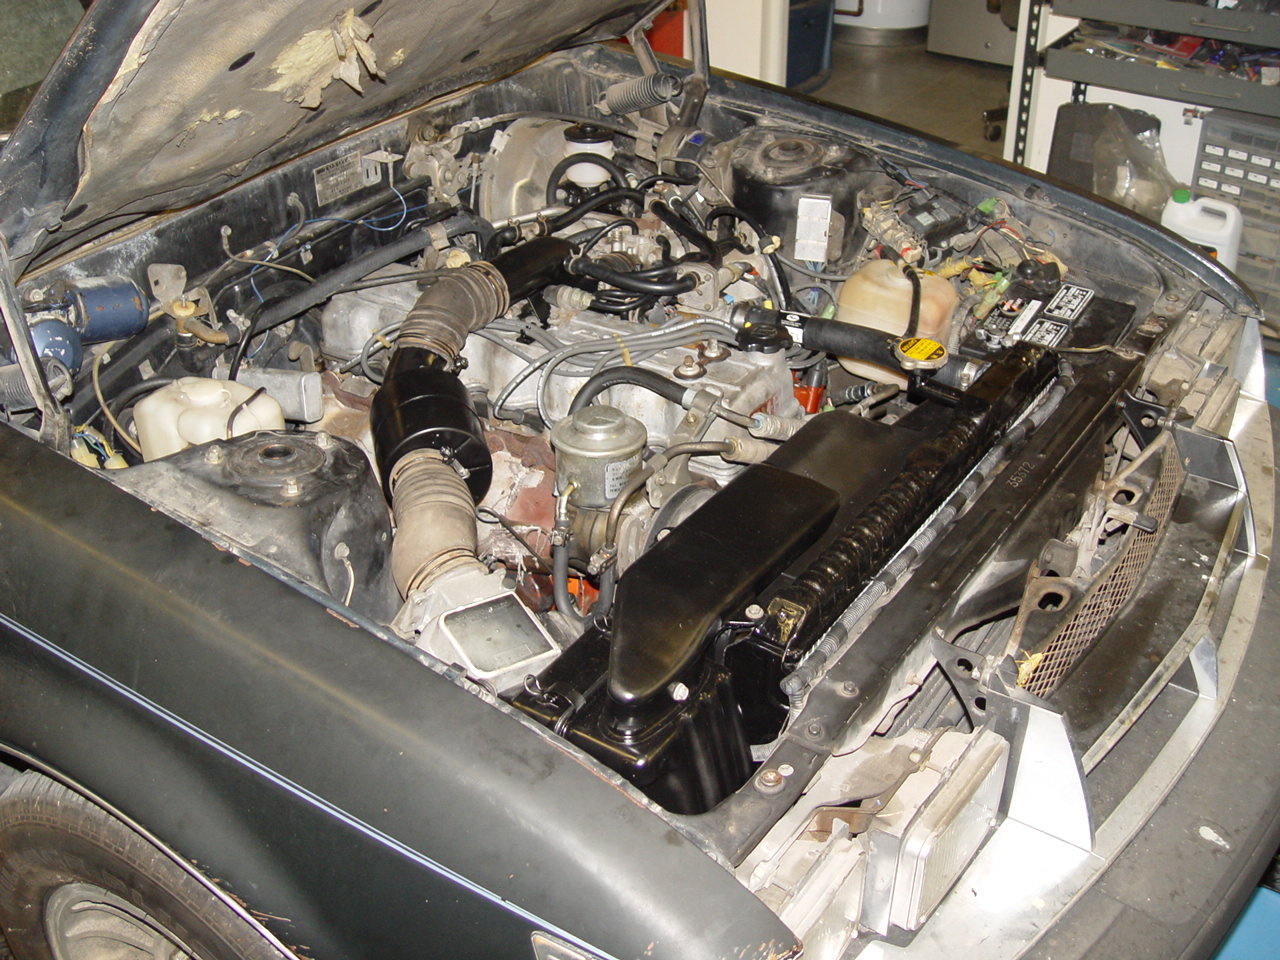
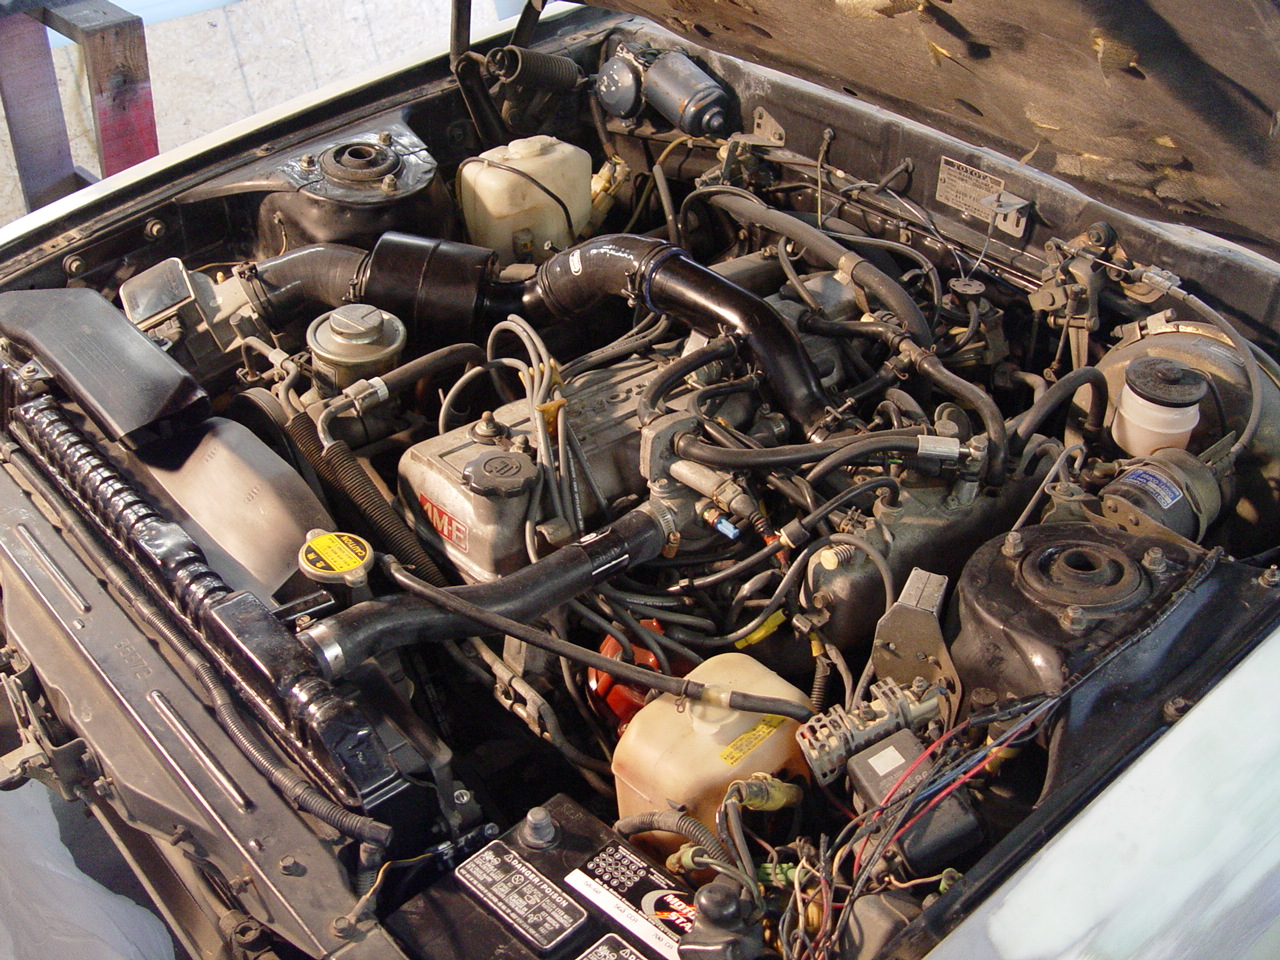
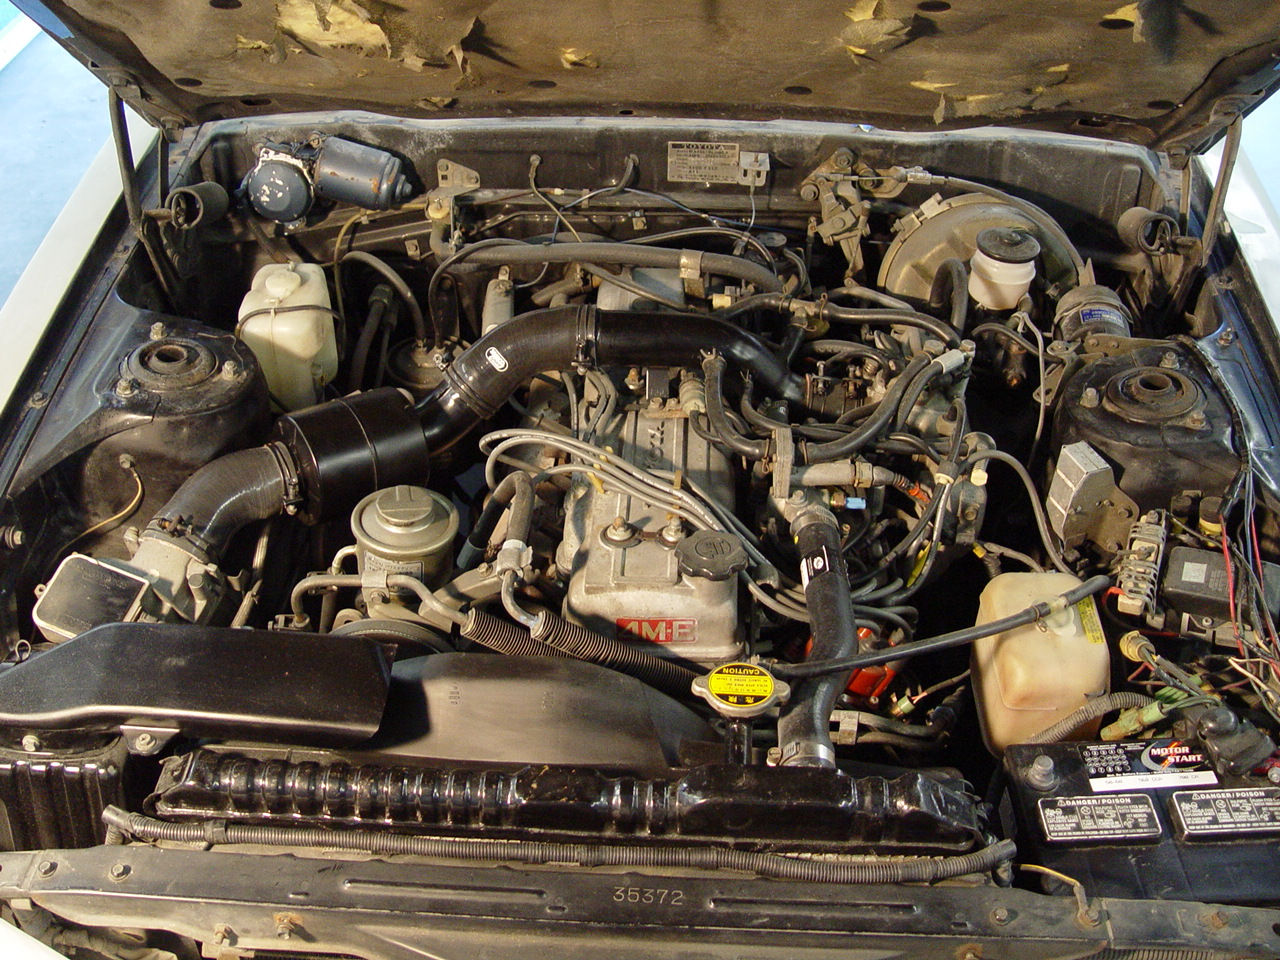
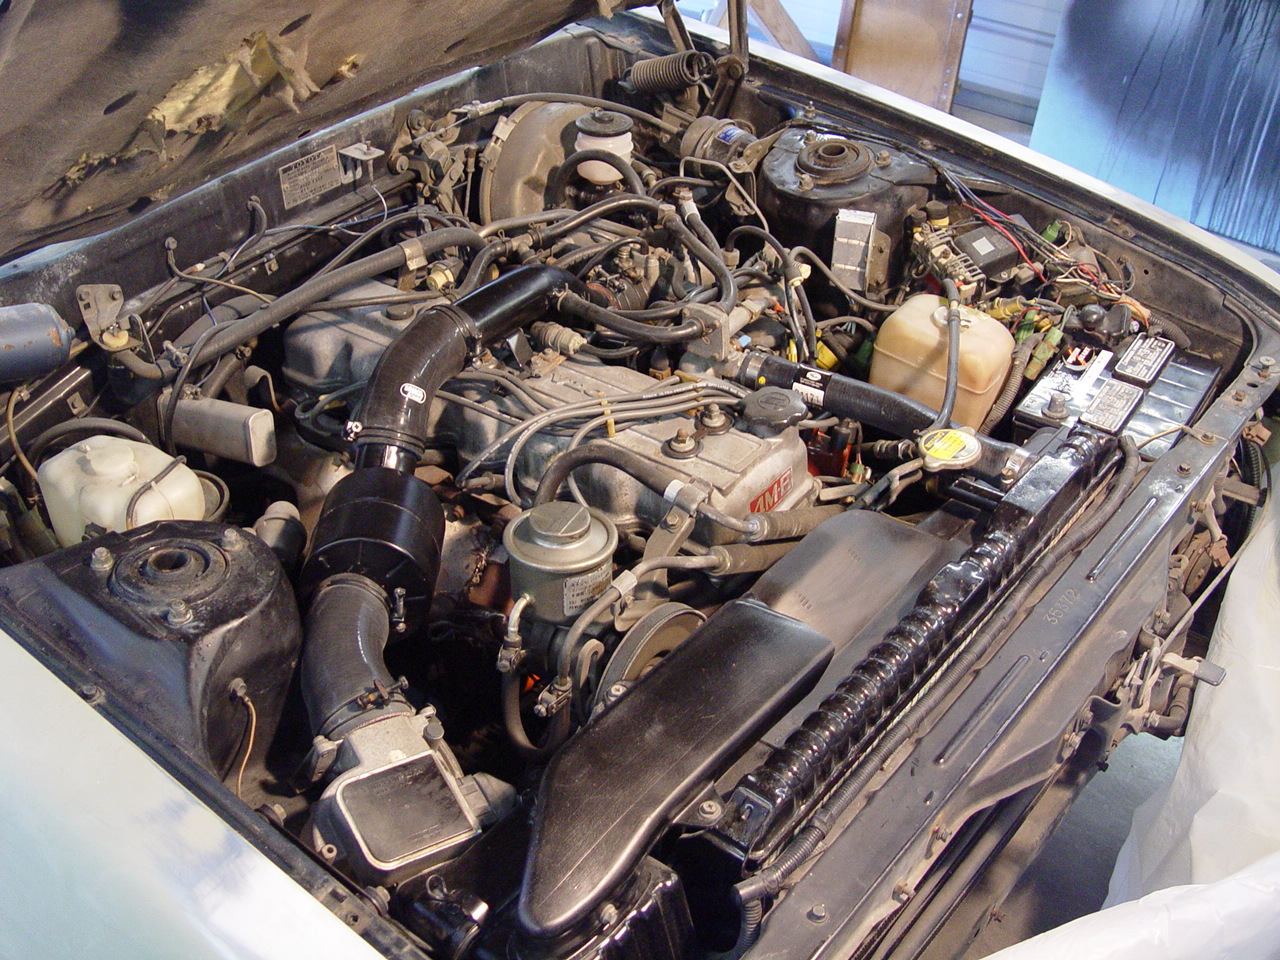
ENGINE BAY | ||||||
|
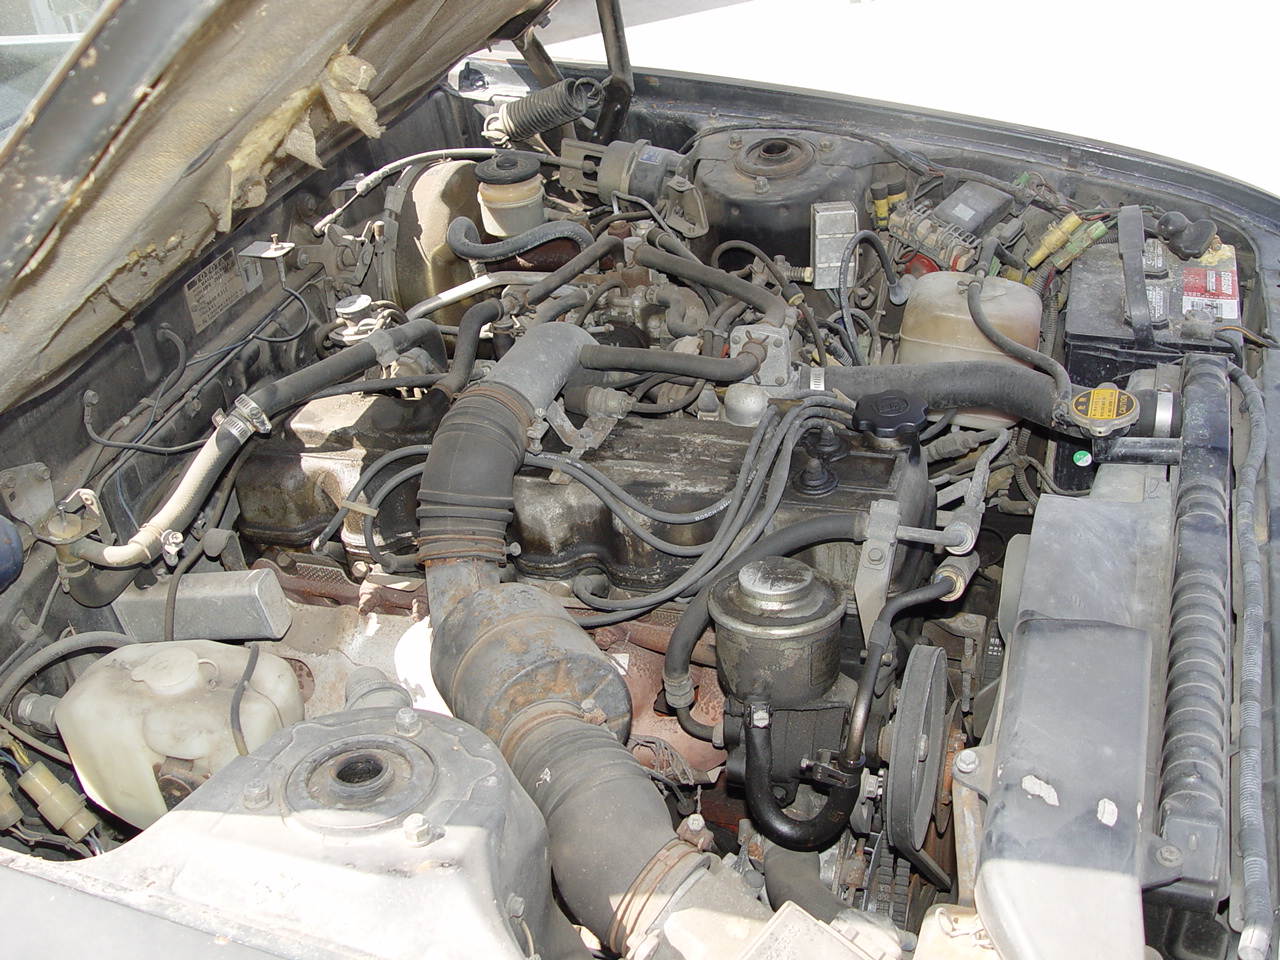
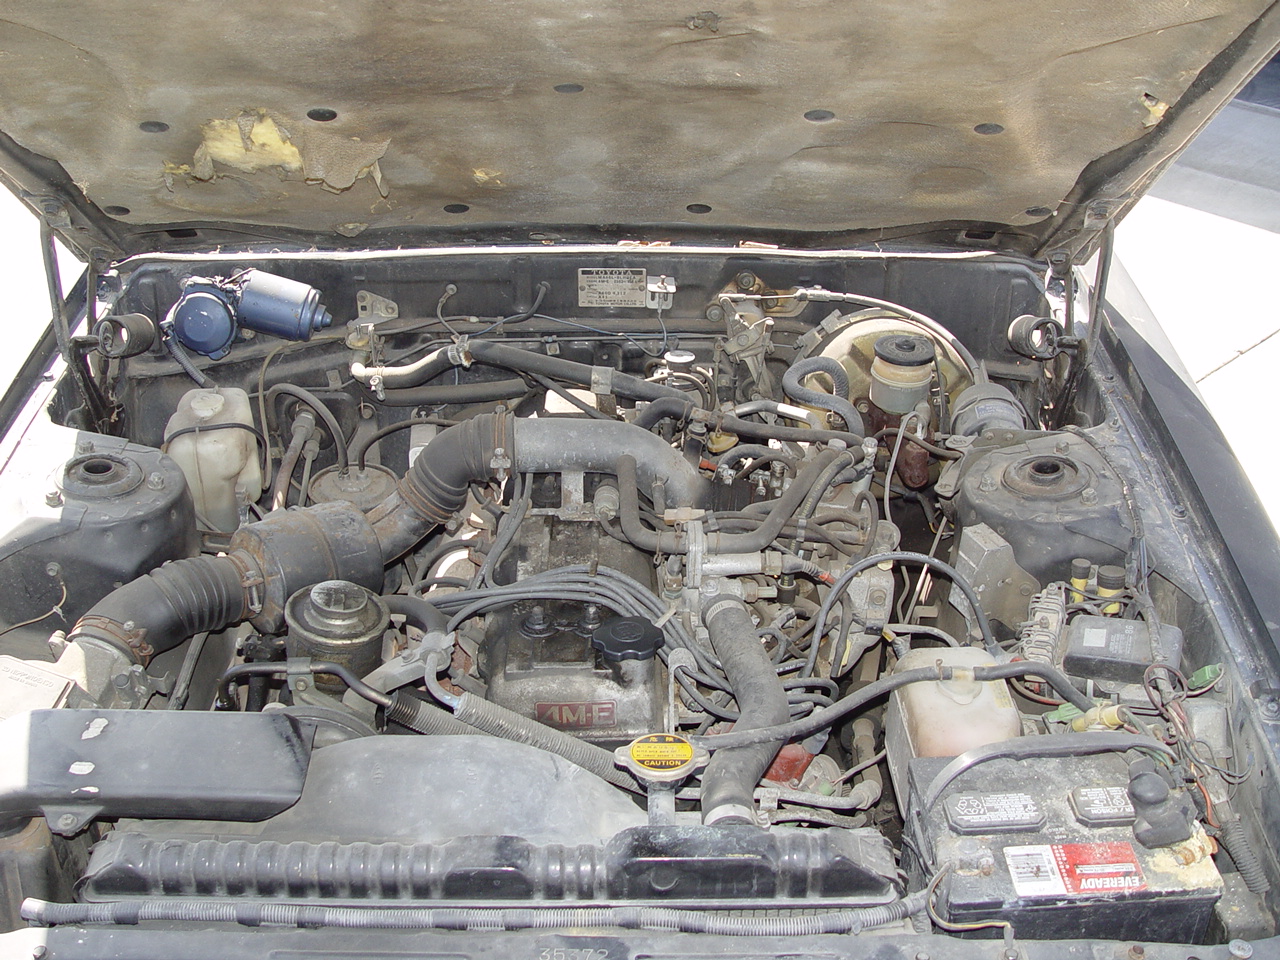
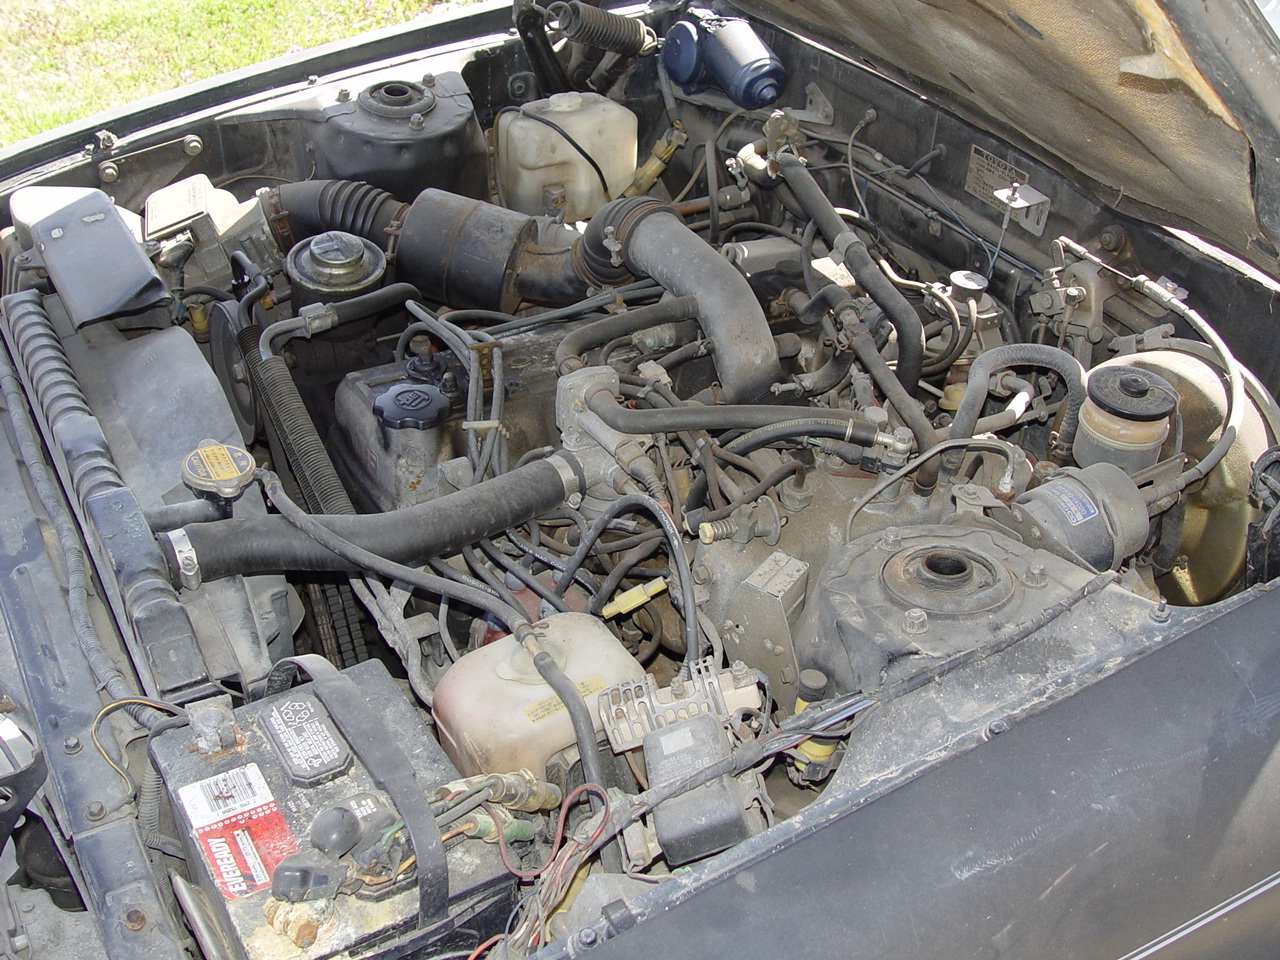
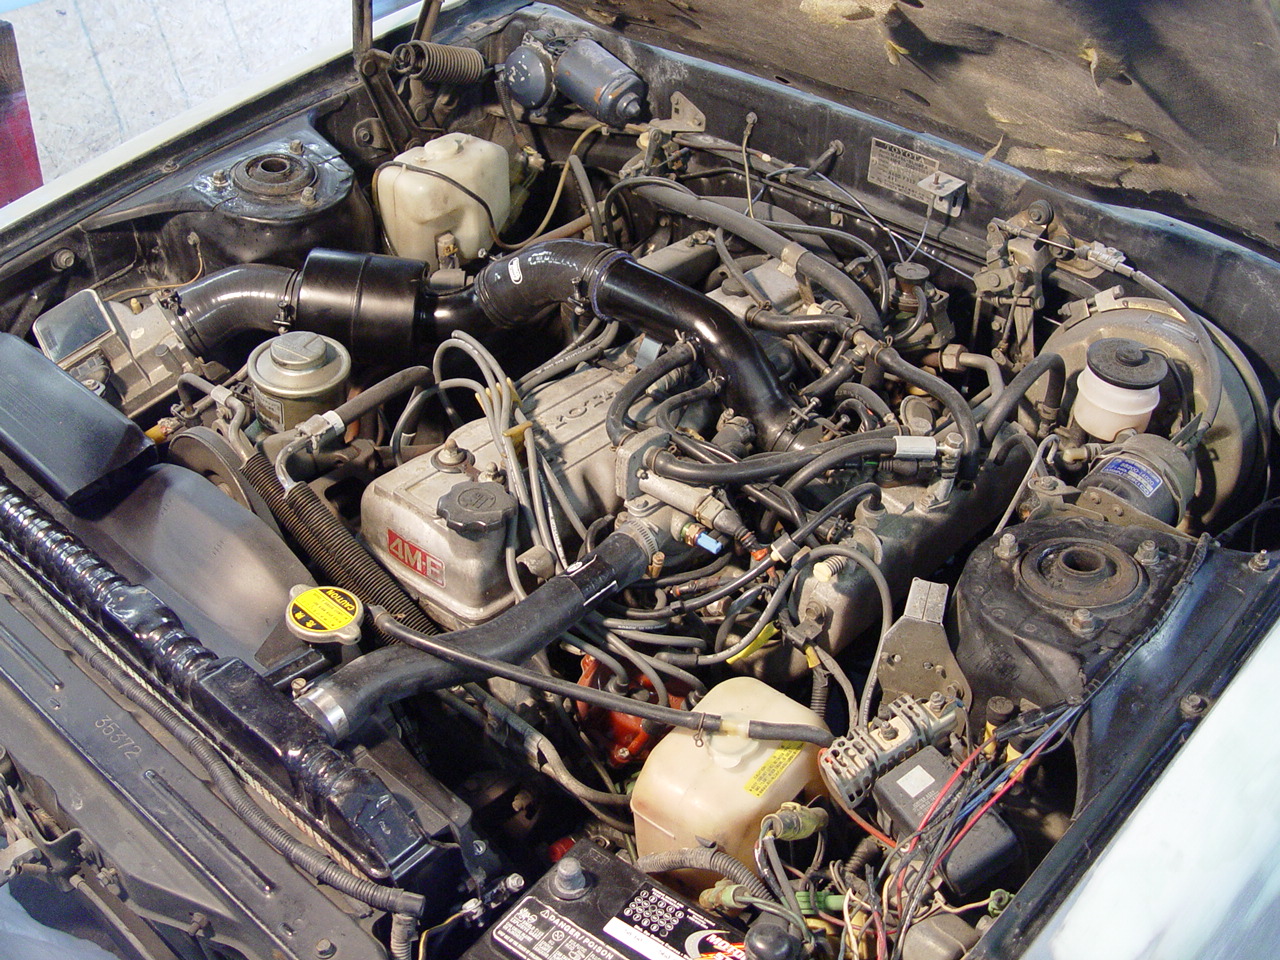
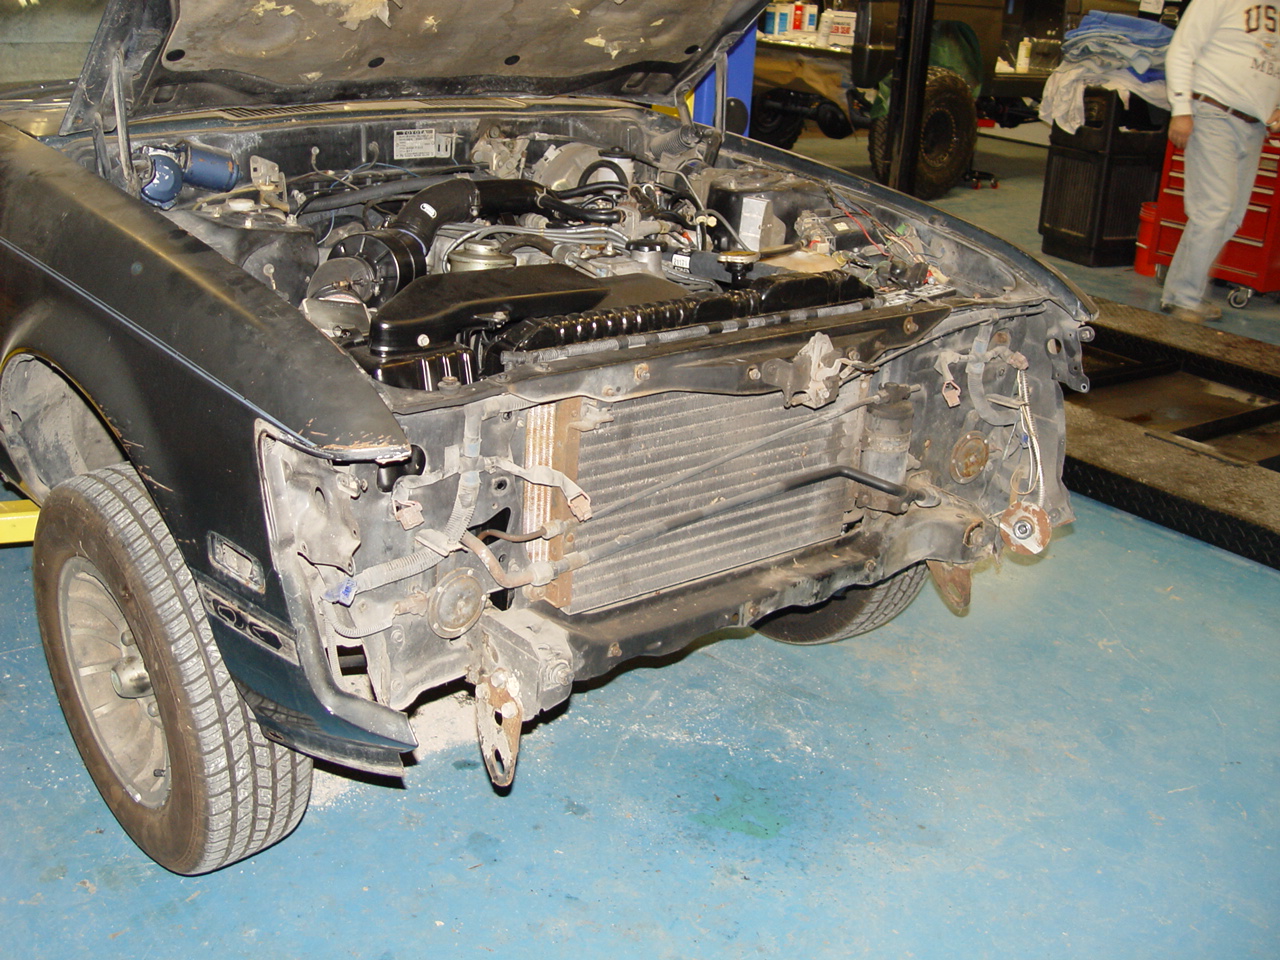
Since the engine ran fine before it was parked years ago, we saw no reason to go to extremes and get involved with kind of engine disassembly. Instead, we focused on fluids and rubber components.
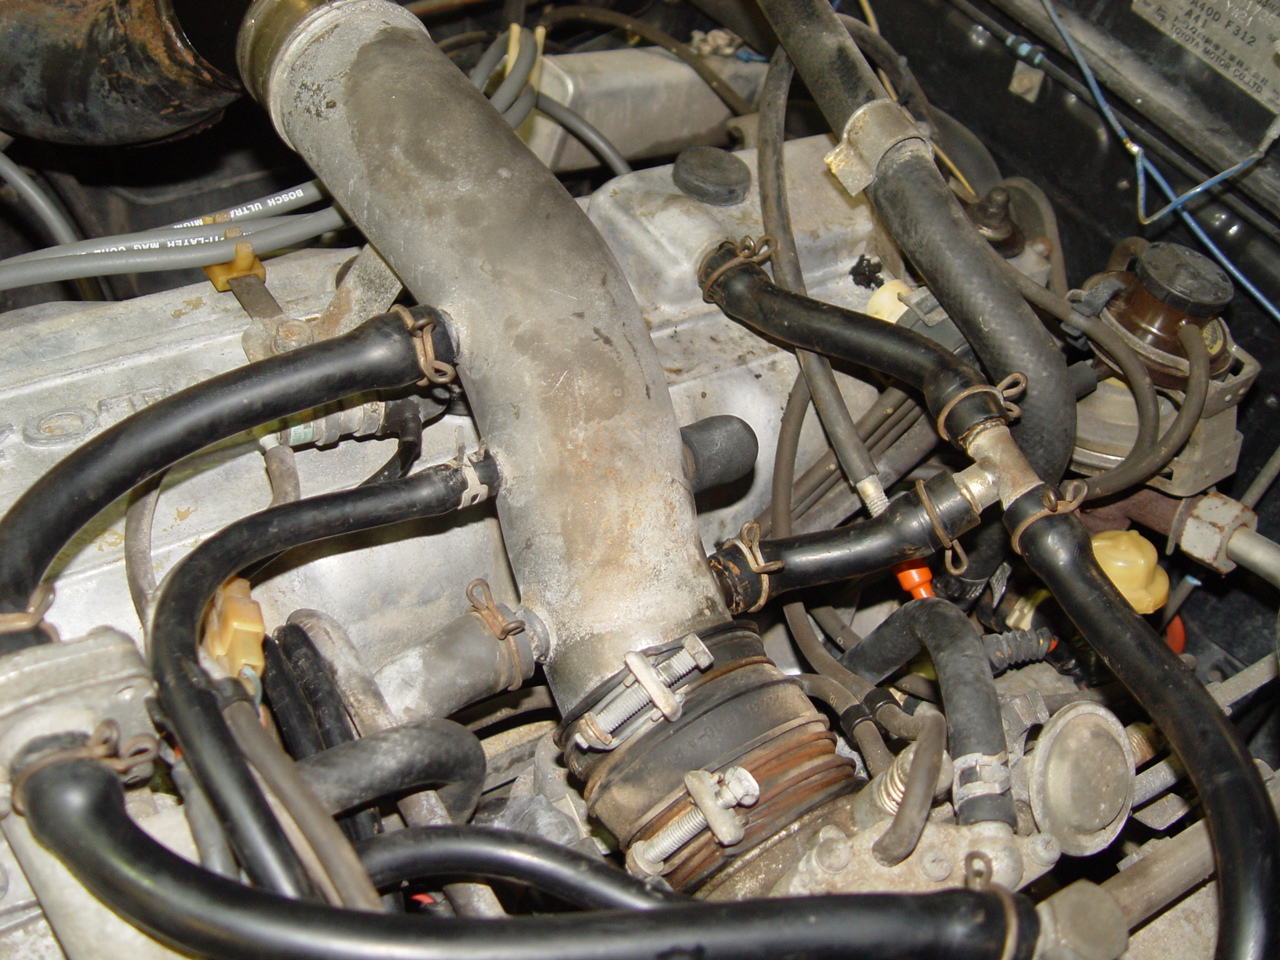
First, all the fluids were drained - including the fuel tank. All the rubber lines and hoses were then replaced. This included all the fuel lines - which required that we have all four of the injection pressure lines custom made. Fortunately, both the molded radiator hoses were available new and the rest of the coolant hoses were easily fabricated out of bulk hose.
Jim found a source for all the vacuum lines via eBay. We picked up a full set in black silicone for a reasonable price, but the larger hoses for the air inlet from the Mass Air Flow sensor to the intake manifold had to be made out of various individual components that we sourced through BoostController.com.
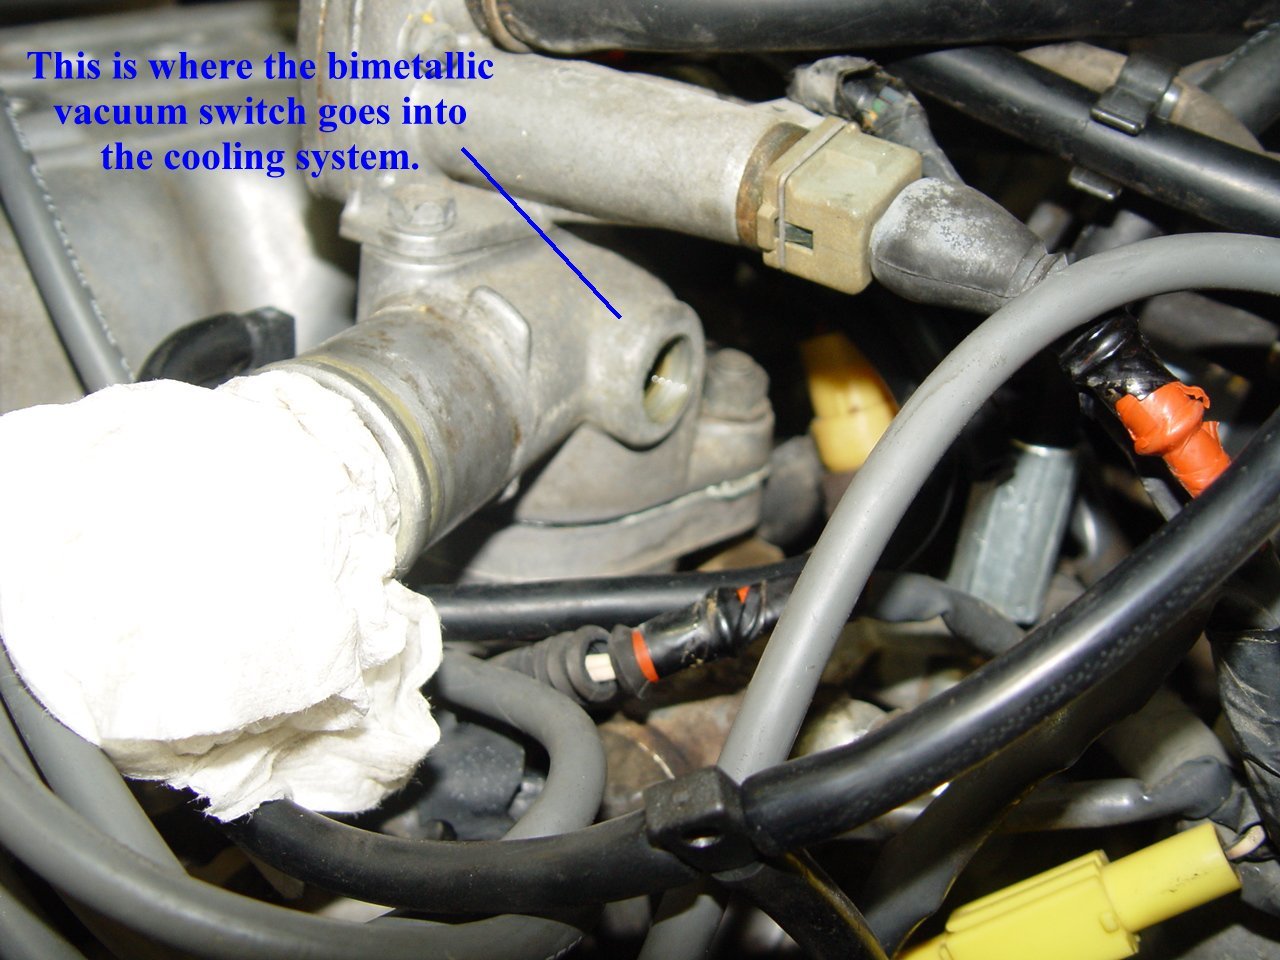
Of course, the normal tune-up items (plugs, distributor cap and rotor, plug wires and air filter) were replaced. While removing the old vacuum lines, one of the nipples on the Bimetallic Vacuum Switch came off with the line. Further investigation revealed that it had been jury-rigged by a prior shop (see photos). With all that done, we filled all the fluids, installed a new battery and were treated to a relatively easy first start. All seemed fine - it ran smooth and idled well with very little tweaking. But, then it started acting up on us. Some frustrating diagnostic efforts eventually revealed that the electric fuel pump was functioning intermittently. After installing a new pump, all was fine.
|
||||||
 |
 |
 |
 |
 |
||
 |
 |
 |
 |
 |
||
 |
 |
 |
 |
 |
||
| Click on an image for a larger view | ||||||
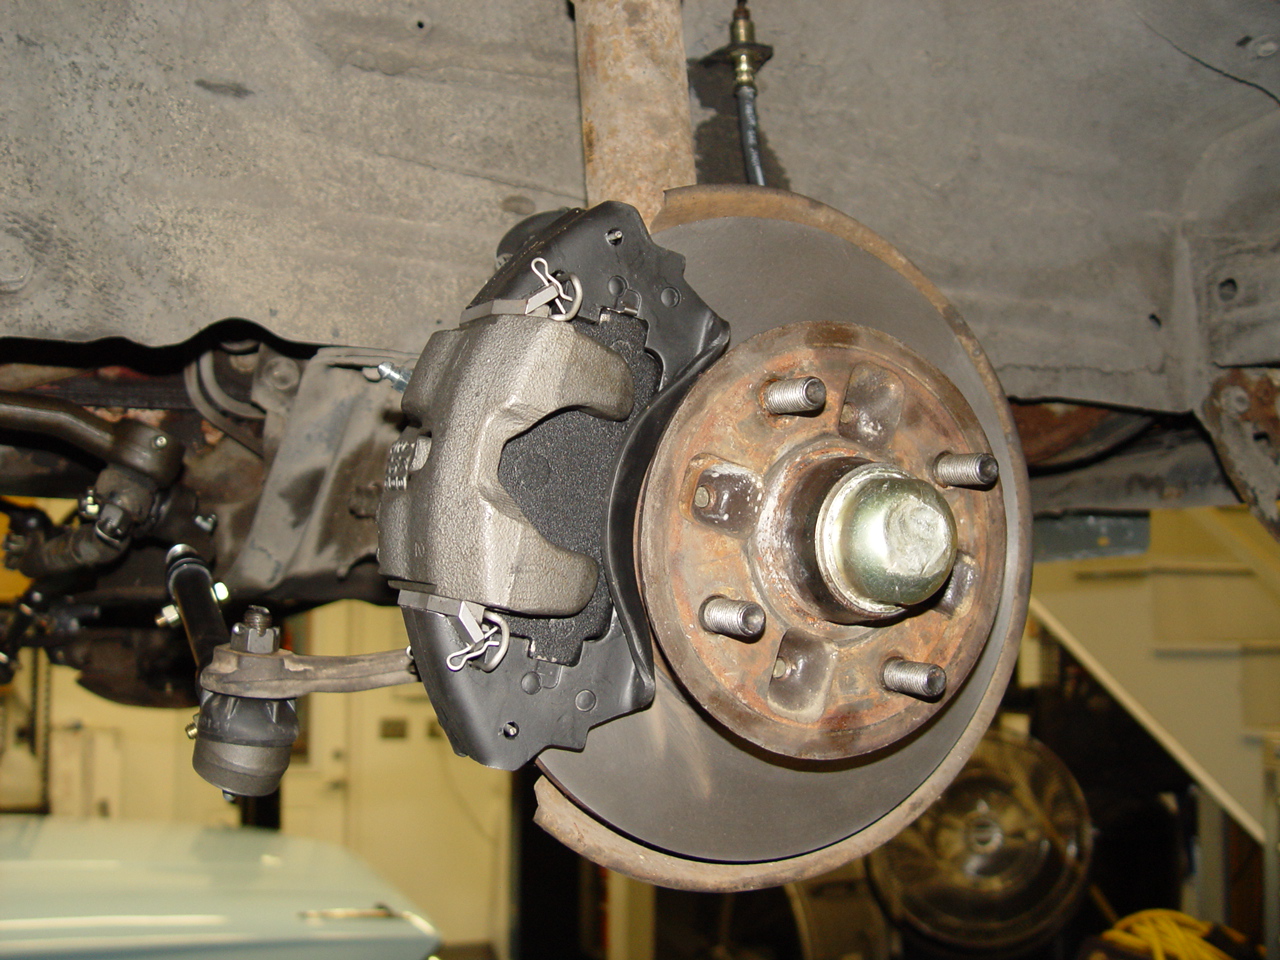
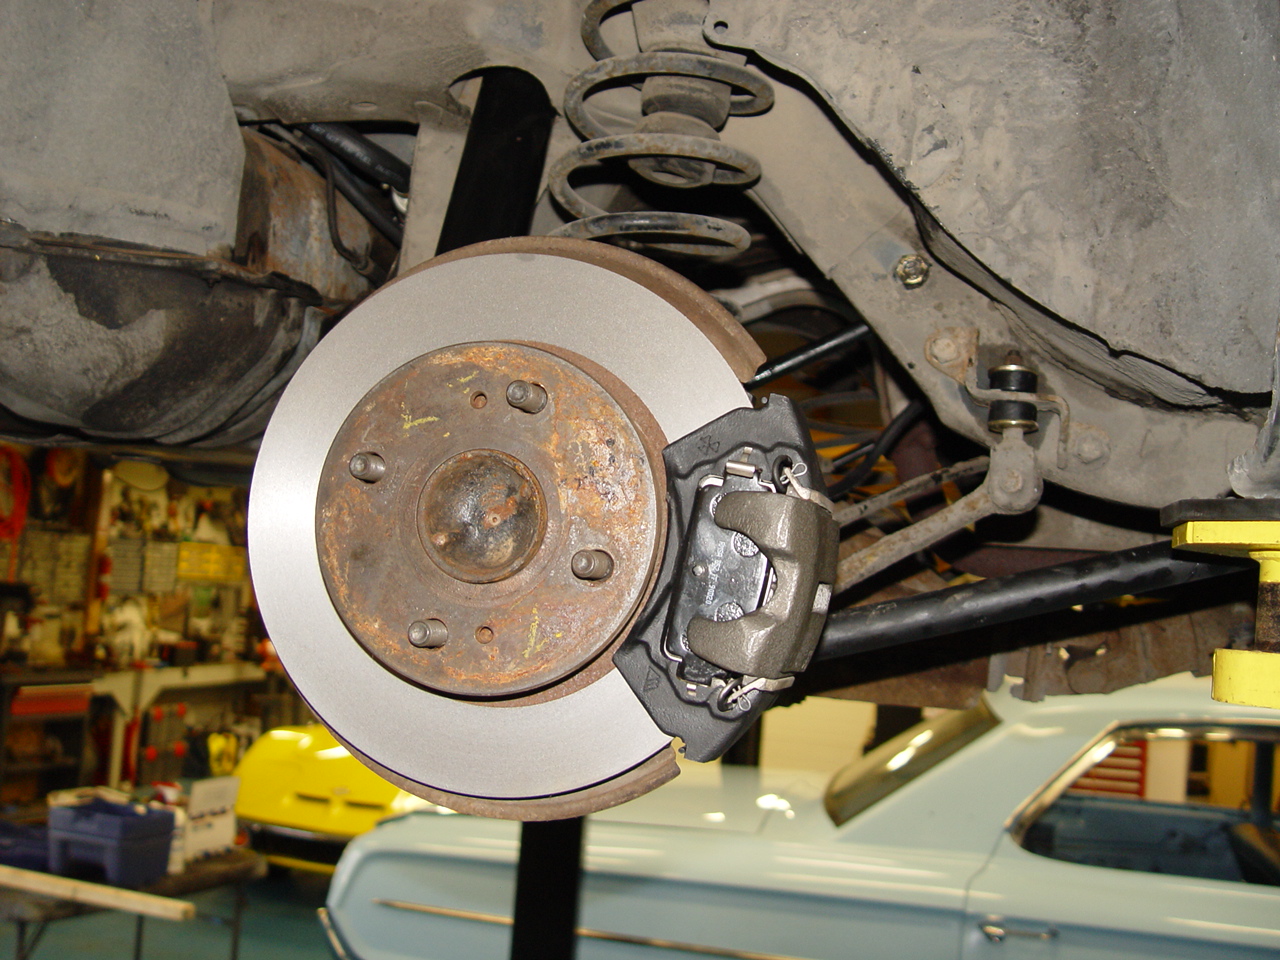
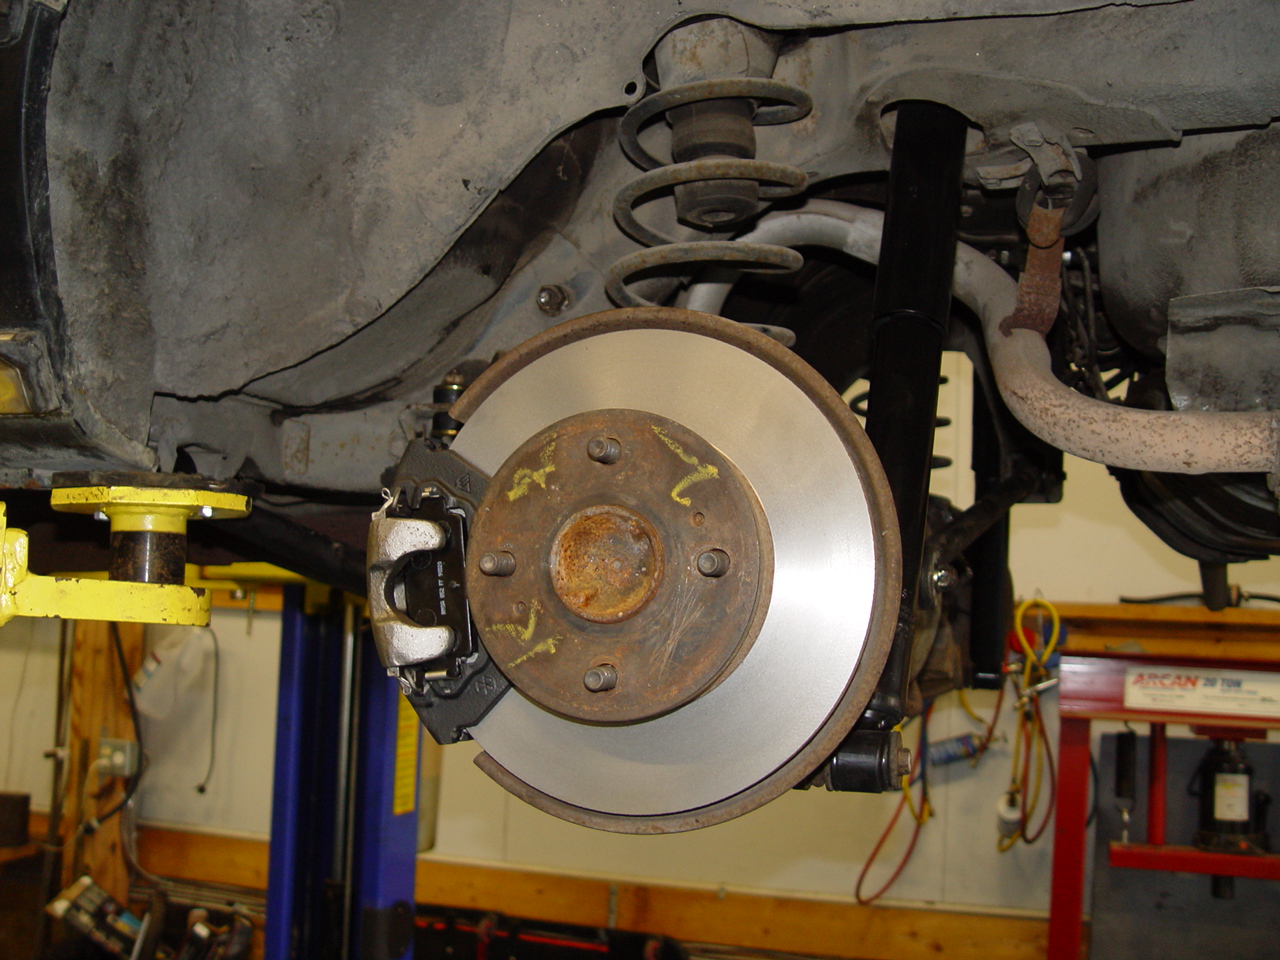
UNDERCARRIAGE | ||||||
|
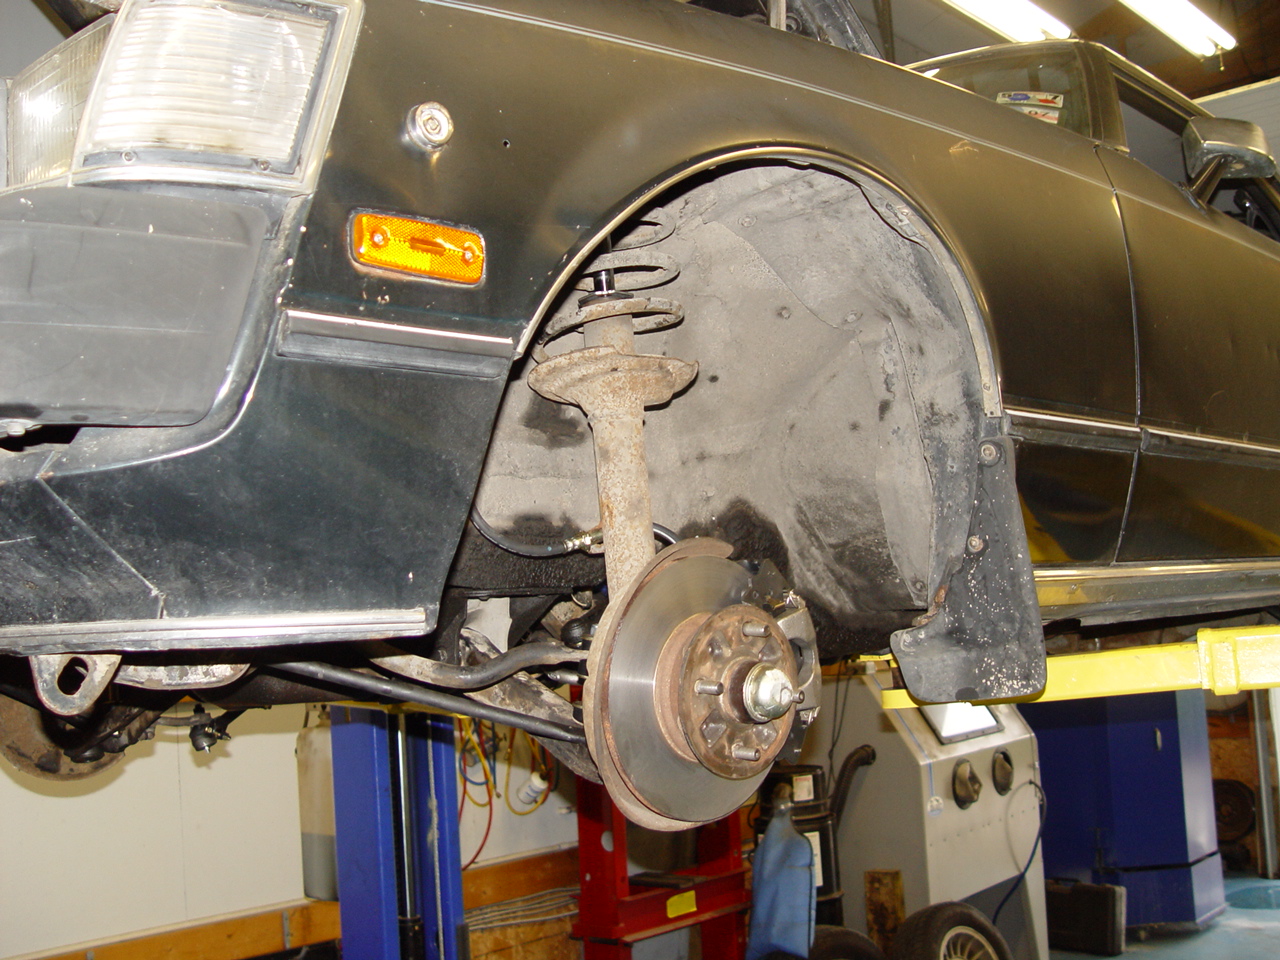
Underneath the Supra, we were pleased to find a solid chassis with only minor surface rust.
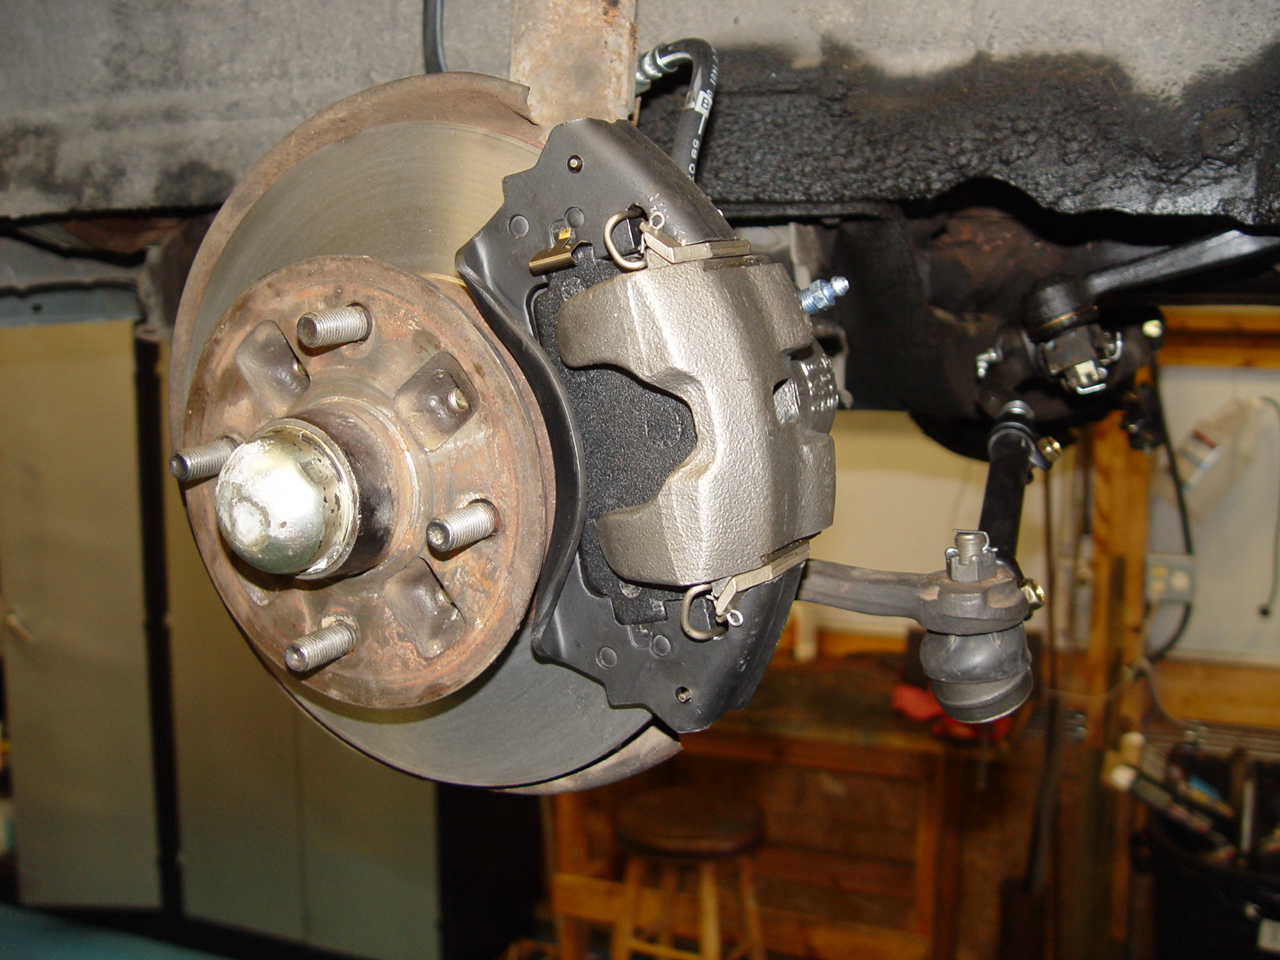
Since Jim is looking for long-term reliability out of the car, we went ahead and did a full rebuild of the front and rear suspensions using new urethane bushings throughout along with new ball joints and rod ends. Some of the components were difficult to come by and we wound up having to source some of the bushings from generic stock based on size, but - in the end - we were able to replace everything with new components except for the pitman arm. Fortunately, that was one item that seems to have faired well over the years and can continue in service.
We also did a complete brake system rebuild. Despite having to source the calipers from three different sources and having to return several flexible hoses before the correct ones arrived, we were finally able to replace all but the hard brake lines with new or remanufactured units. Believe it or not, even the pads were difficult to find.
Finally, it was ready for the road. A couple of test drives proved that the motor is indeed in very good health and that our suspension and brake work gave us a very nice ride.
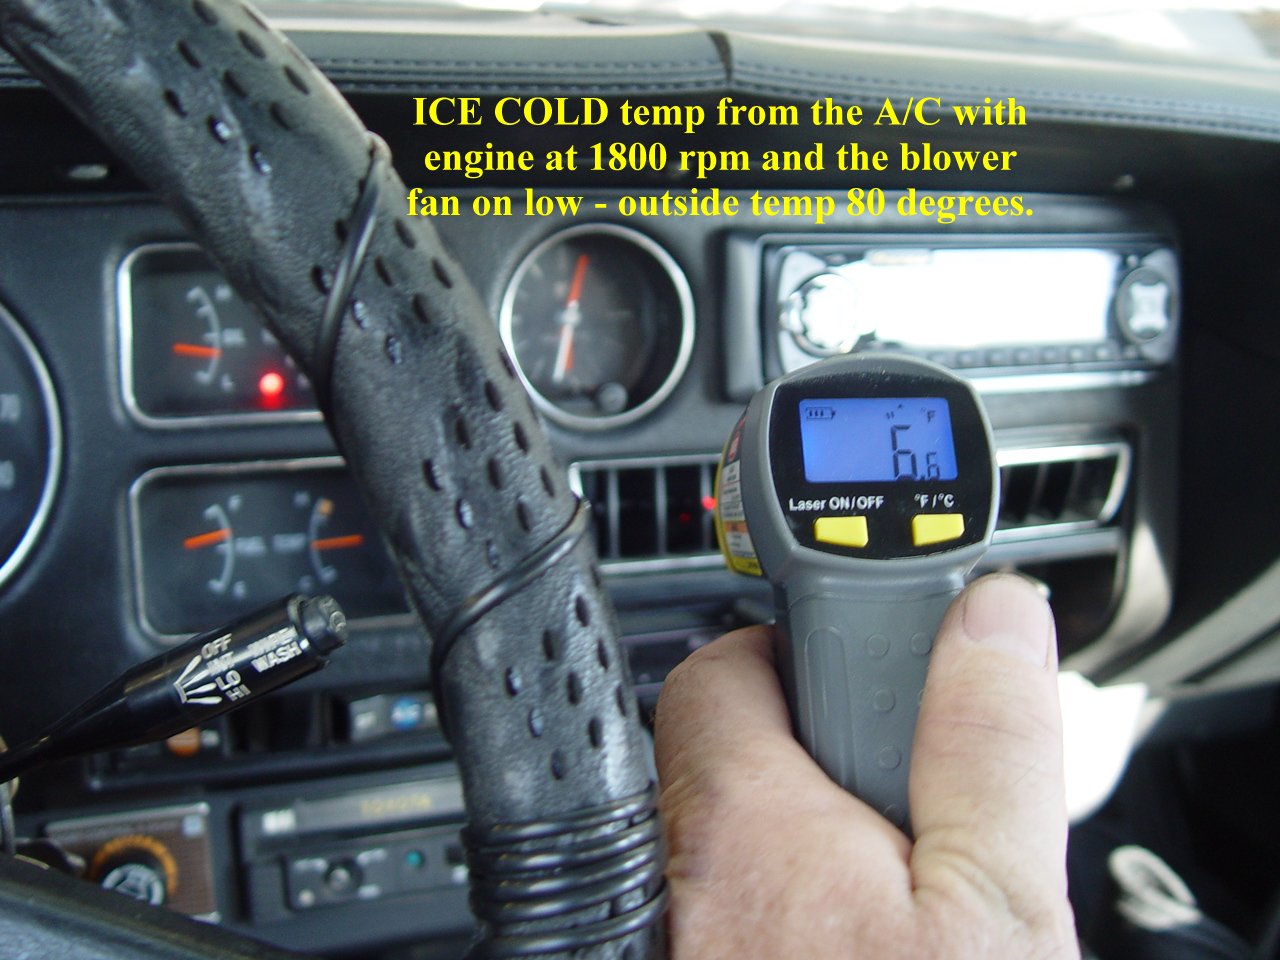
We were even able to charge up the A/C system with R-134A (it had been converted from R-12 at some time in the past). To our amazement, it cooled quite well. Sitting in the shop on an 80-degree day with just a fan in front of the radiator, we saw below-freezing temps out of the vents when we left the blower motor on low. Brrrr! Unfortunately, our joy was somewhat short-lived. We discovered we got a very nasty noise - intermittently - when in reverse. Further investigation revealed that - somehow - the starter is getting triggered when the transmission is in reverse. The wiring underneath around the transmission is a mess of splices - which we believe are due to the old alarm installation. The neutral-safety switch is also suspect (starter doesn't always engage in park, but usually will in neutral). While investigating this, we also removed the key switch for the alarm from the front fender. Suddenly, we had intermitten power to the car for a few times when we went to start the engine, then we lost electrical power entirely. So, it looks like we're going to have to go through the electrical system and remove all remnants of the old alarm system and then start diagnosing this loss of electrical power. But, we'll deal with that after we finish our body and paint work.
|
||||||
 |
 |
 |
 |
 |
||
| Click on an image for a larger view | ||||||
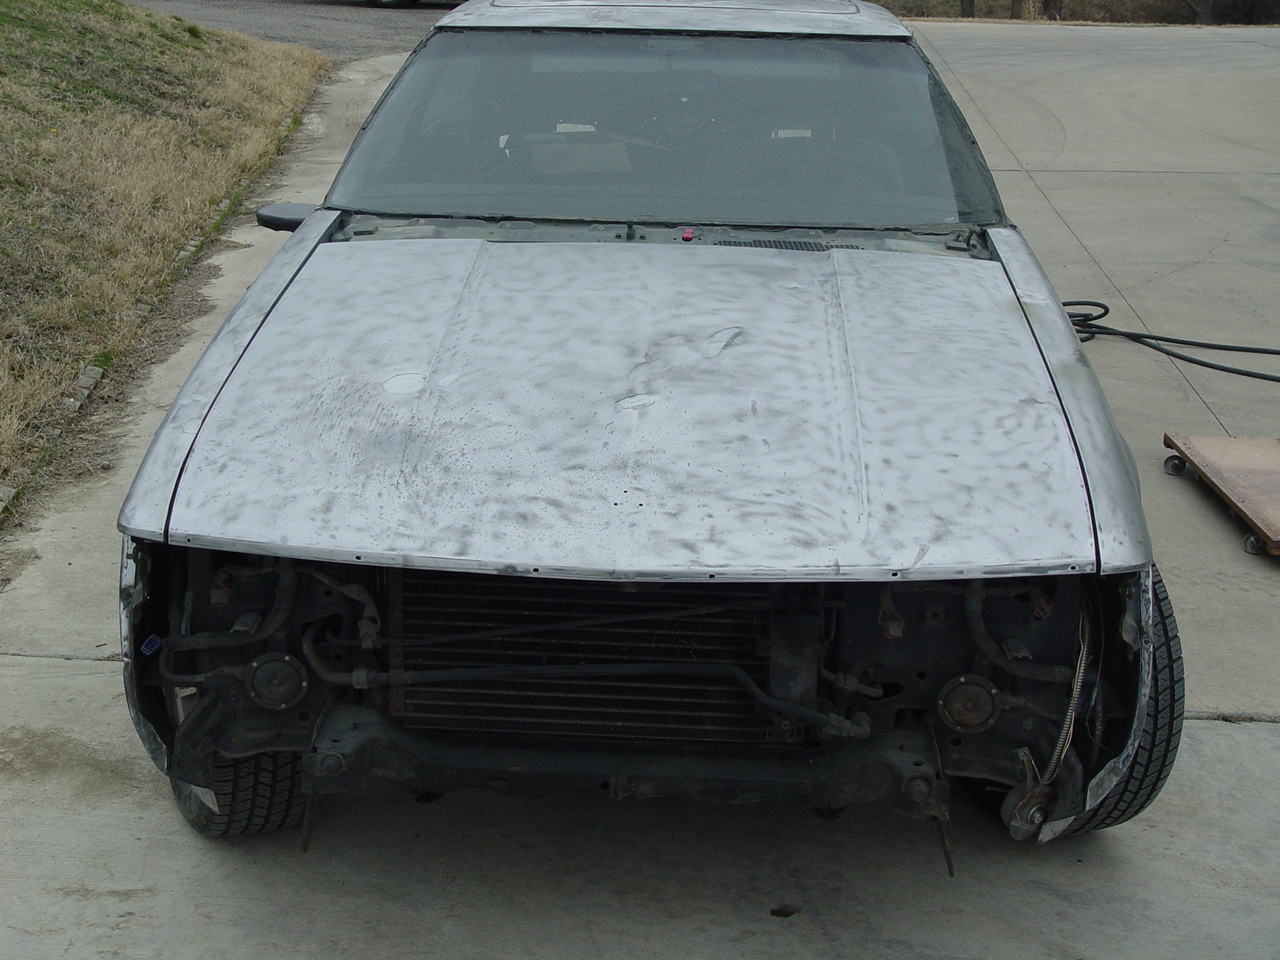
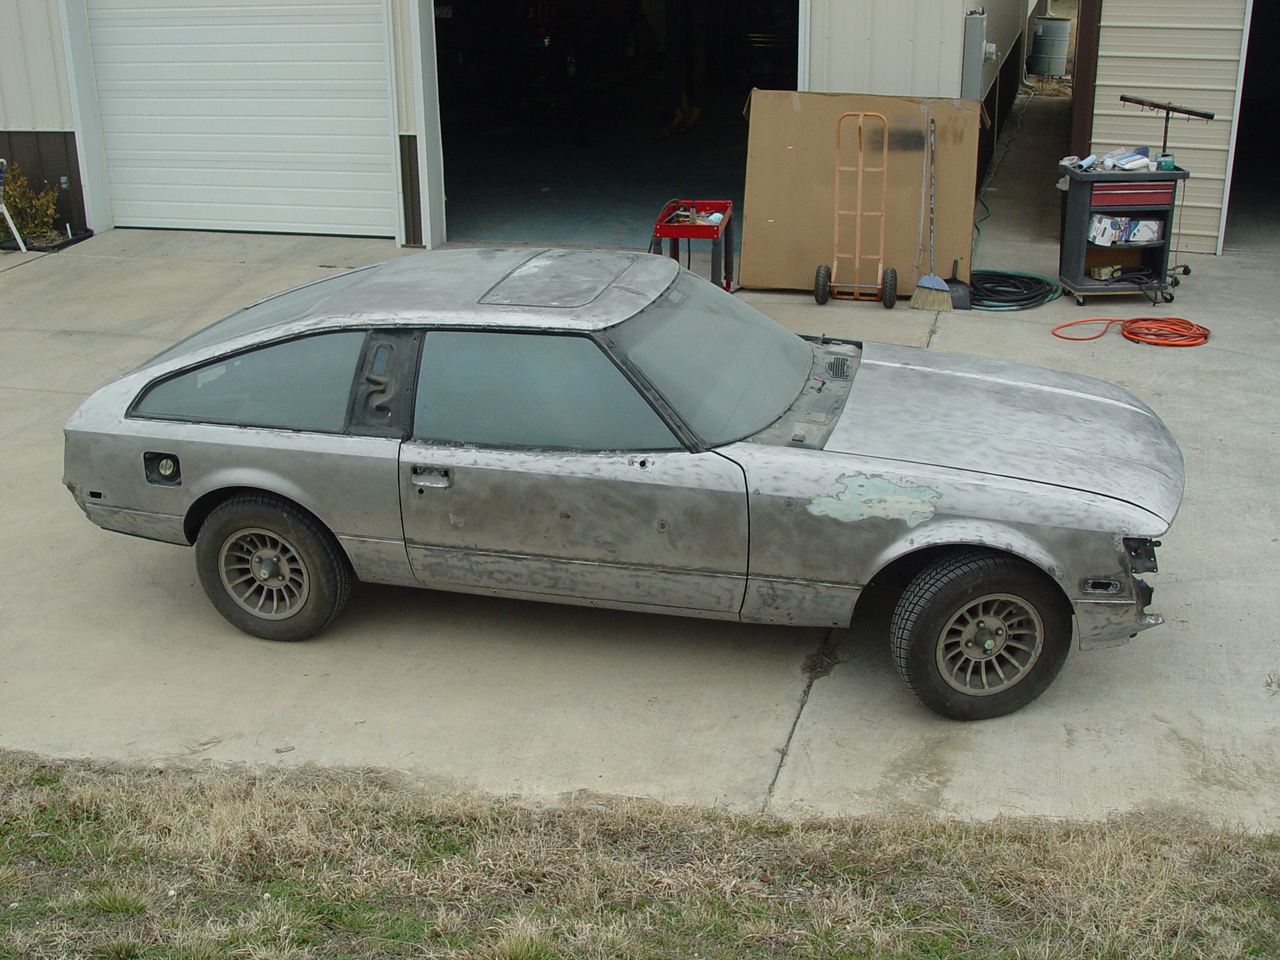
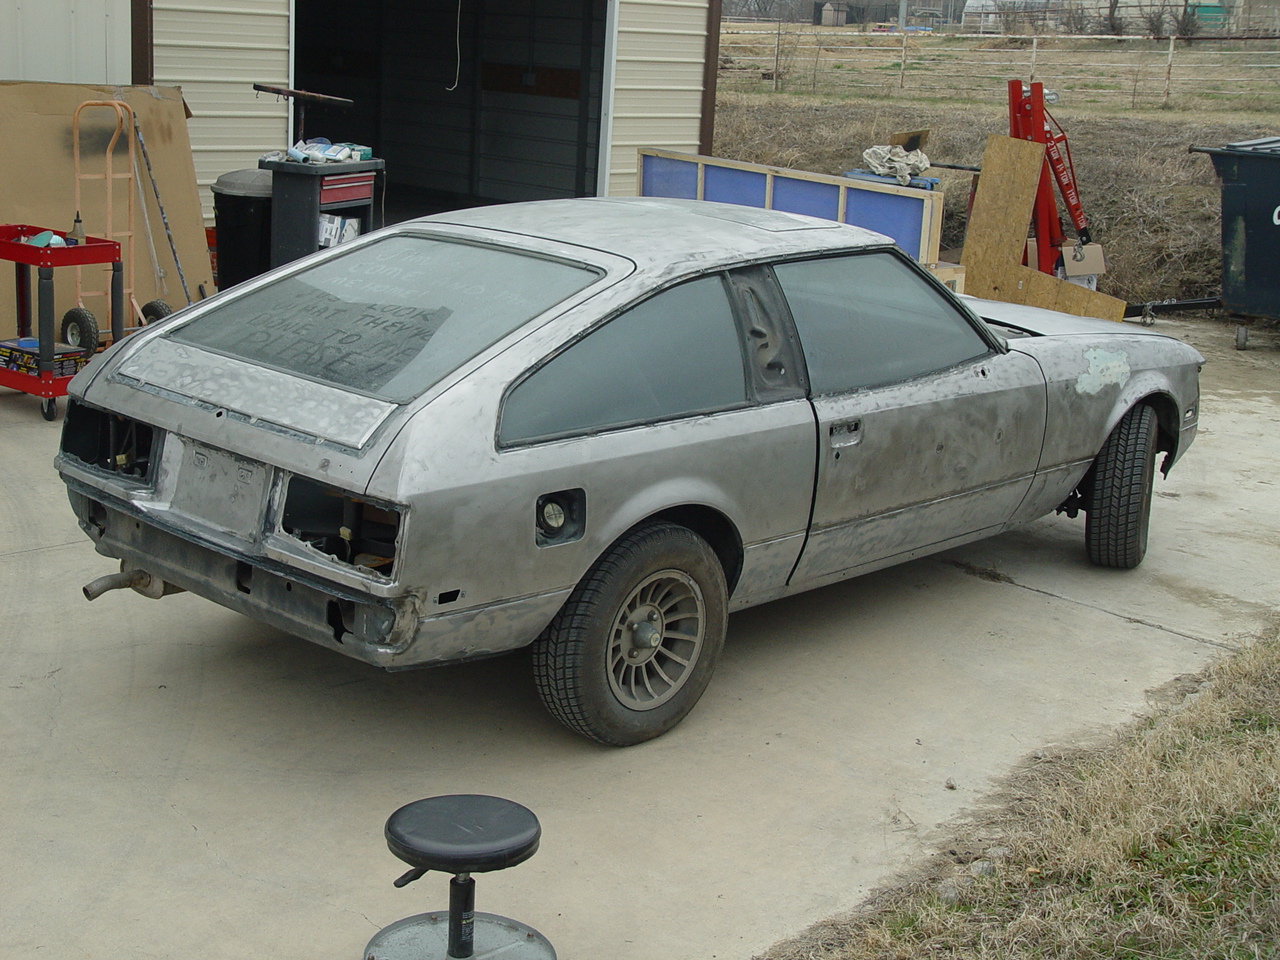
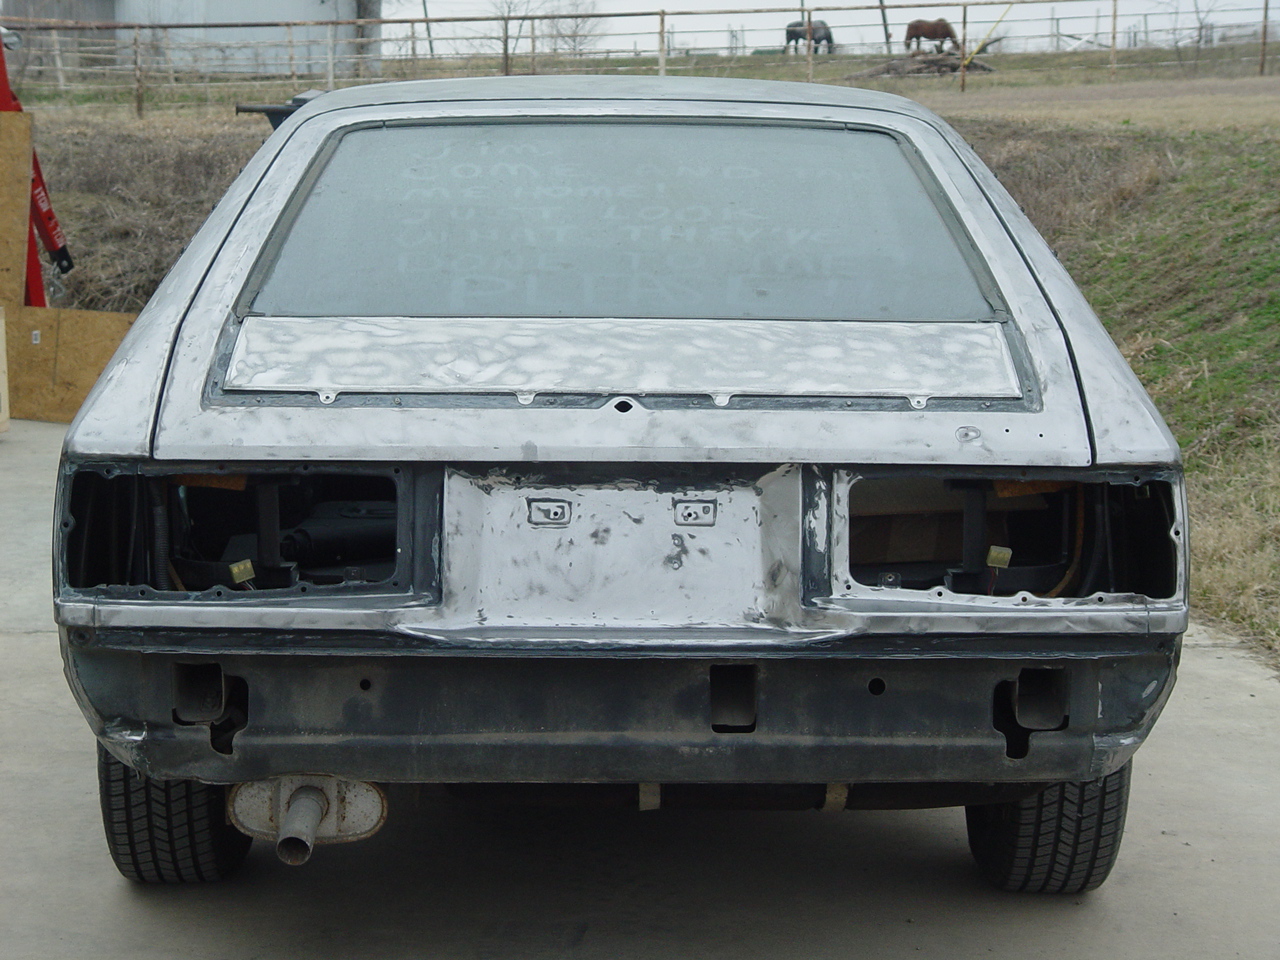
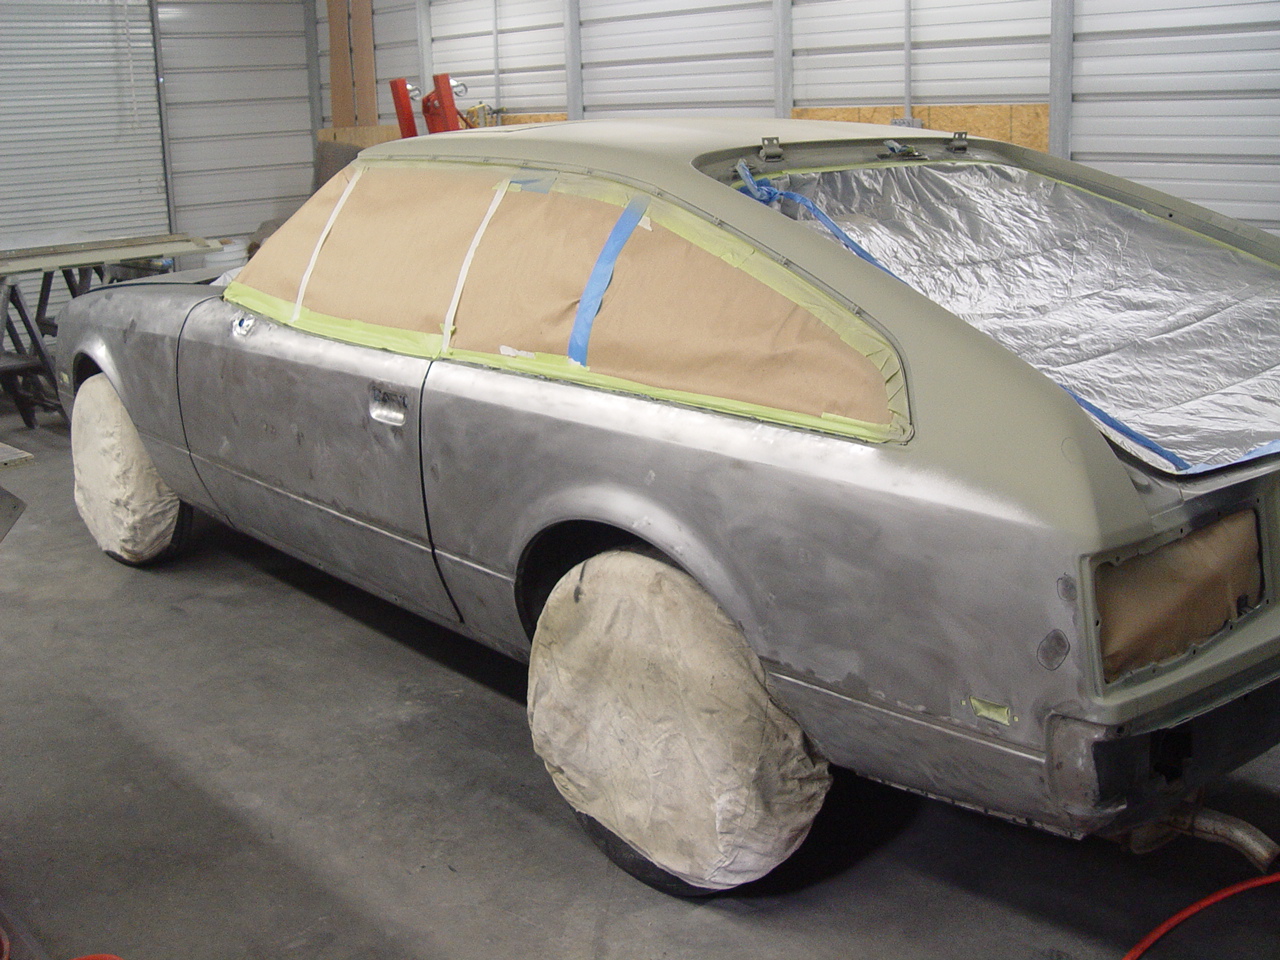
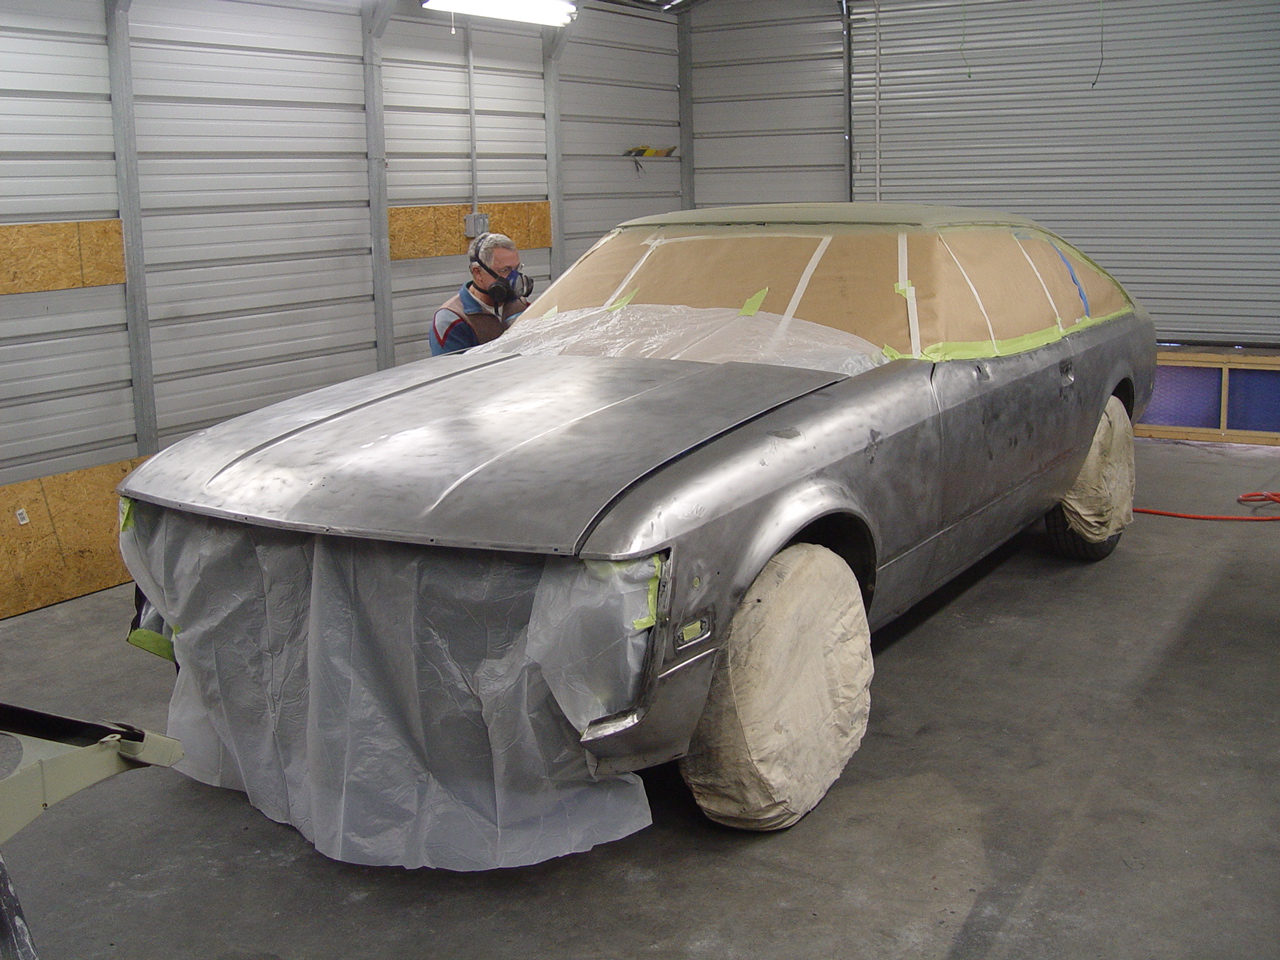
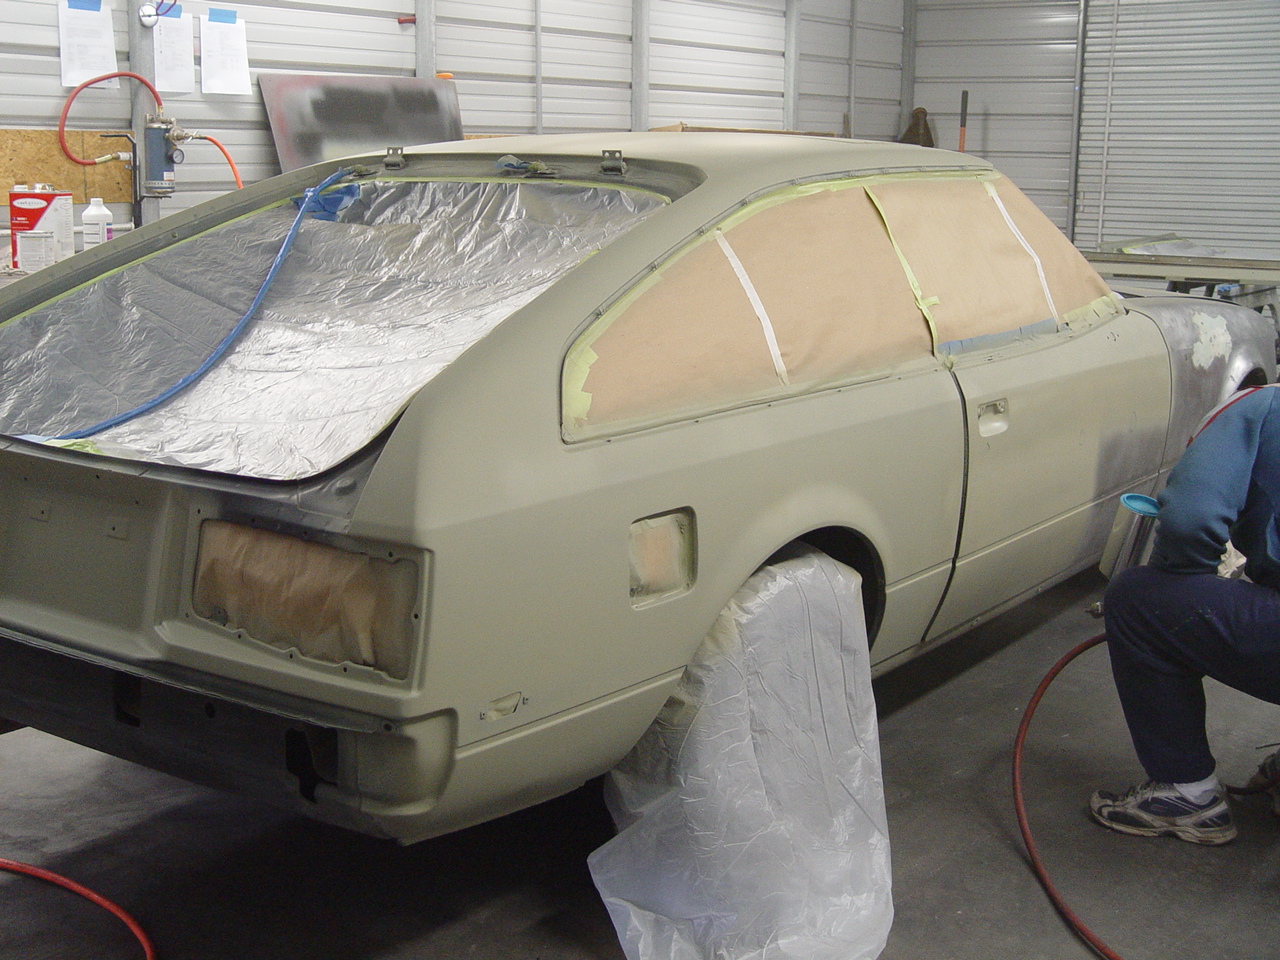
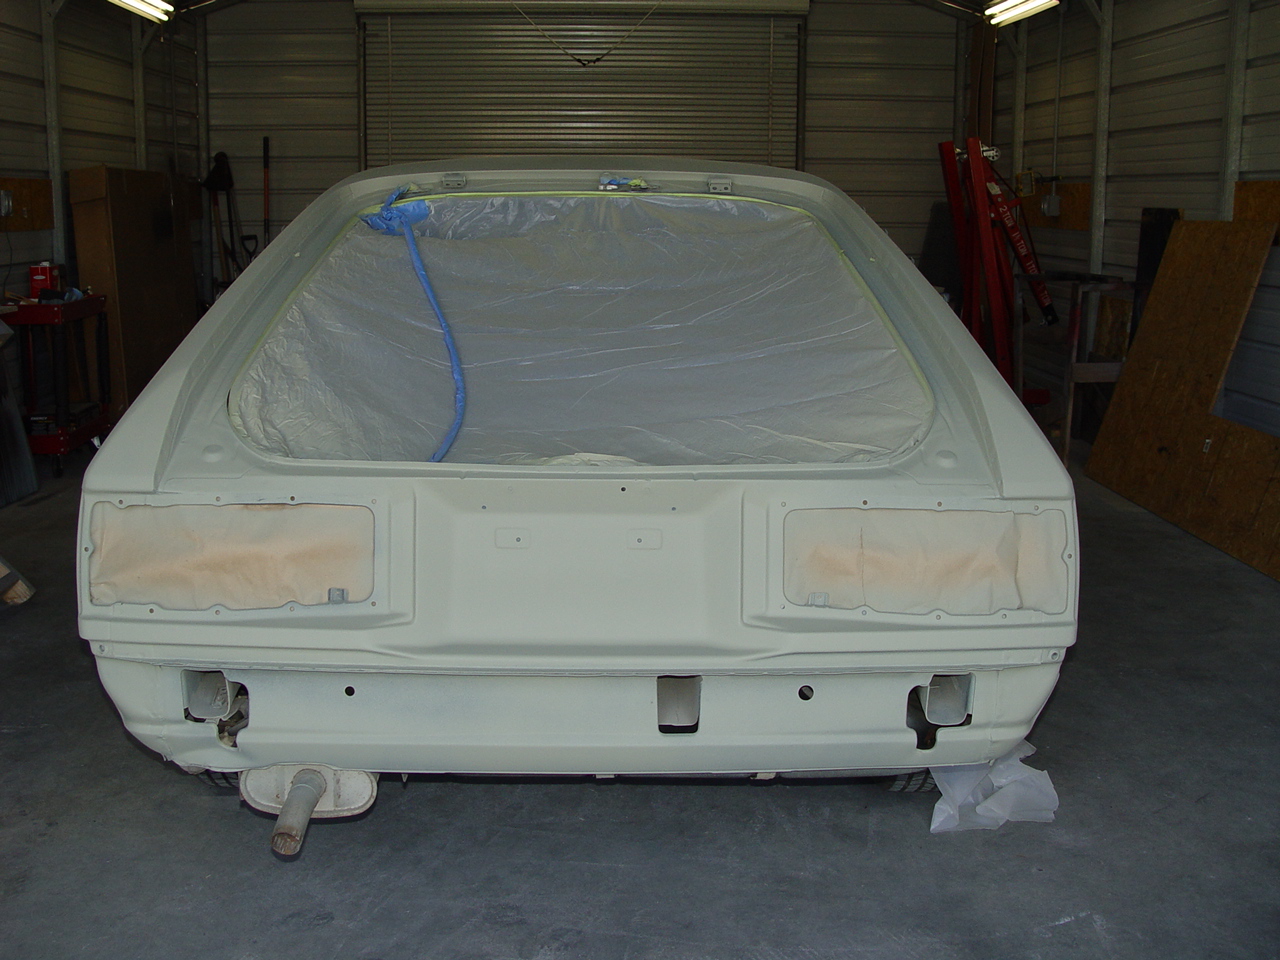
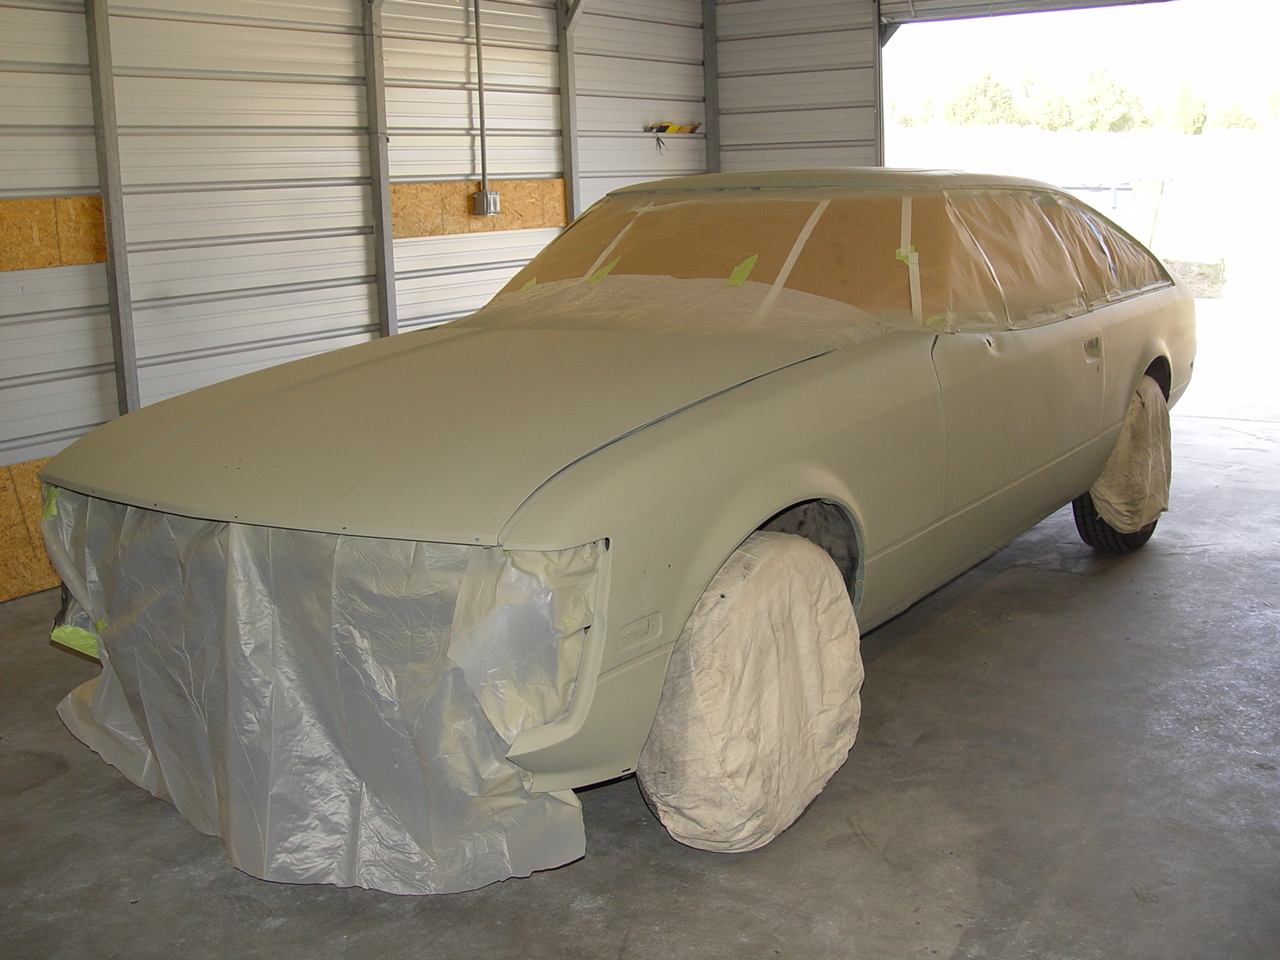
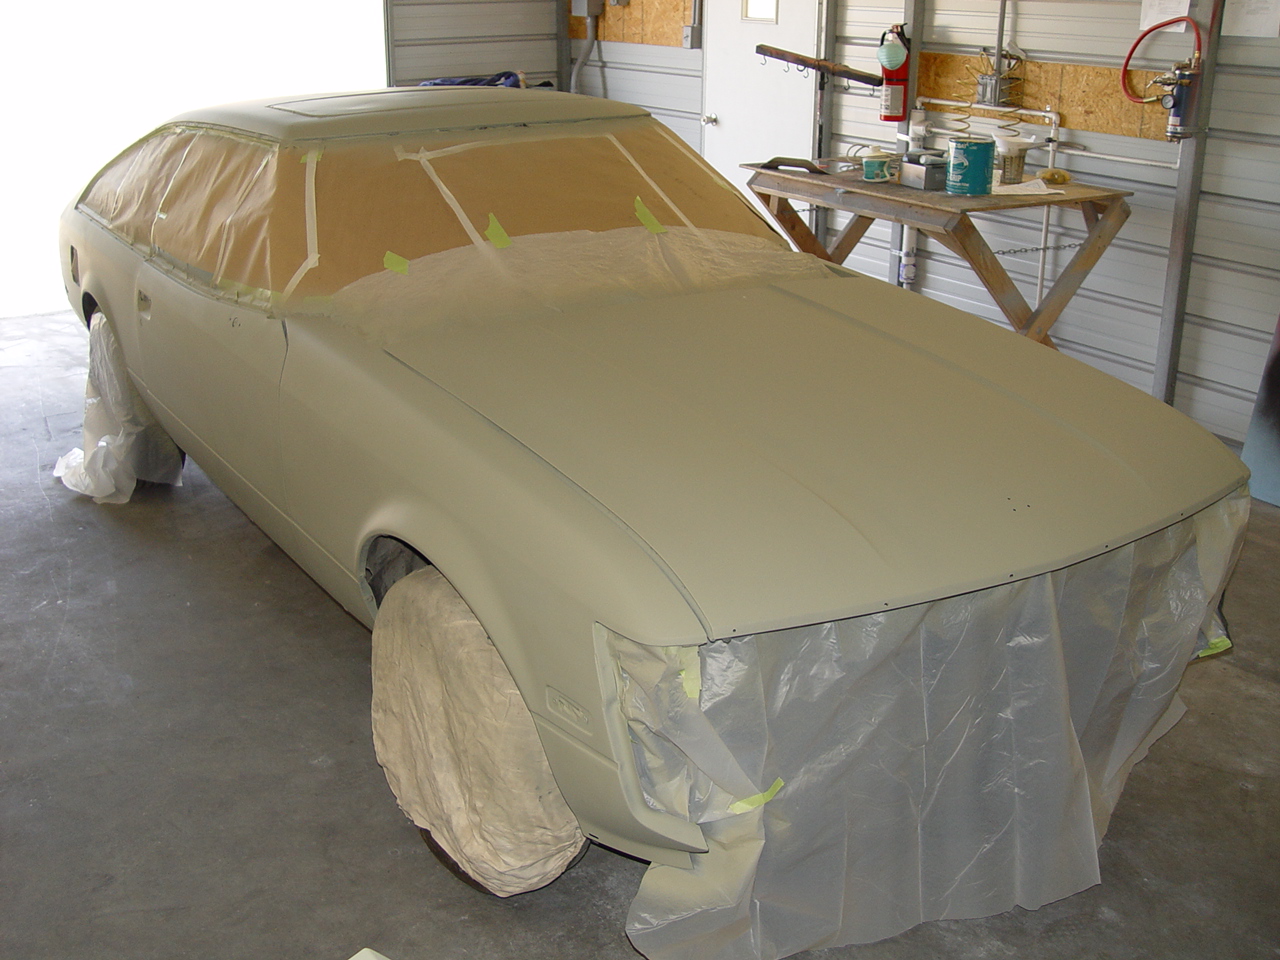
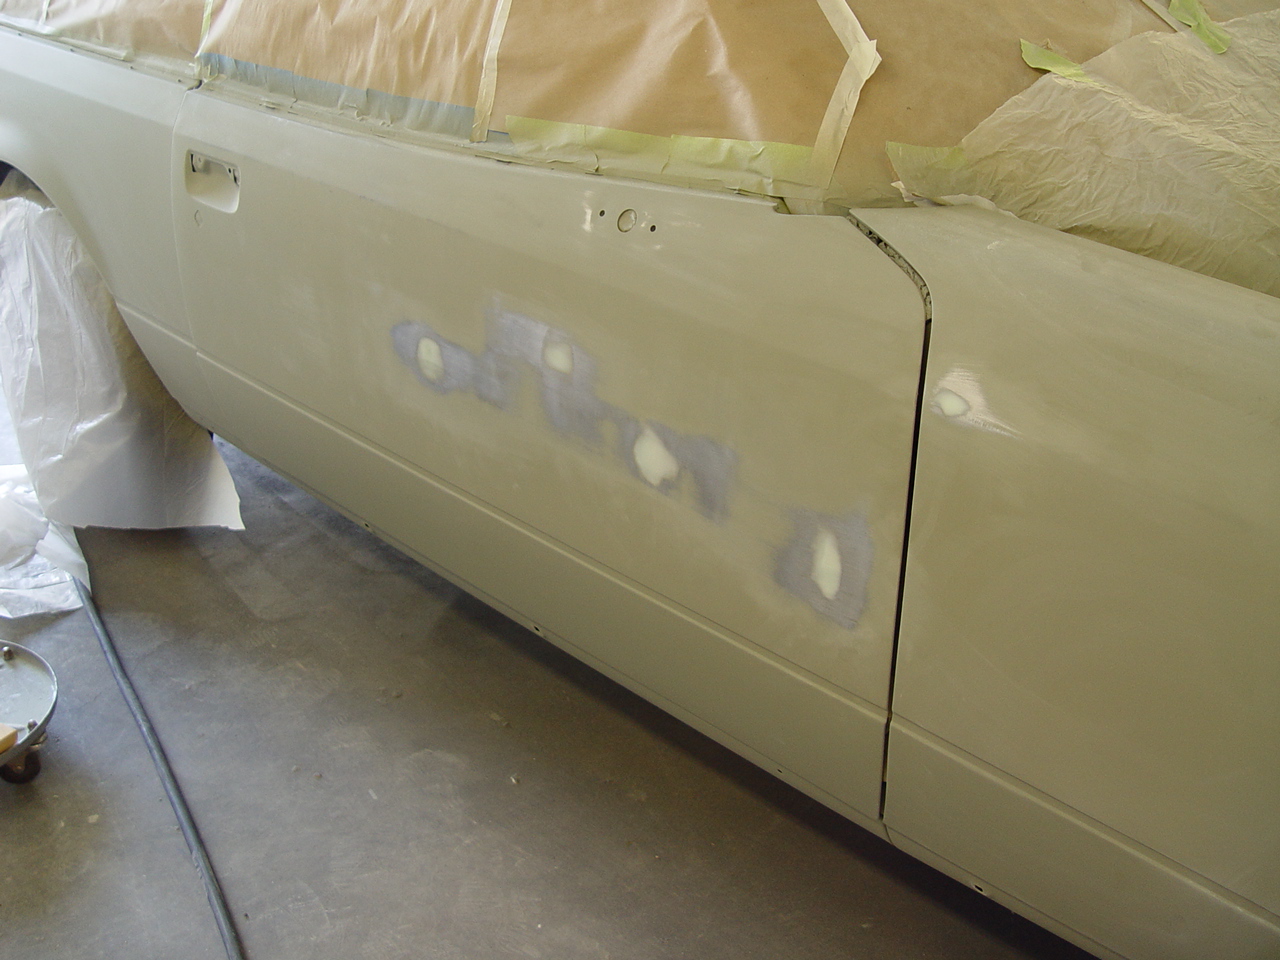
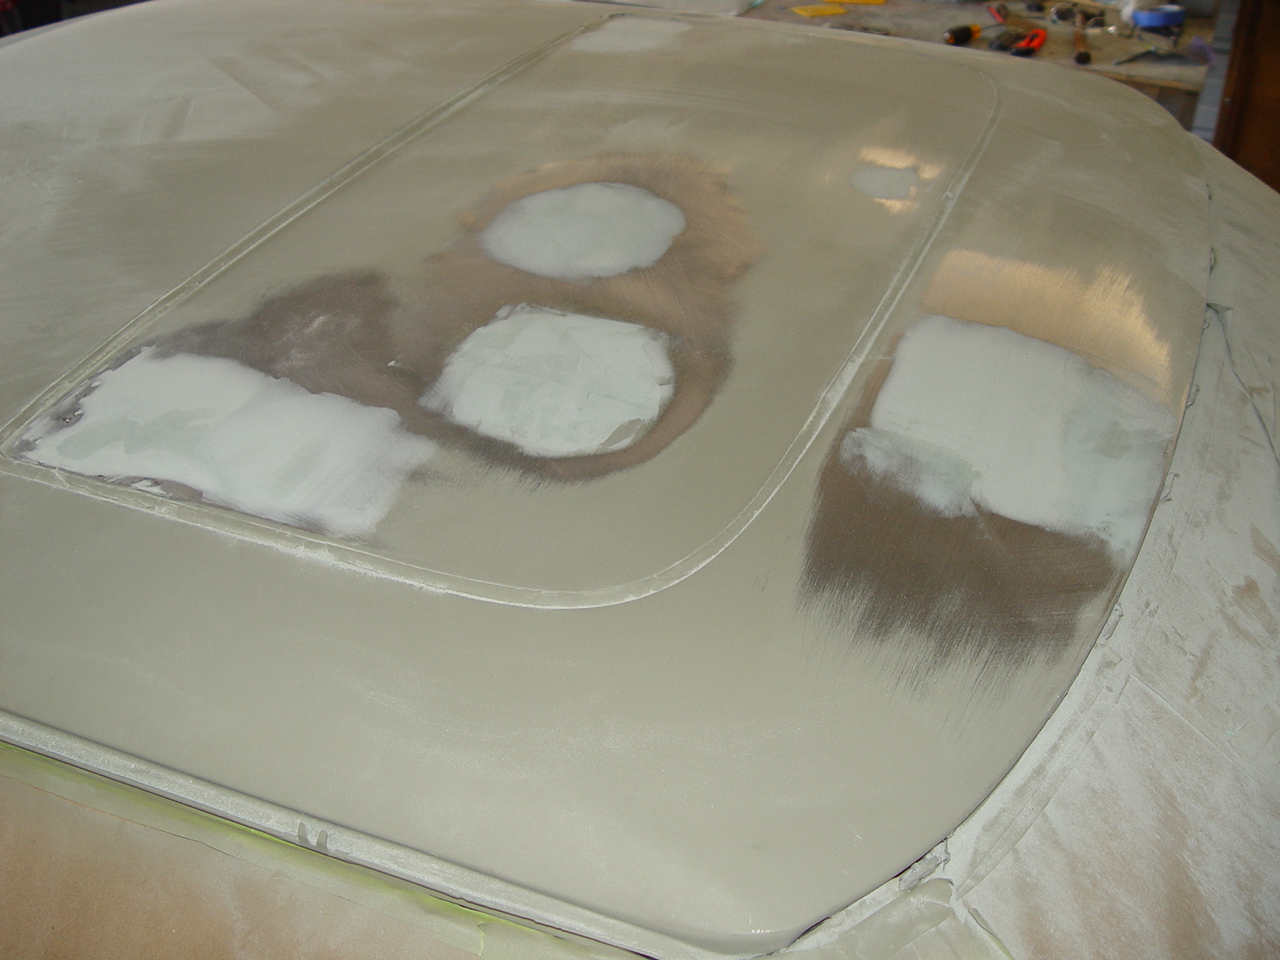
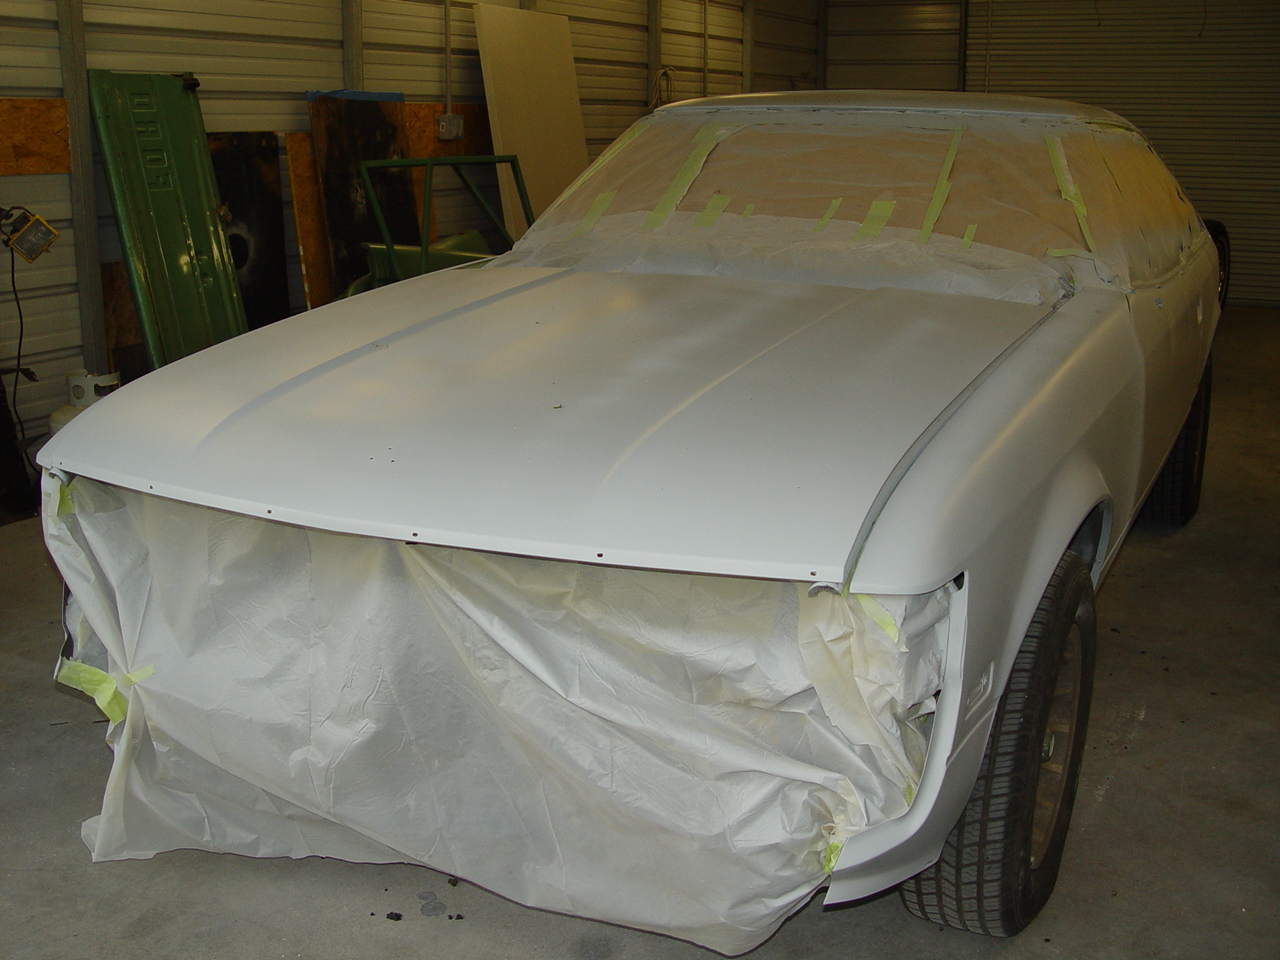
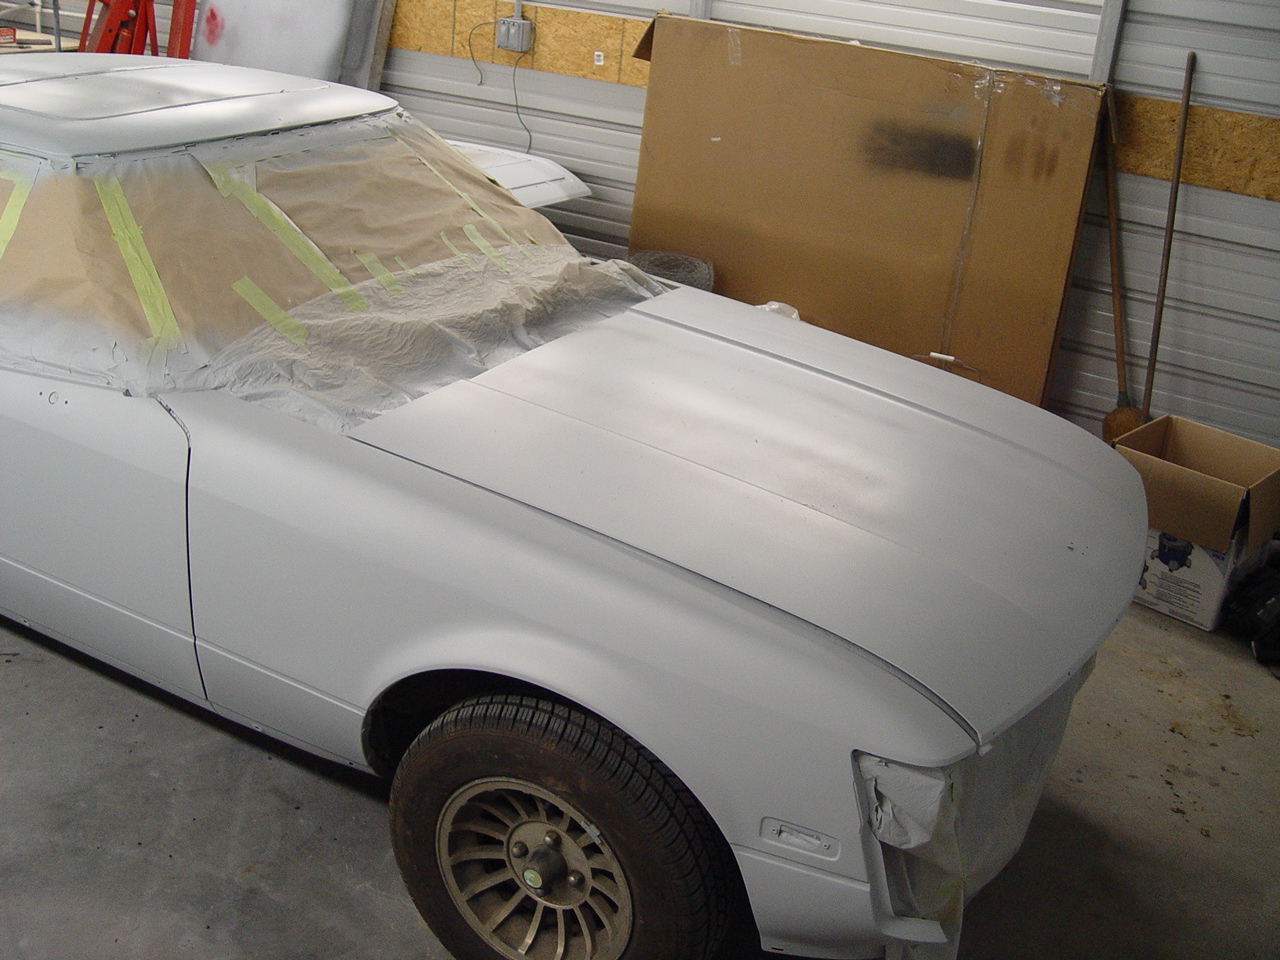
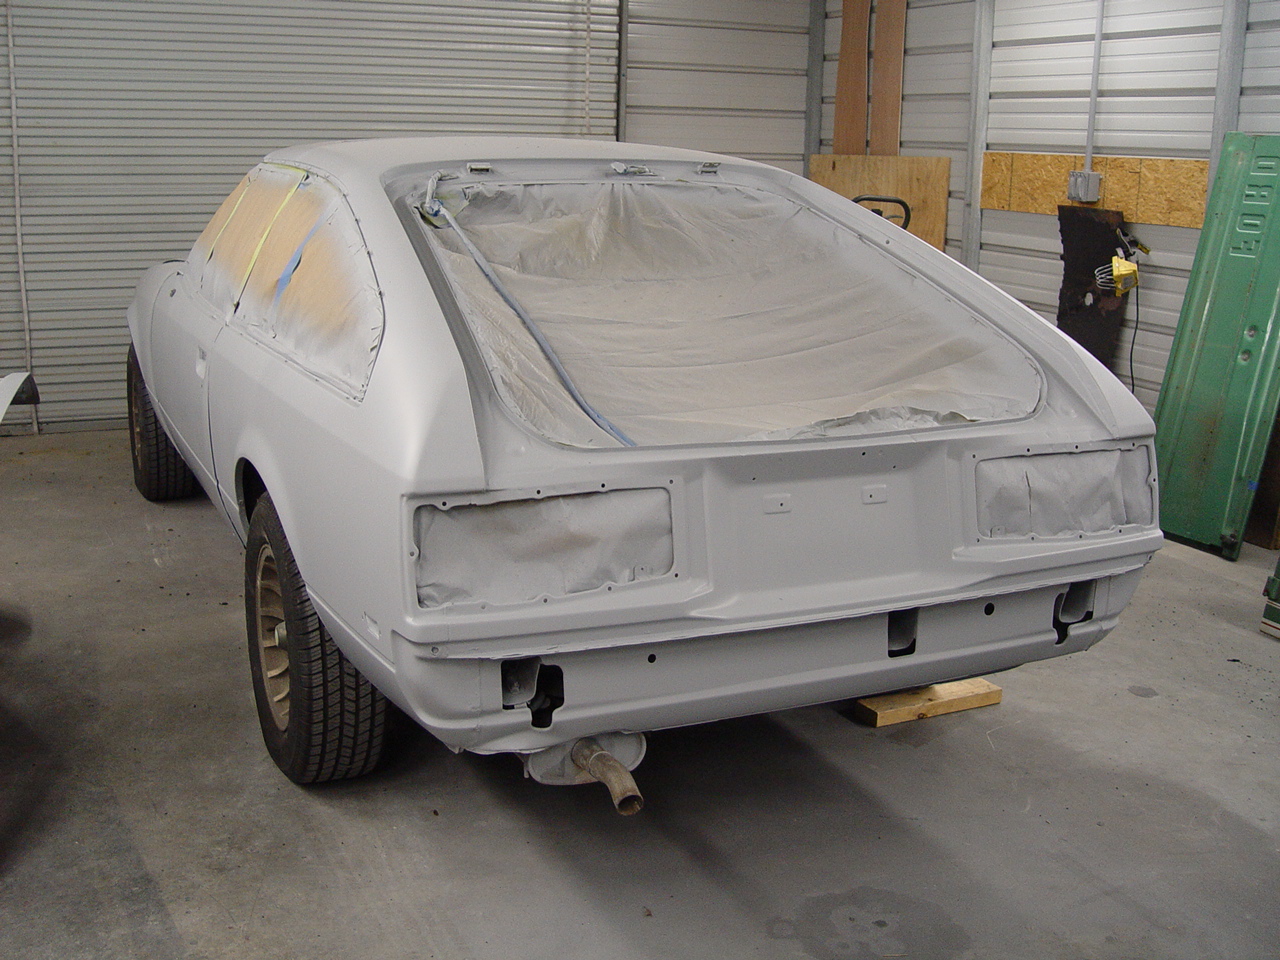
BODYWORK | ||||||
|
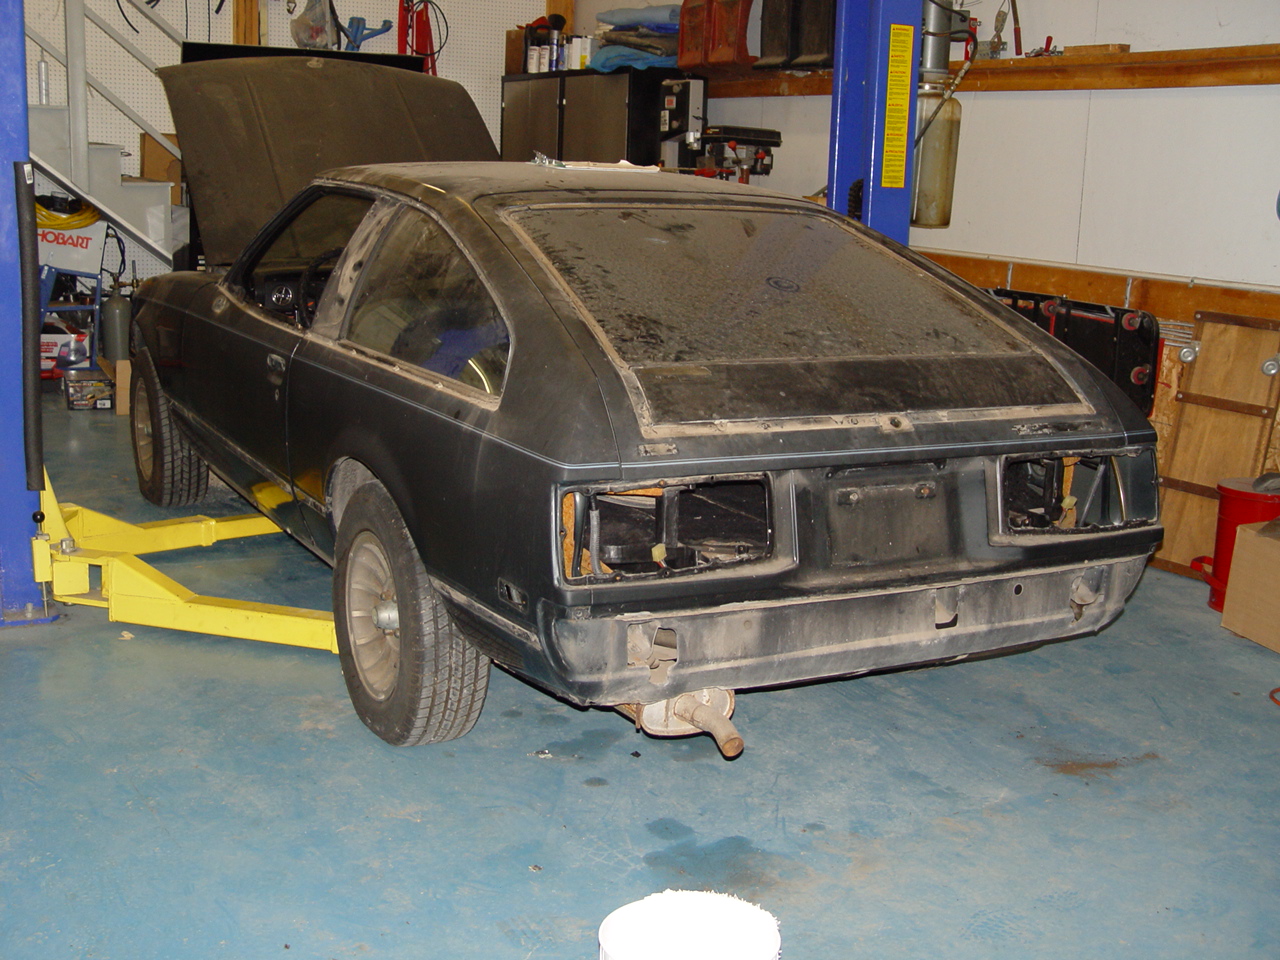
With a proven winner on our hands (despite the electrical woes that we'll address later), it came time to start getting the bodywork done. We had already found evidence of a prior repaint (confirmed by the owner), but we'd soon find out just what was hidden beneath.
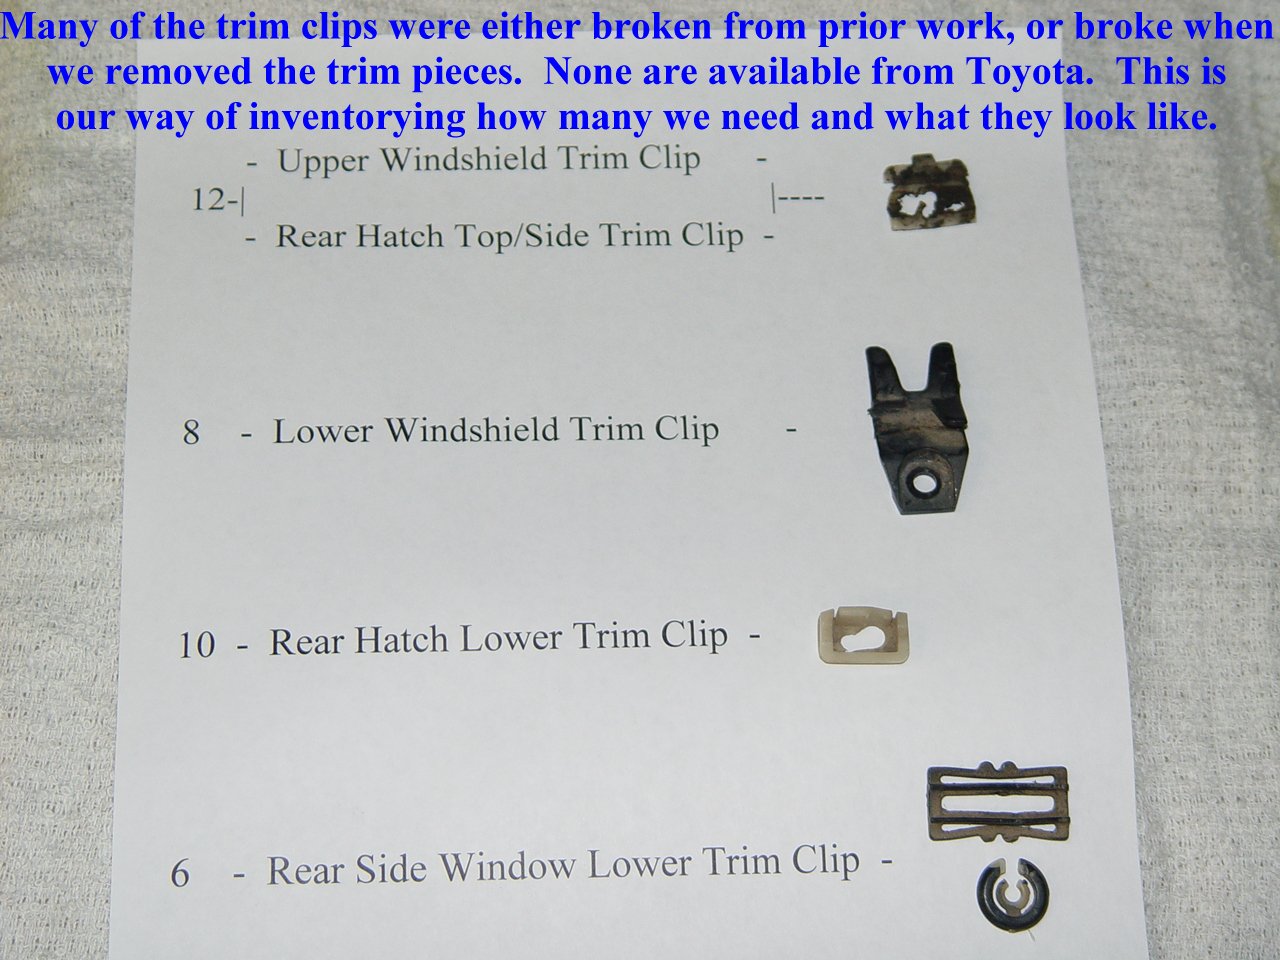
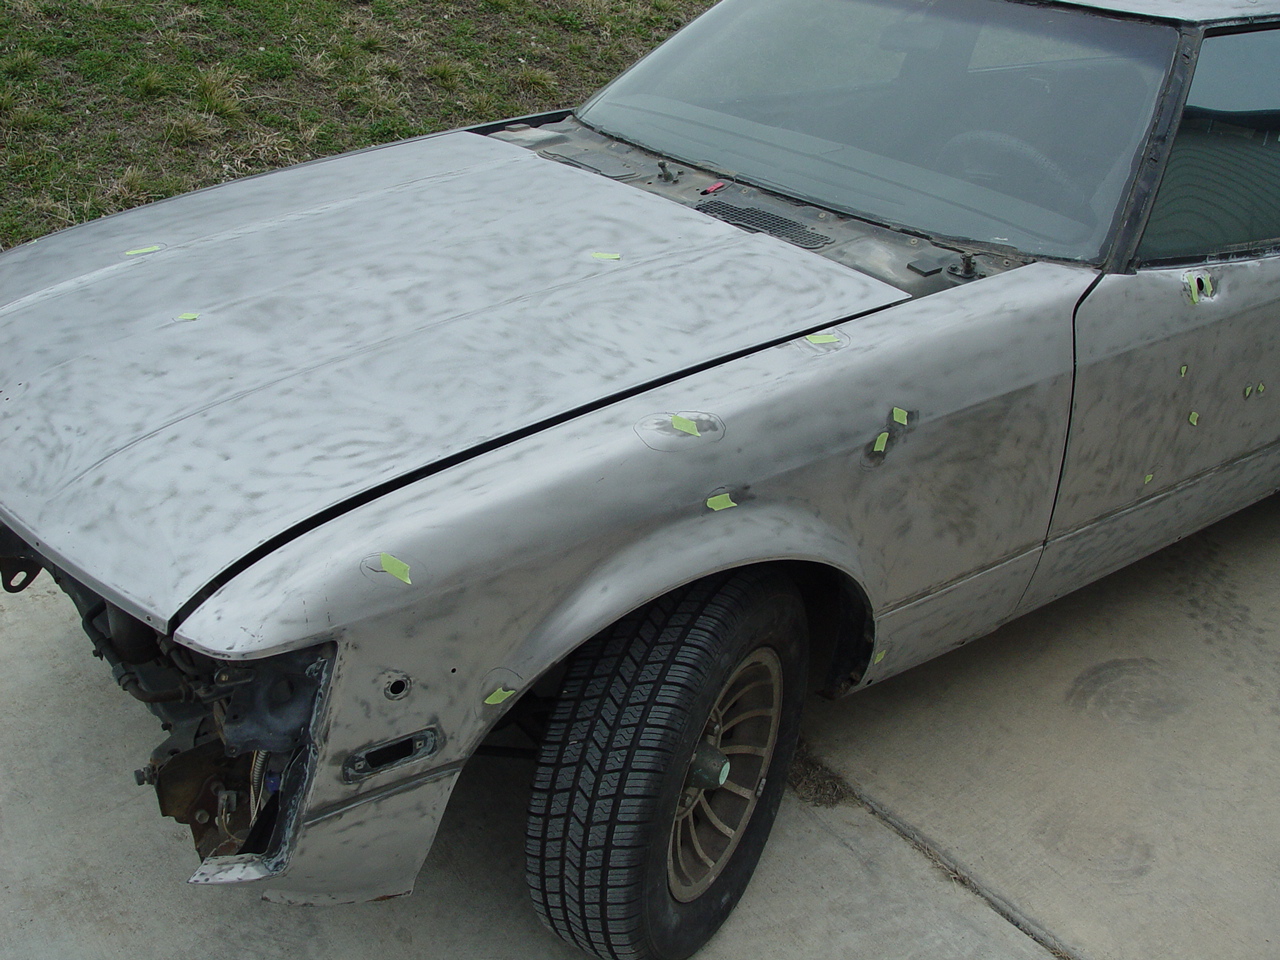
Unlike most of the older cars we deal with, there seemed to be an endless number of trim items to remove before we could get down to stripping the body. And (of course), several of the no-longer-available (at least via Toyota) retaining clips were either broken by the shop that did the previous paint job, or crumbled when we removed the trim. We carefully inventoried and photo-documented them so that we can hopefully locate replacements when it comes time to reassemble the car.
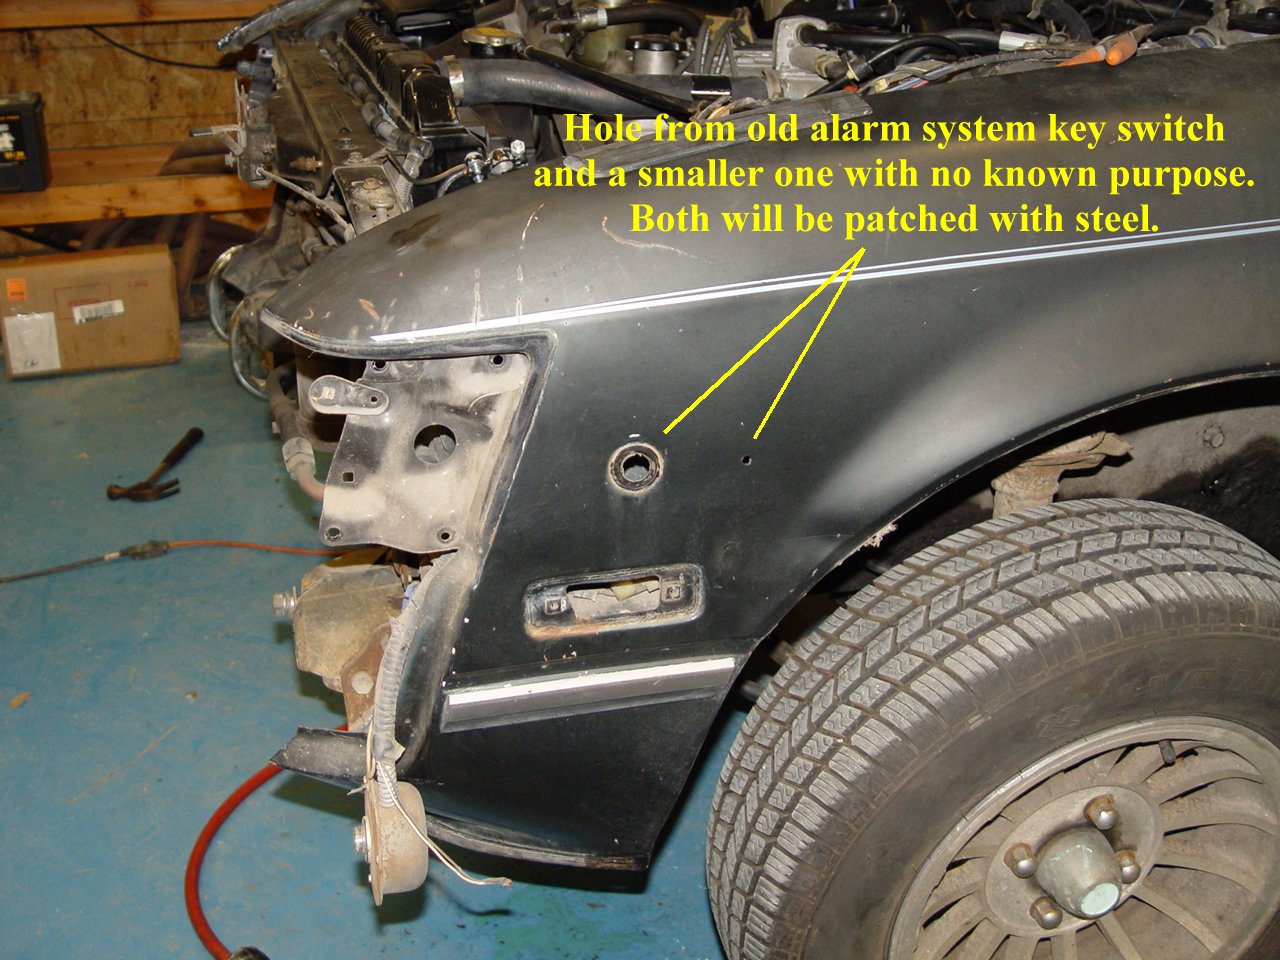
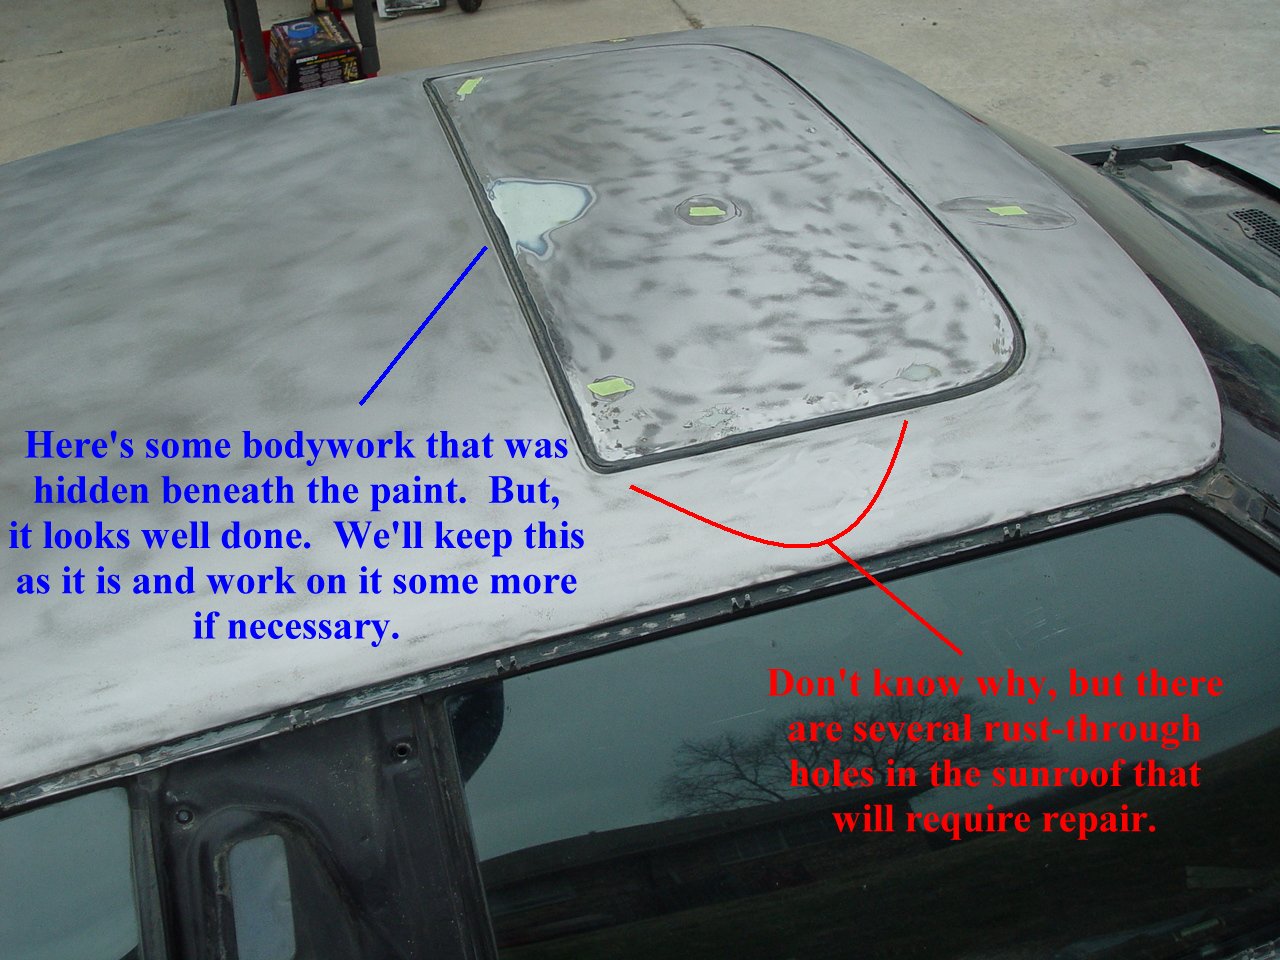
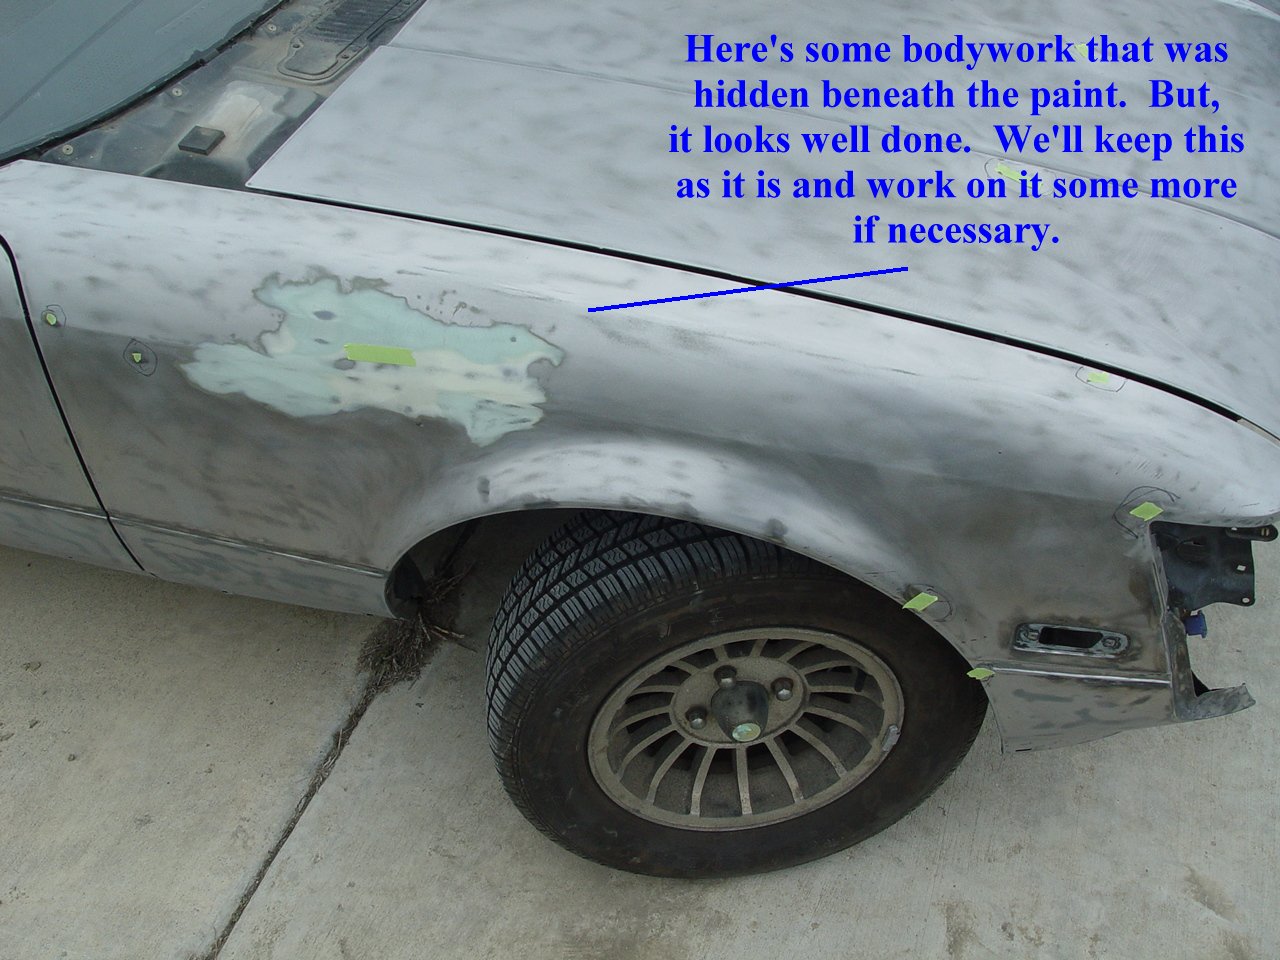
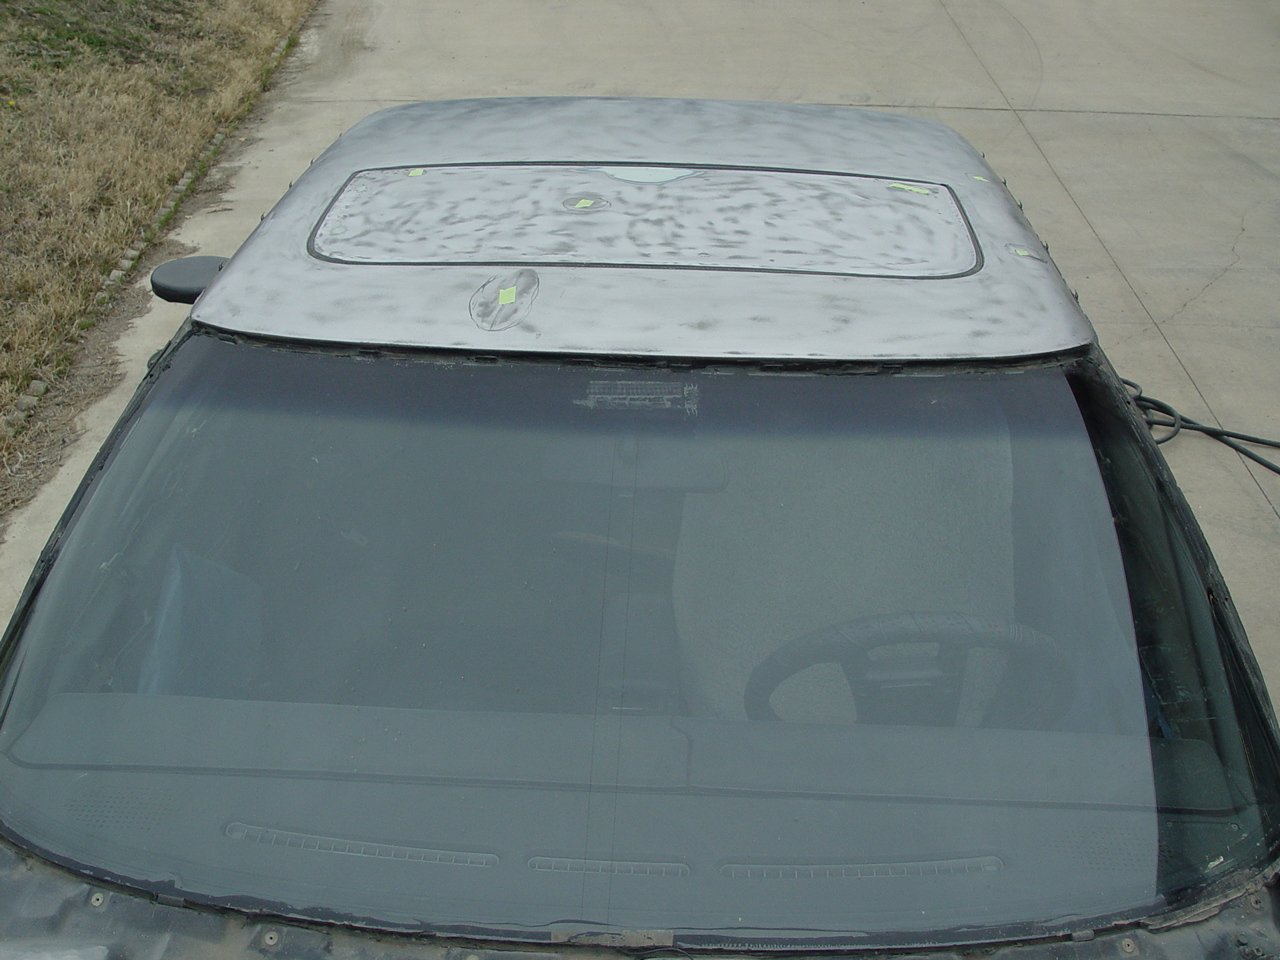
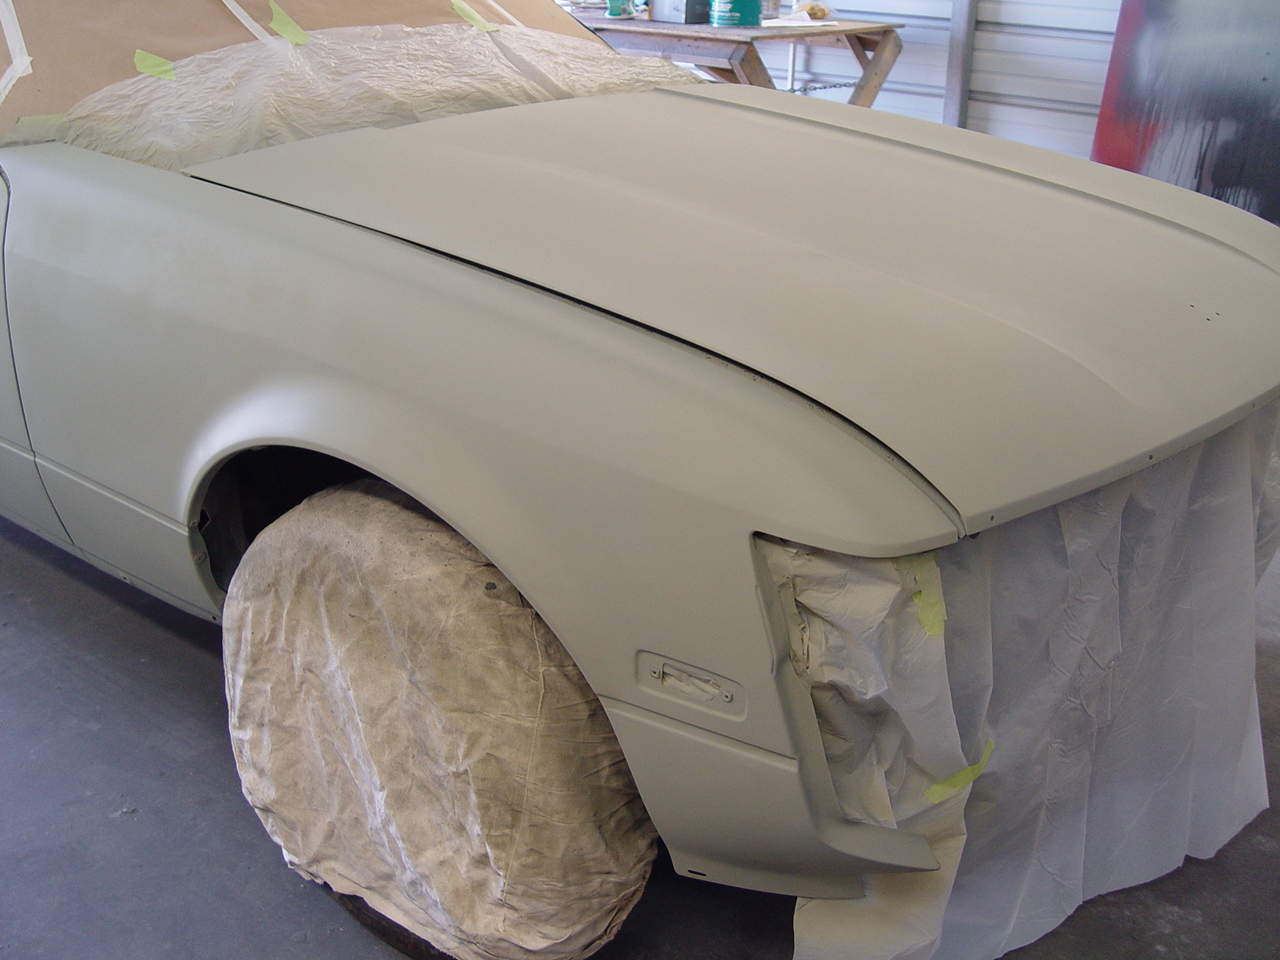
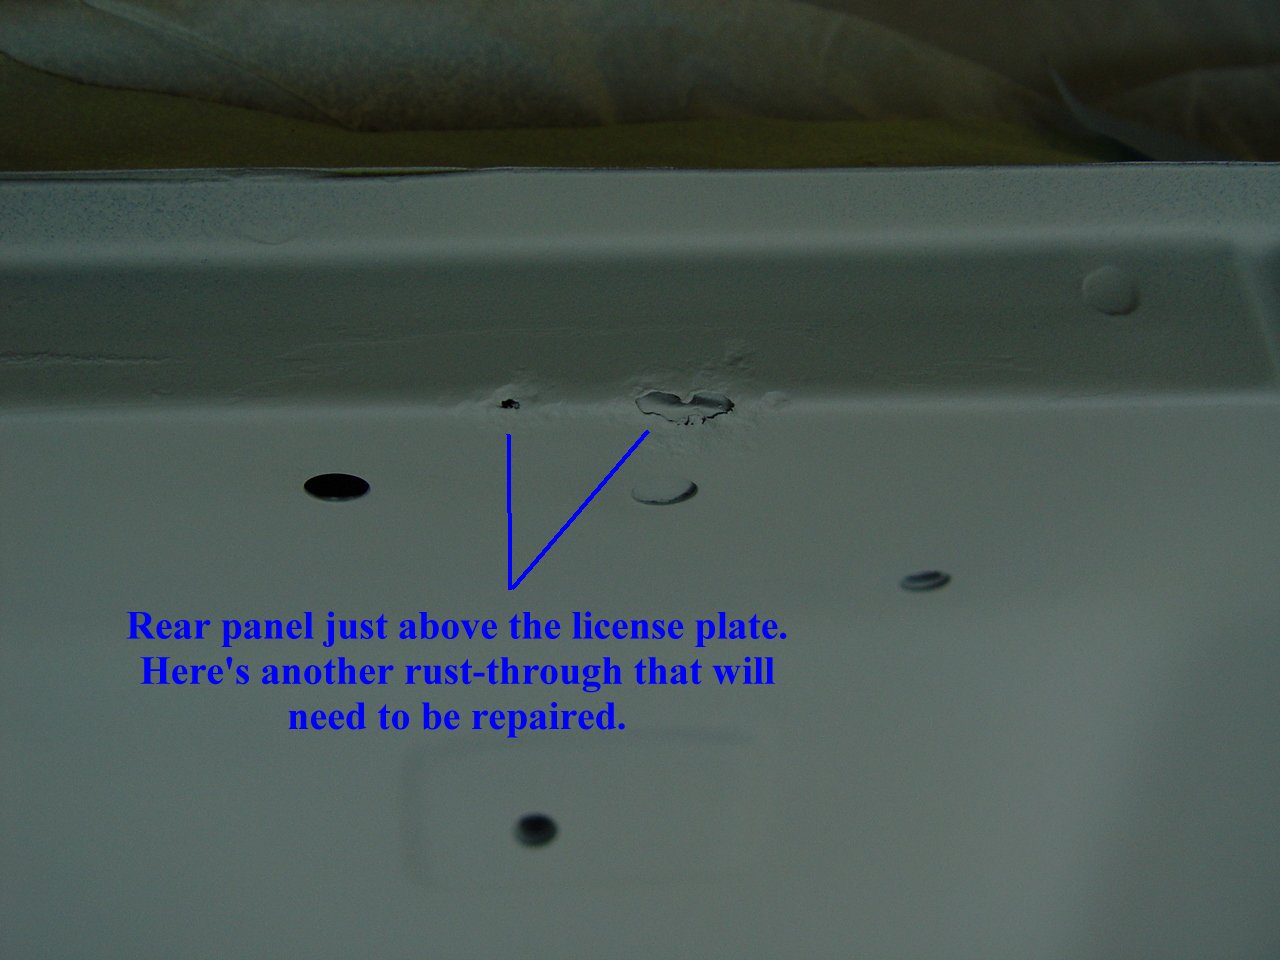
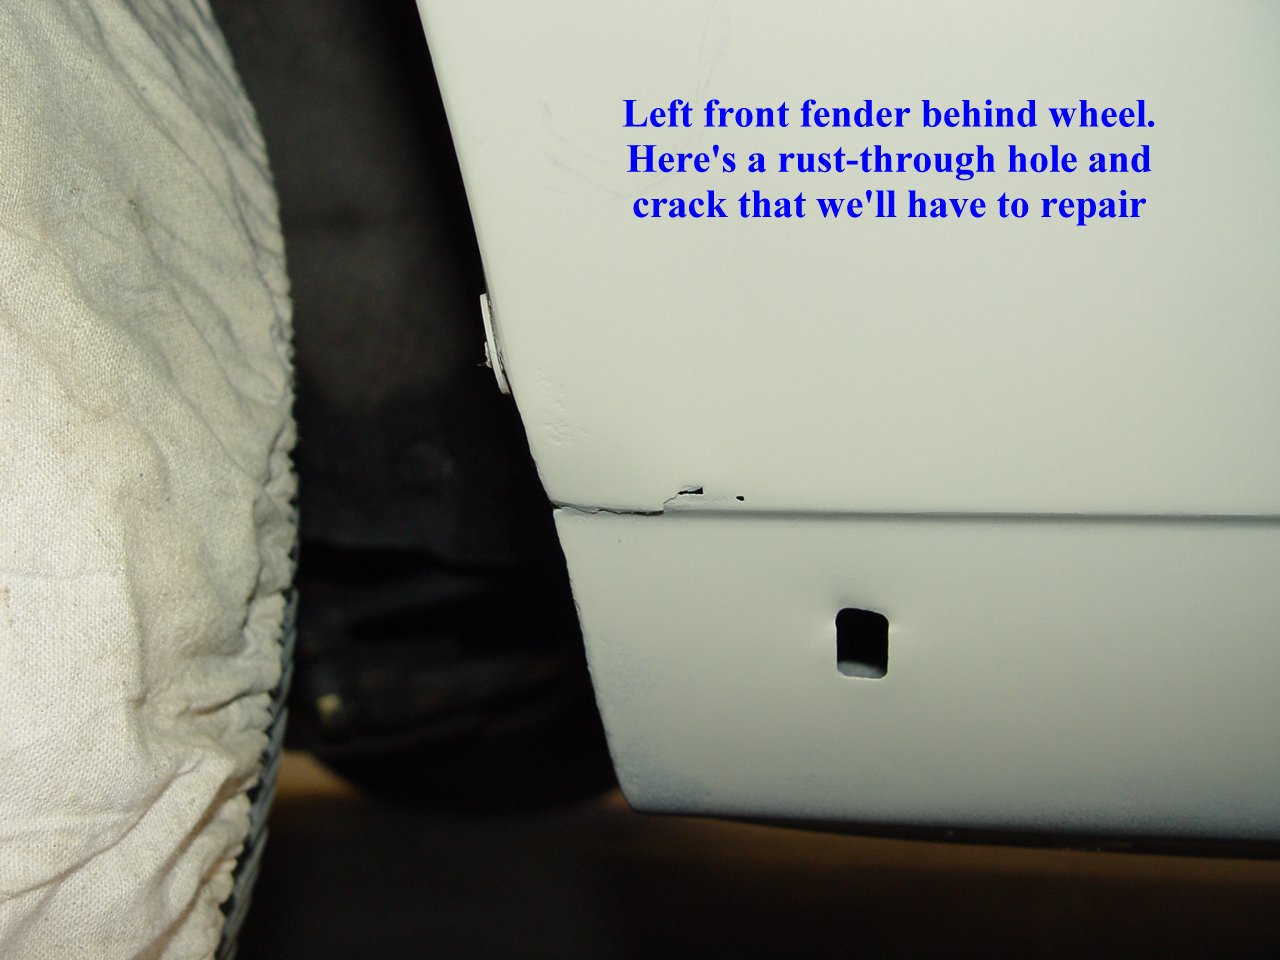
Despite being a virutally rust-free example, we found a lot of rust and other garbage beneath most of the trim pieces. Fortunately, nearly all the rust was superficial. The only rust-through spots we found were in the lower section of the left front fender (behind the wheel well), in the sunroof, and just above the license plate. Neither of them are at all serious and they'll be easily repaired. The old-school alarm accounts for one rather large hole in the front area of the left front fender where the old key switch was mounted. Right behind it is another smaller hole (~1/4") that has no apparent purpose. Both will be repaired by welding in sheetmetal patches.
Since the interior is in very good shape and we won't be removing it (good thing since nobody makes reproduction parts for the interior), we opted to strip the body the old fashioned way - by sanding. Yes, we could have sodablasted it, but the soda dust would no doubt have found its way inside the car's interior and wreaked havoc with not only the upholstery, but with all the gauges and electronics. We've already got a ghost in the electrical, so it's best to not tempt fate.
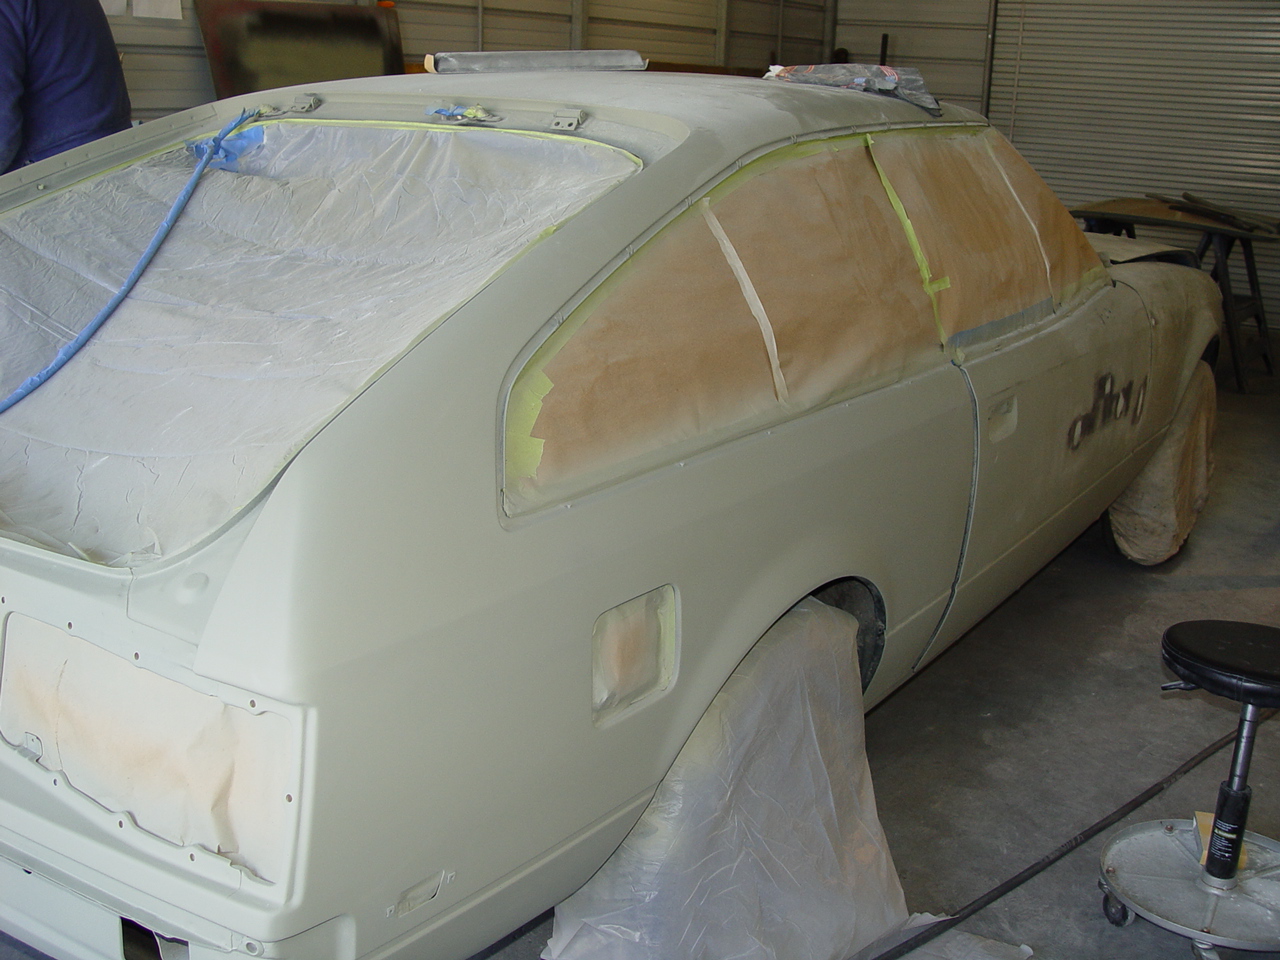
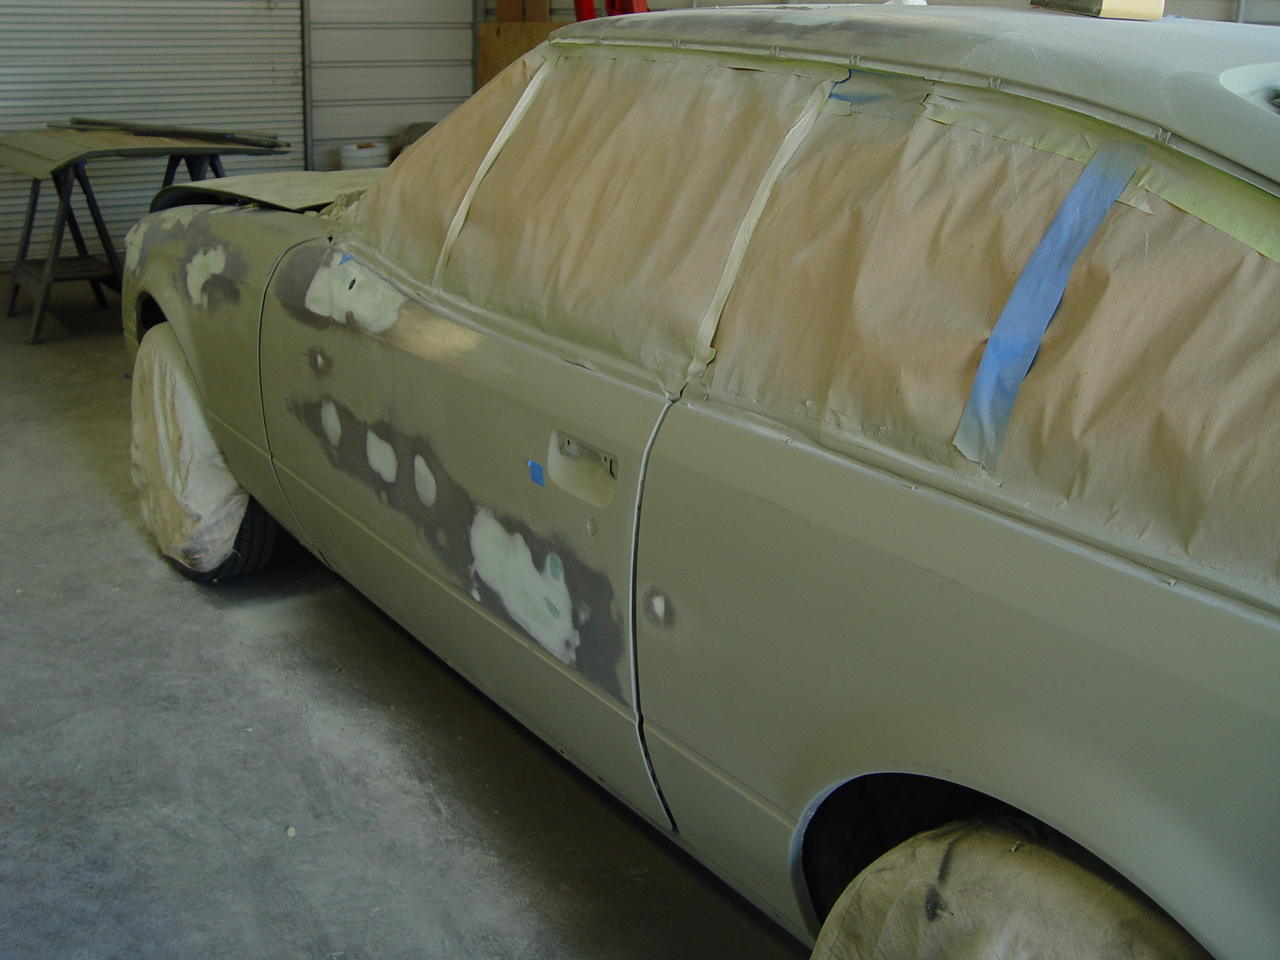
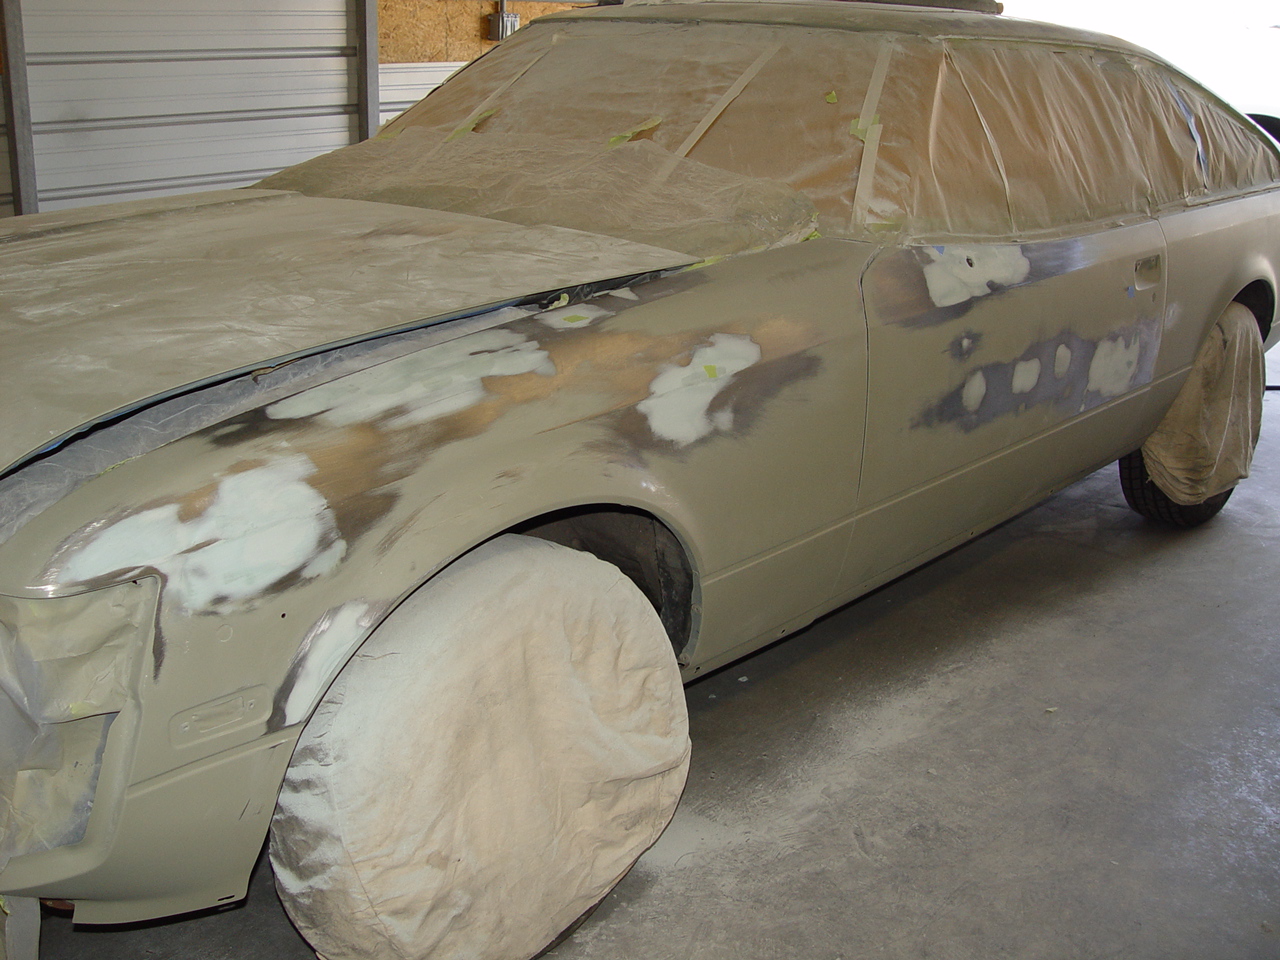
Once stripped, we gave the entire exterior a good coat of PPG's DPX171 self-etching primer. It's not cheap, but it does a great job of preventing corrosion both while working on the body and for years down the road after the final finish has been applied.
After etching, the bodywork begins. Fortunately, the entire car is very straight. There are a couple areas (right front fender and sunroof) where prior body work was found. But that work was well done and will be left in place (touched up as necessary). Except for a troublesome area surrounding the left sideview mirror, most of the bodywork consists of small dings and shallow dents. A few days of work filling/sanding along with some minor welding had us ready for a few coats of build primer.
With the build primer applied, we let it sit for several weeks so that the body filler could cure. This reduces the liklihood of it shrinking after we've sanded and painted it - which is why so many "quick" paint jobs show their bodywork a year or two down the road.
|
||||||
 |
 |
 |
 |
 |
||
 |
 |
 |
 |
 |
||
 |
 |
 |
 |
 |
||
 |
 |
 |
 |
 |
||
 |
 |
 |
 |
 |
||
 |
 |
 |
 |
 |
||
 |
 |
 |
 |
 |
||
 |
 |
 |
 |
 |
||
 |
 |
 |
 |
 |
||
| Click on an image for a larger view | ||||||
| |
| Send Mail to |
| bob@midlifeclassics.com |
| |