
| Home | Current Inventory | Projects | Services | Company | Stuff | Bob's Car Collection | Contact Us |
|
on Facebook |
"Full Inventory" (Projects, Completions and Personal Collection) |
 77 Lancia Scorpion |
 67 Camaro RS Conv. |
|
68 Austin Healey Sprite |
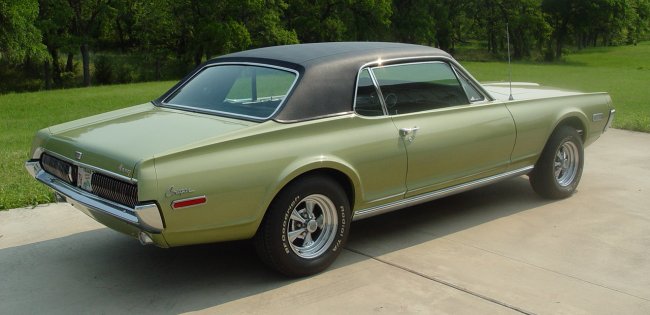
 68 Cougar |
 69 Corvette |
 70 Opel GT |
 69 Marcos 3000GT |
 86 TVR 280i |
 73 TVR 2500M |
 90 Buick Reatta |
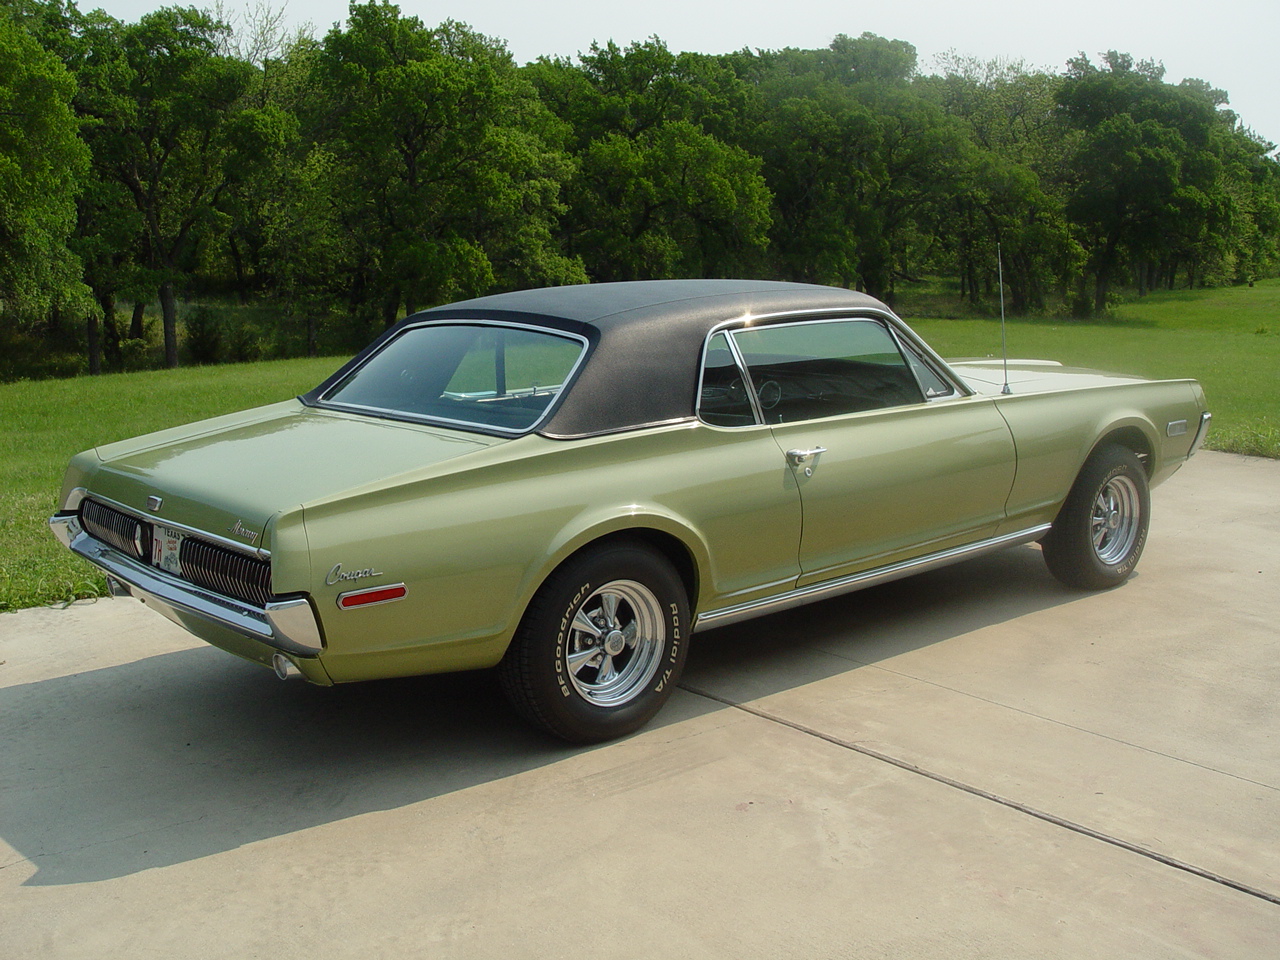
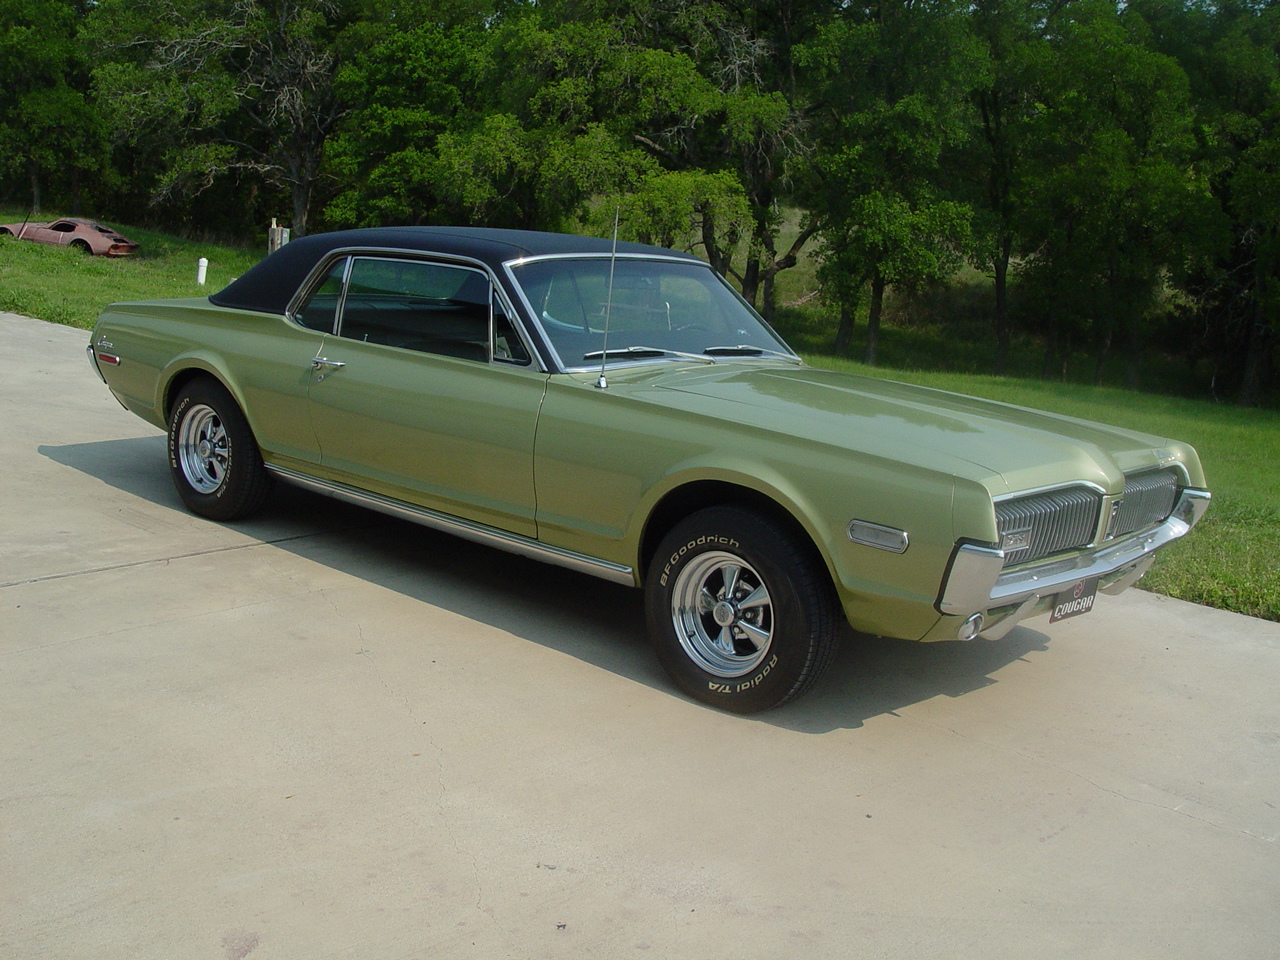
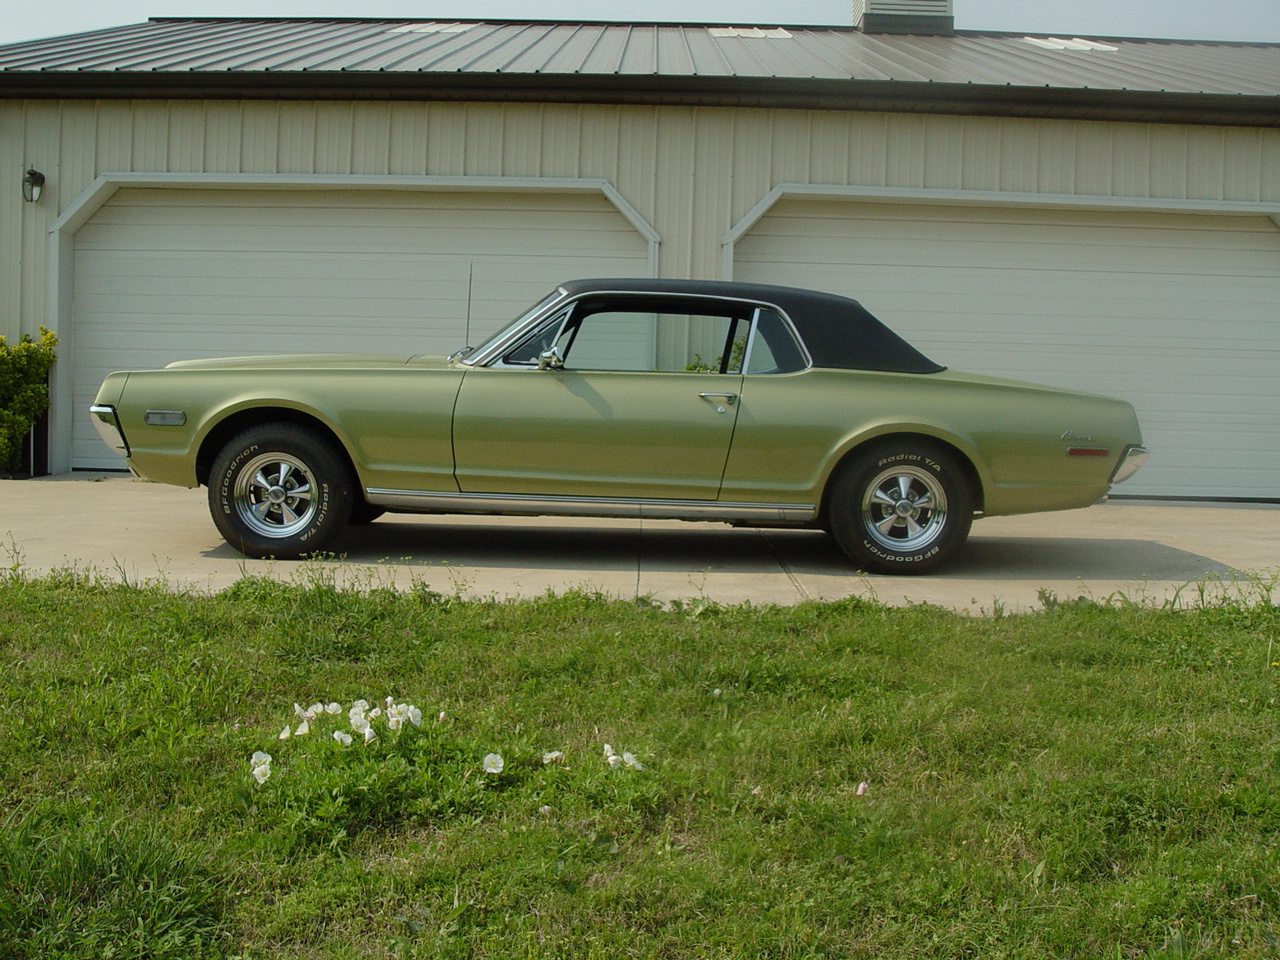
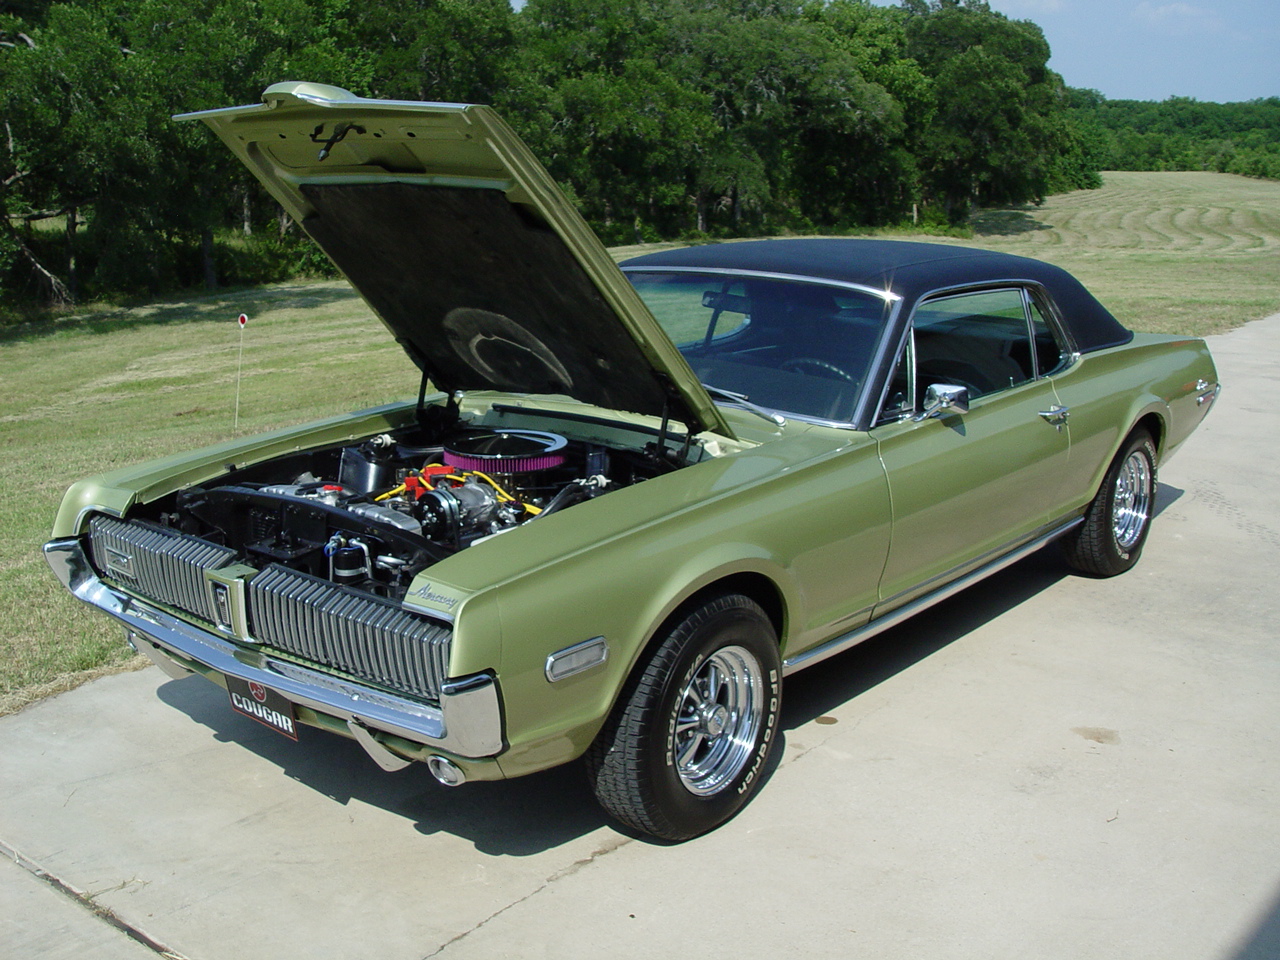
1968 MERCURY
|
Engine Swap and A/C Upgrade |
Client Project |
 |
||||||
BEFORE | ||||||
|
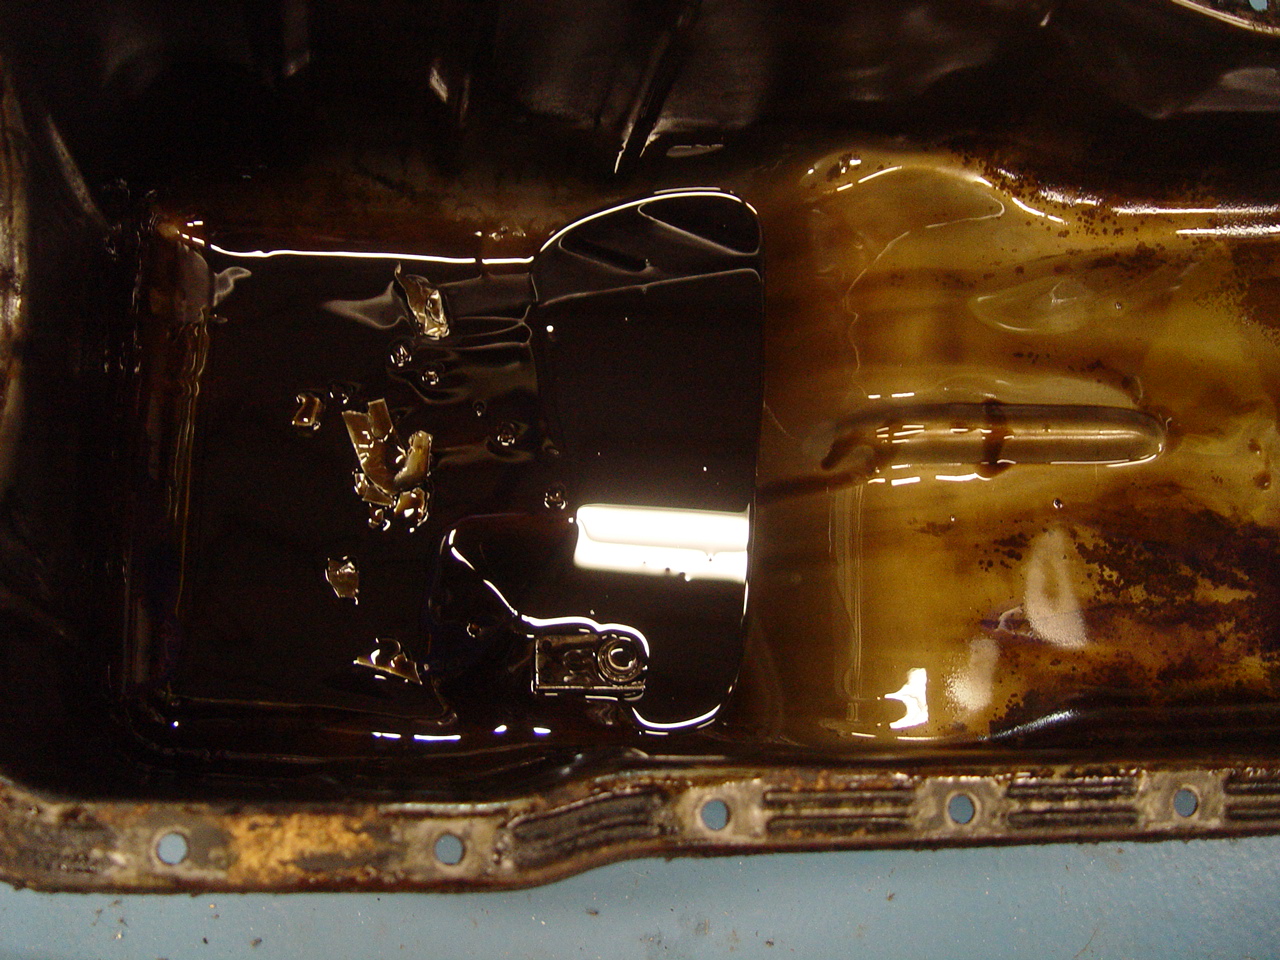
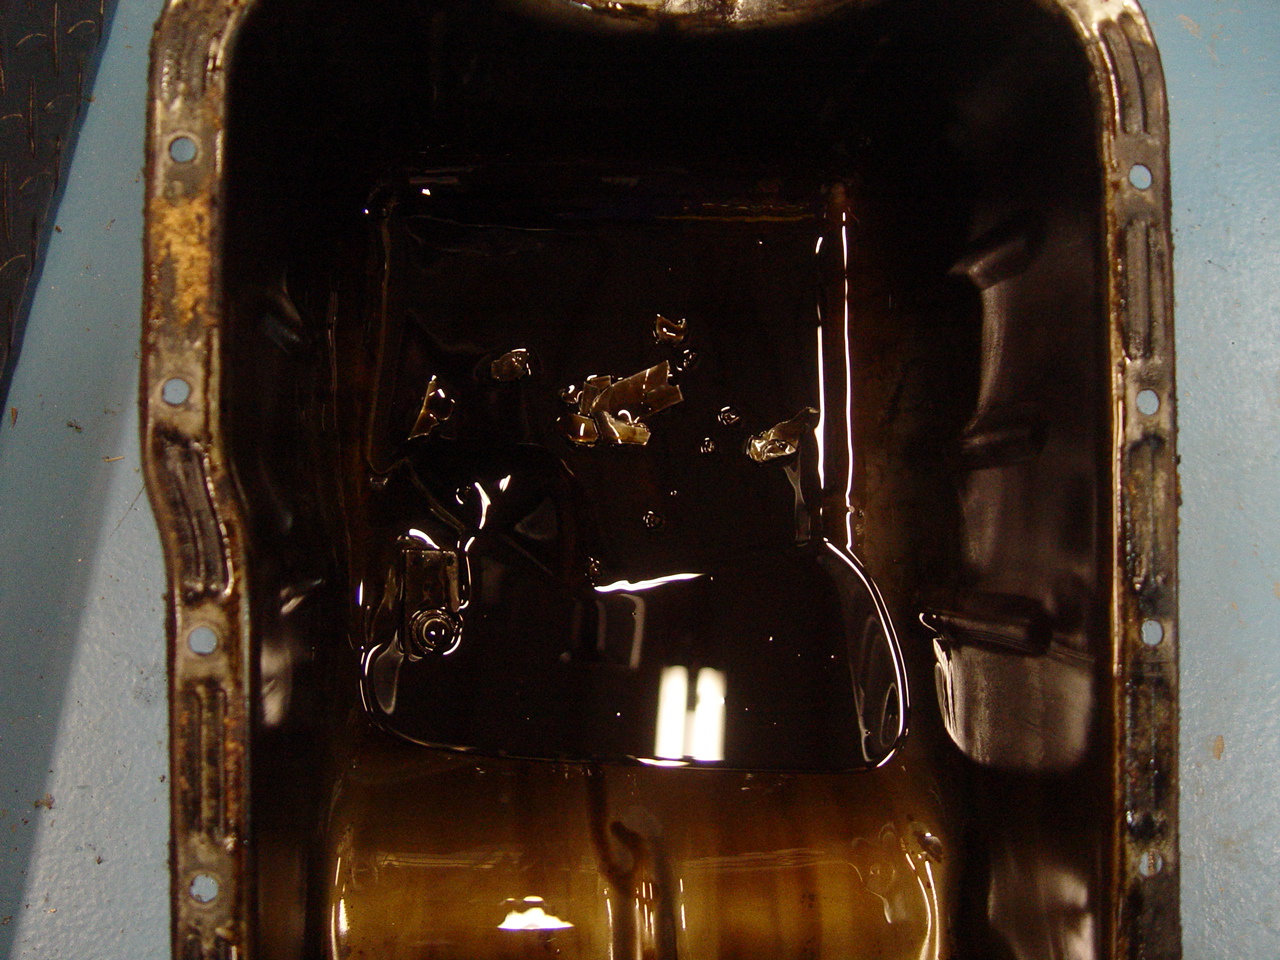
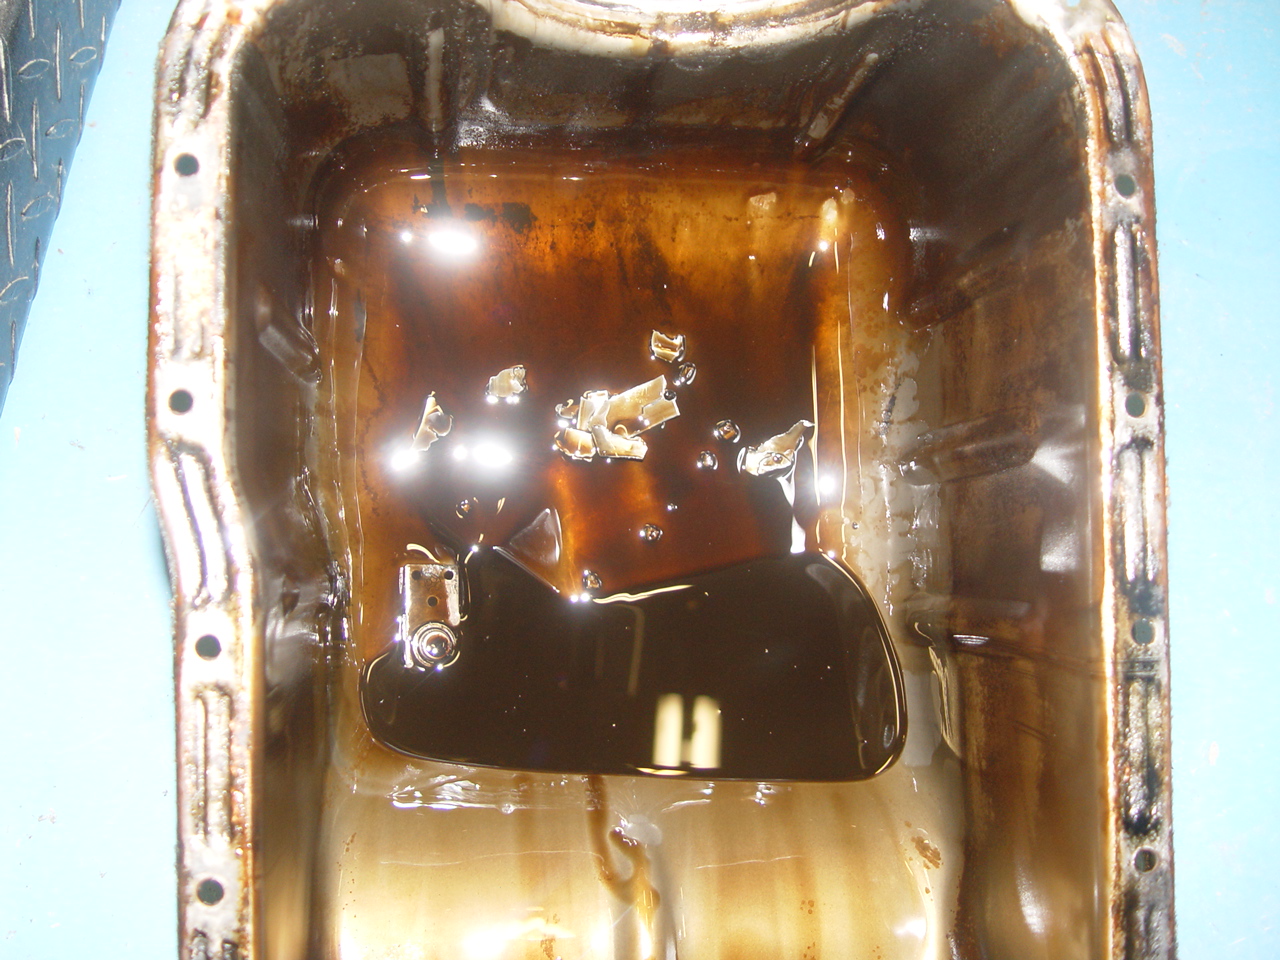
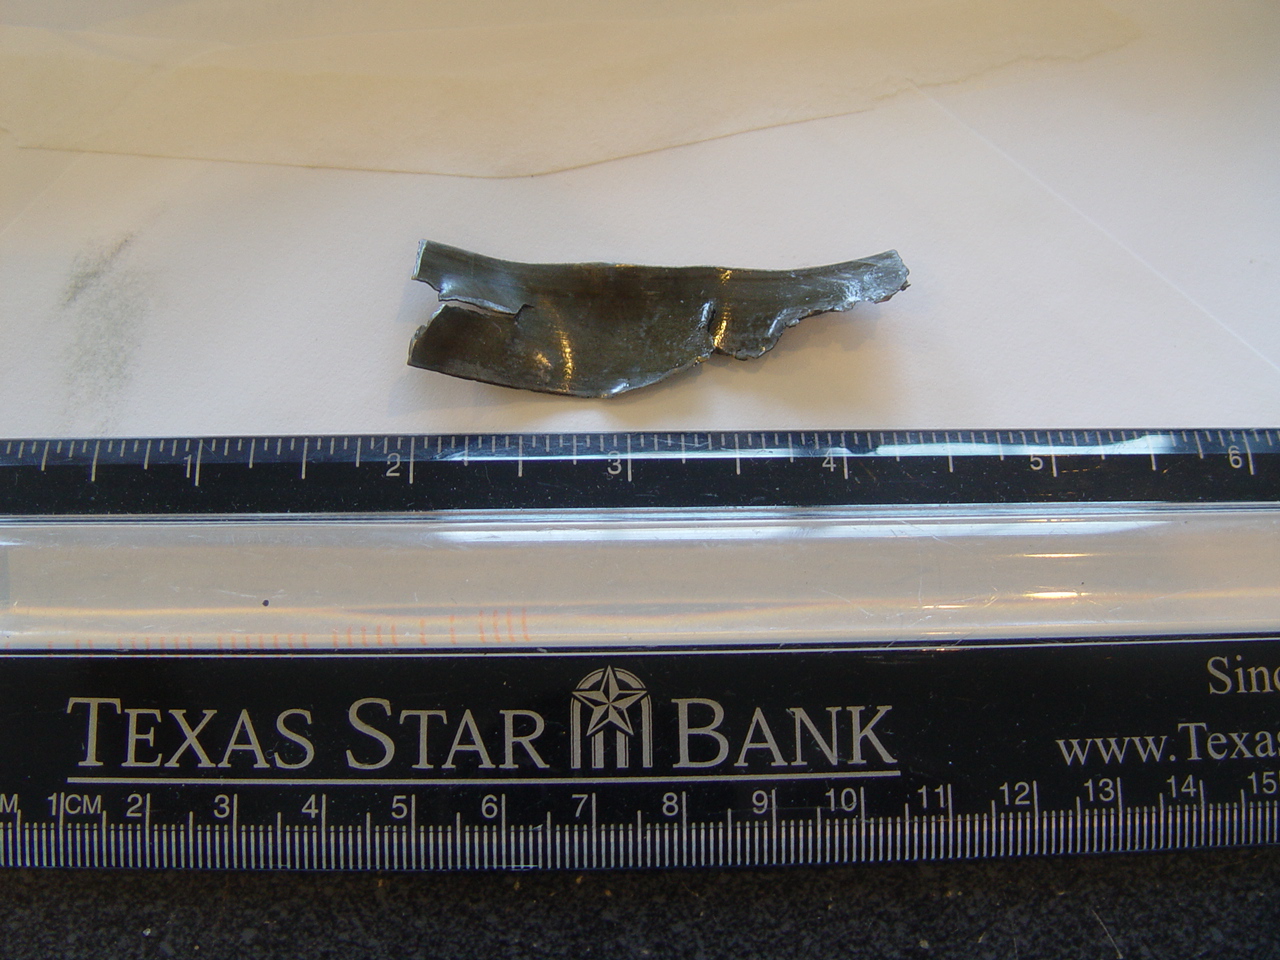
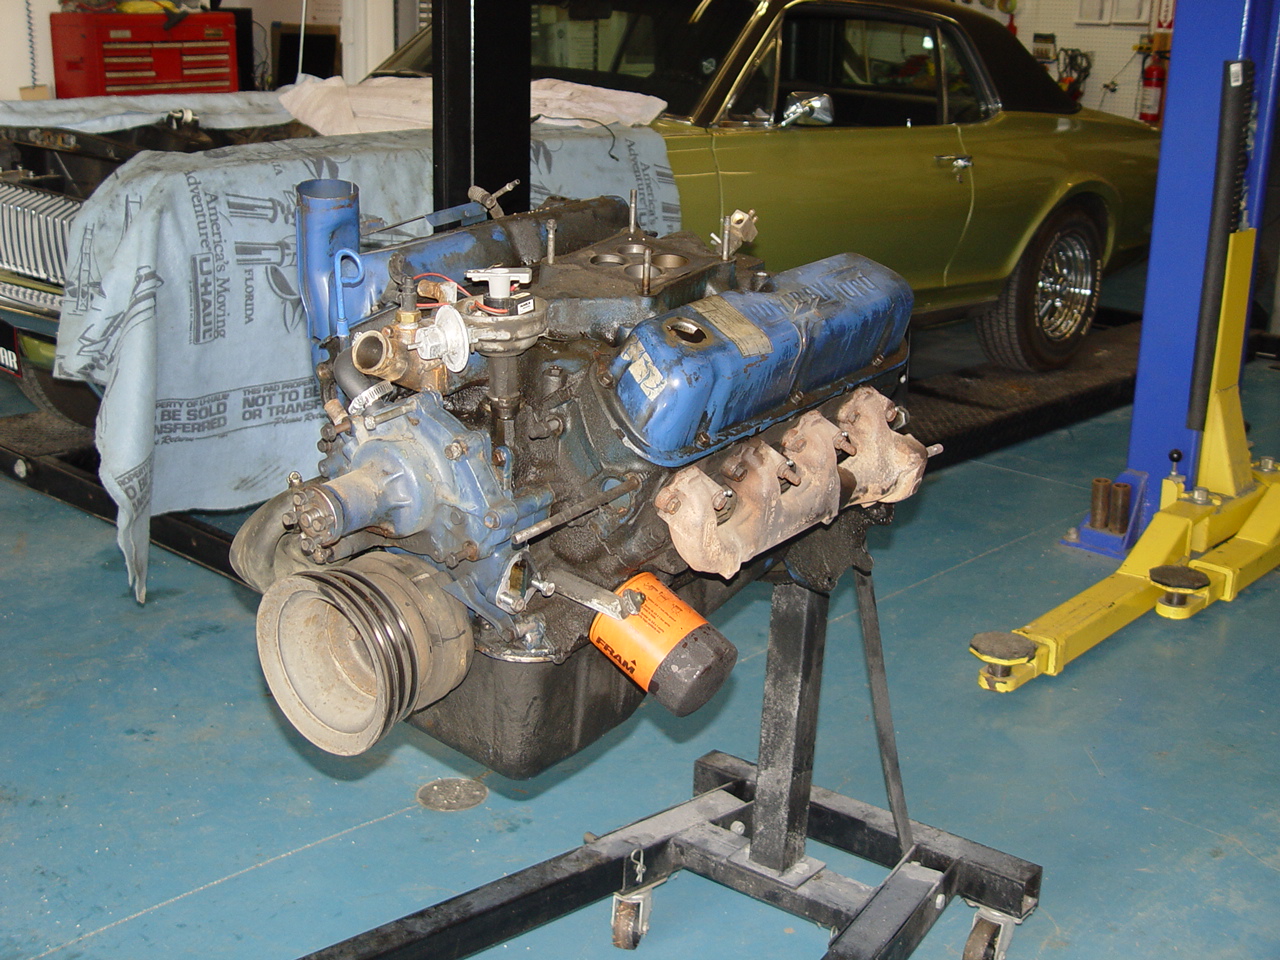
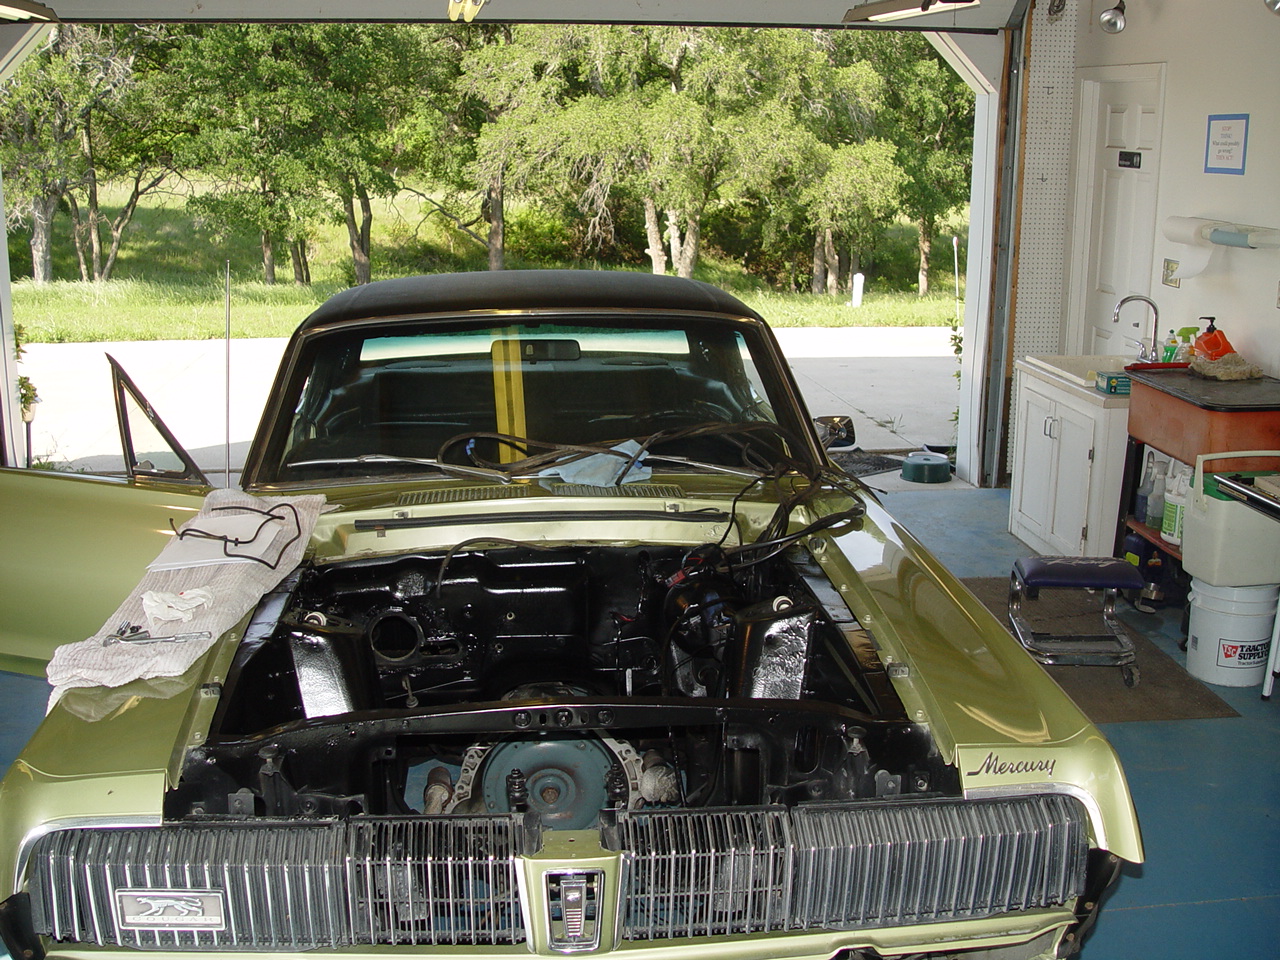
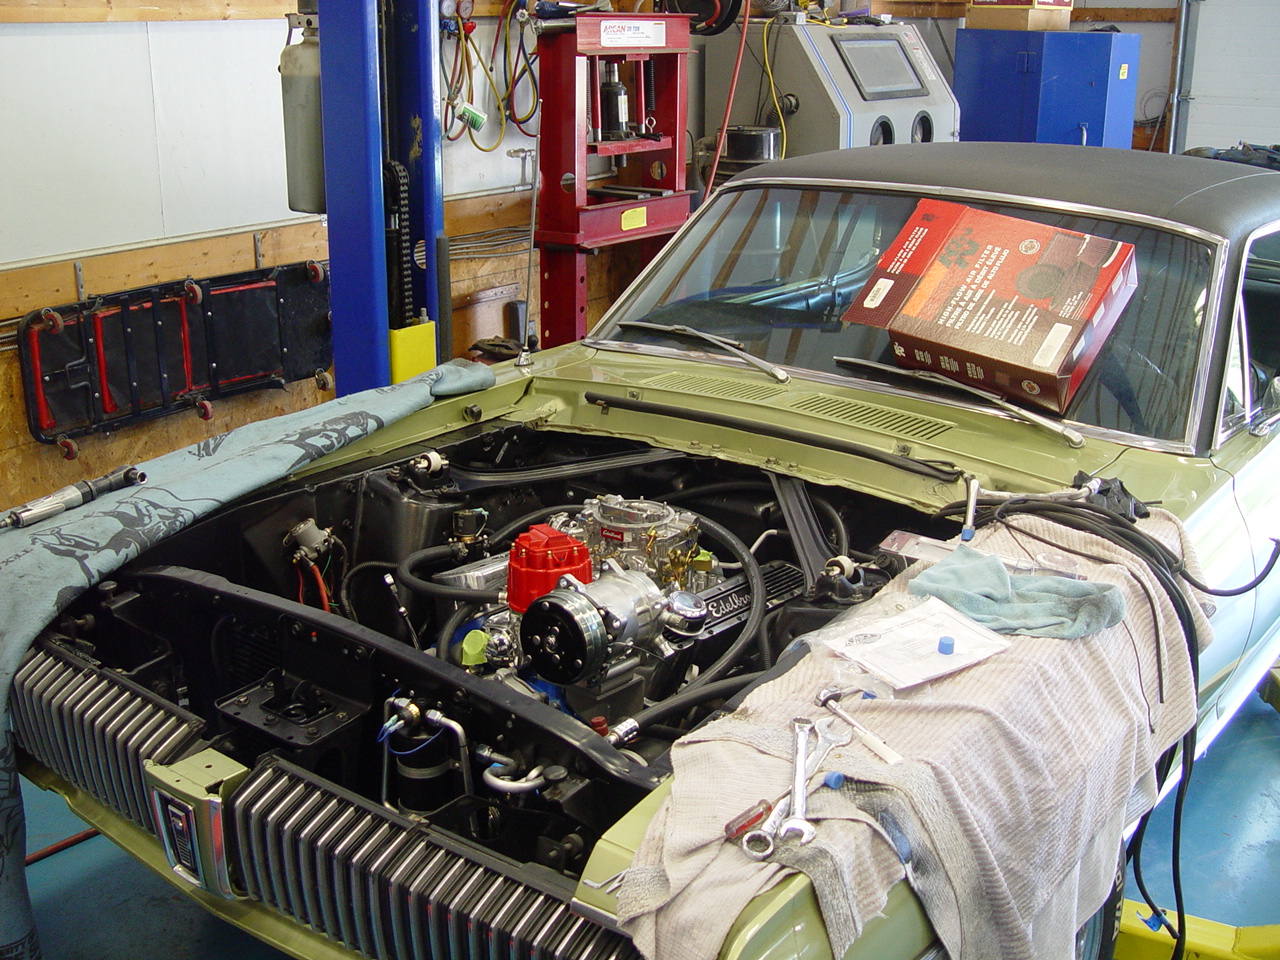
About a year later, the Cougar returned to us with a new oil pan for us to install. When we pulled the pan, we were greeted with an unpleasant surprise. Several pieces of babbet bearing were laying in the bottom of the pan. One of the pieces was roughly 2 1/2" long and almost paper-thin. It's doubtful that the pieces could have come from a connecting rod or crank main bearing because of the single long piece that would have been shredded if it had slipped out of one of those bearing journals. And the motor still ran strong, smooth and quiet. When we told the client, he did note that he had heard a "bang" and/or "knock" a couple of times, but that the noise went away as quickly as it had appeared.
We can only assume that the bearing pieces must have come from one of the center camshaft bearings. That's the only way that the big piece could have escaped without being shredded and likely the only bearing location that would not result in a persistent knocking. Assuming that is the case and given how thin the bearing was, the camshaft bearing journal in question has no-doubt been egged-out to the point where the block itself is trash. So, after some research and searching, the client ordered a remanufactured crate motor from Phoenix Engine Rebuilders.
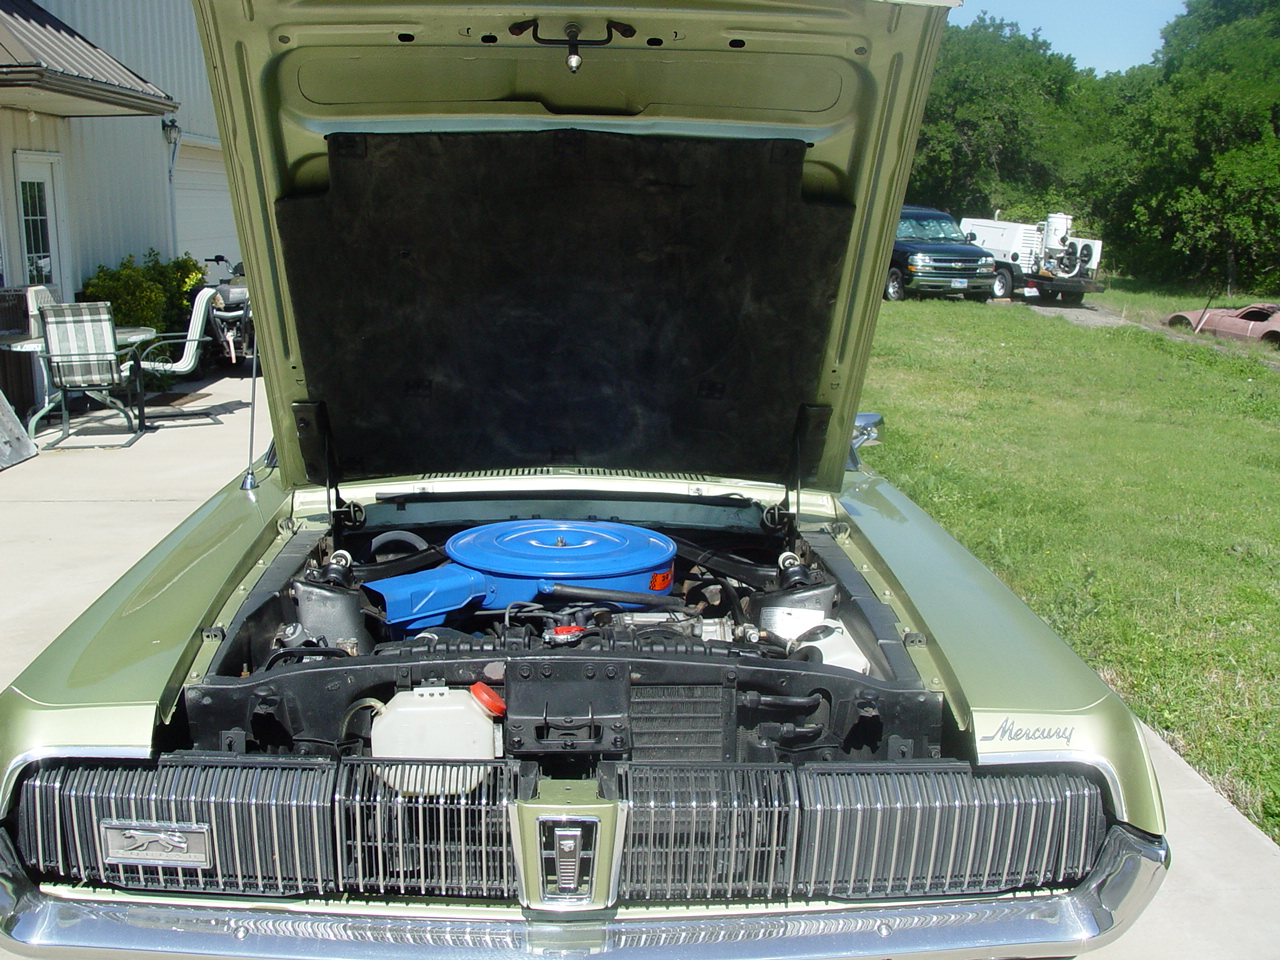
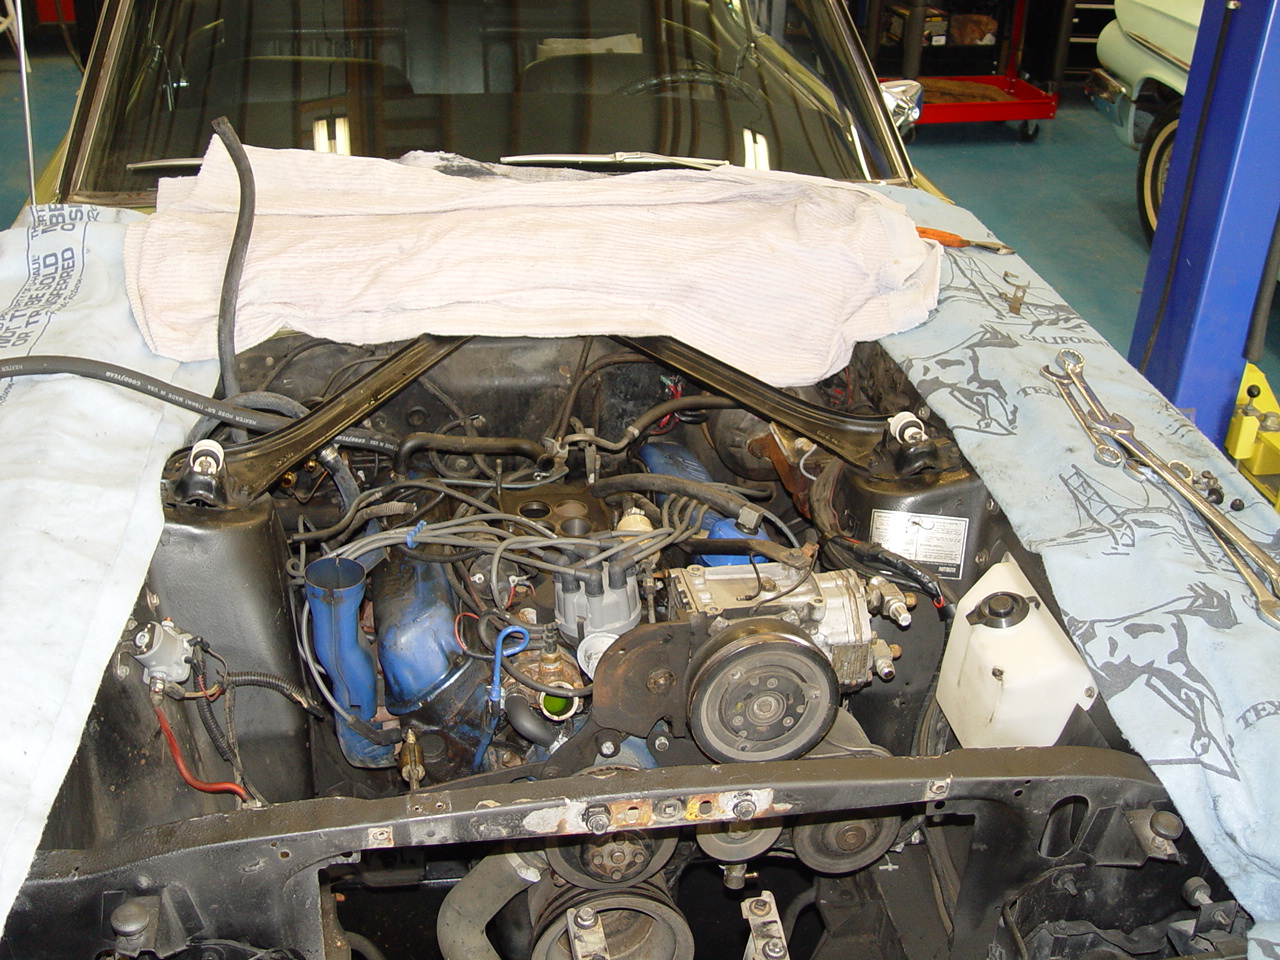
Since we were going to be pulling the engine, the client decided to take advantage of the vacant engine bay and have us give it a thorough cleaning and detailing. Also, this became the perfect opportunity to upgrade the factory A/C to a new and modern Vintage Air "Sure Fit" system.
|
||||||
 |
 |
 |
 |
 |
||
 |
 |
 |
 |
 |
||
| Click on an image for a larger view | ||||||
DISASSEMBLY & CLEANING | ||||||
|
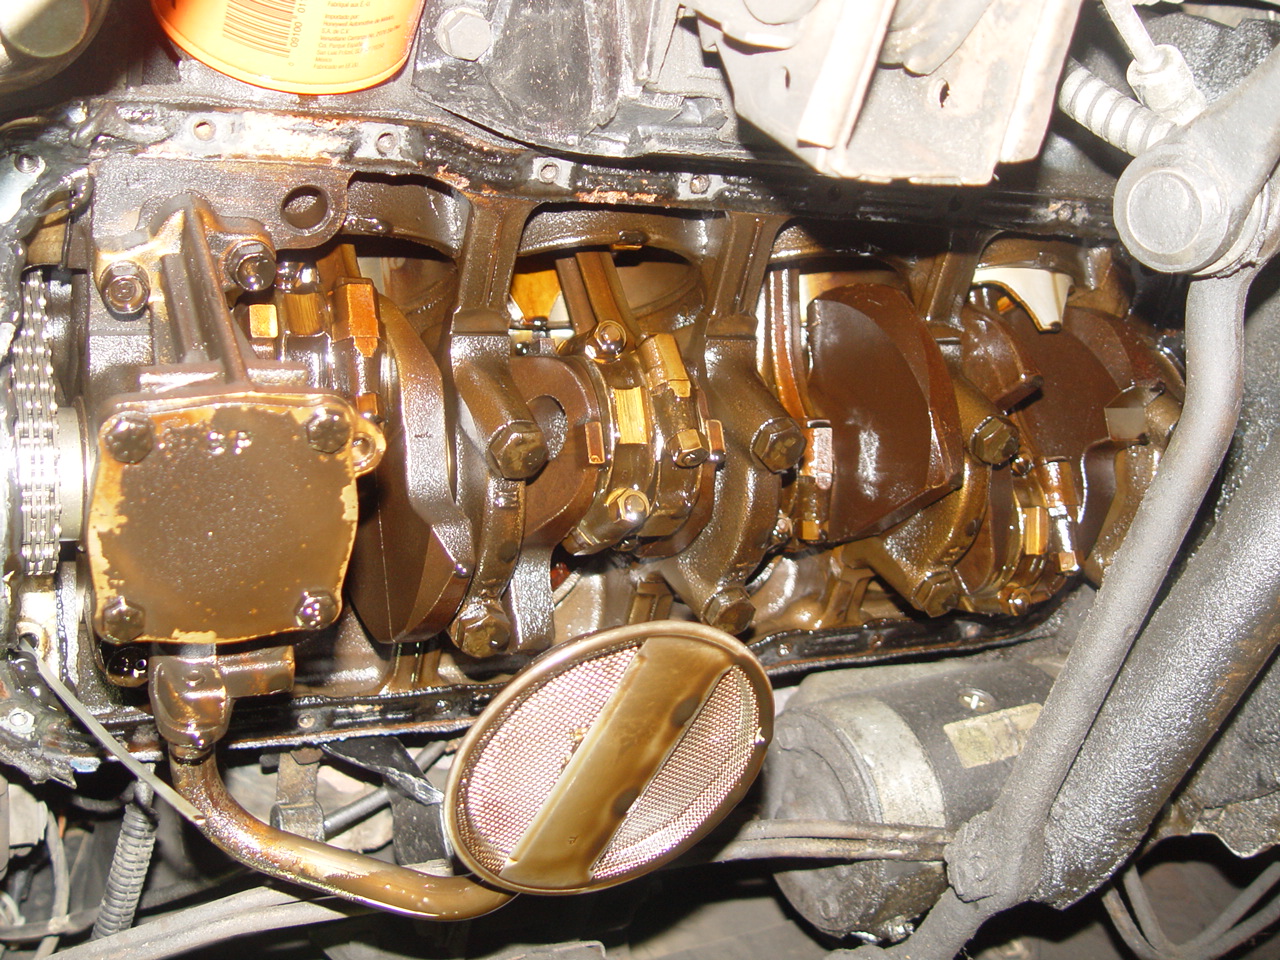
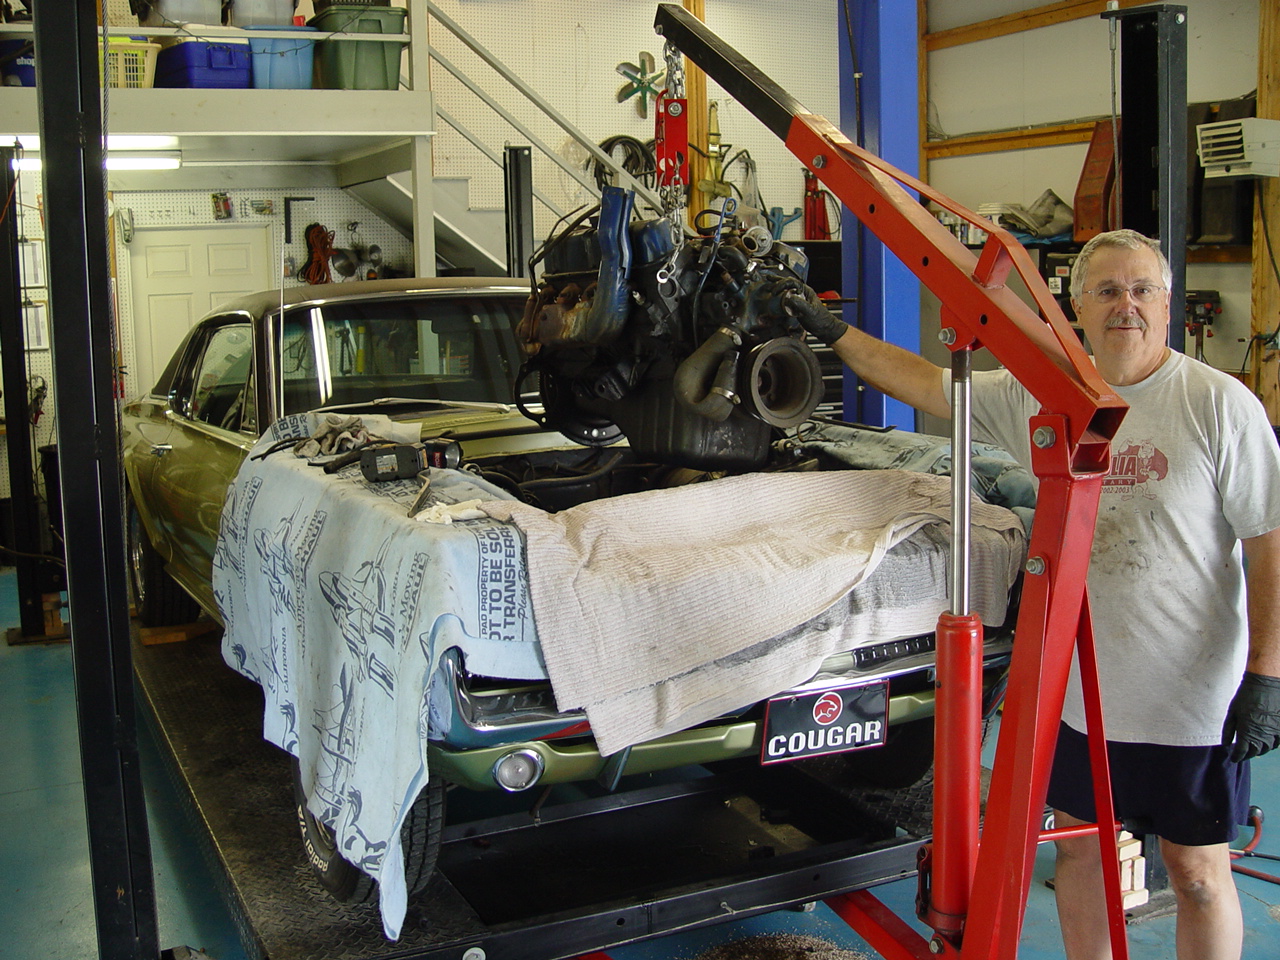
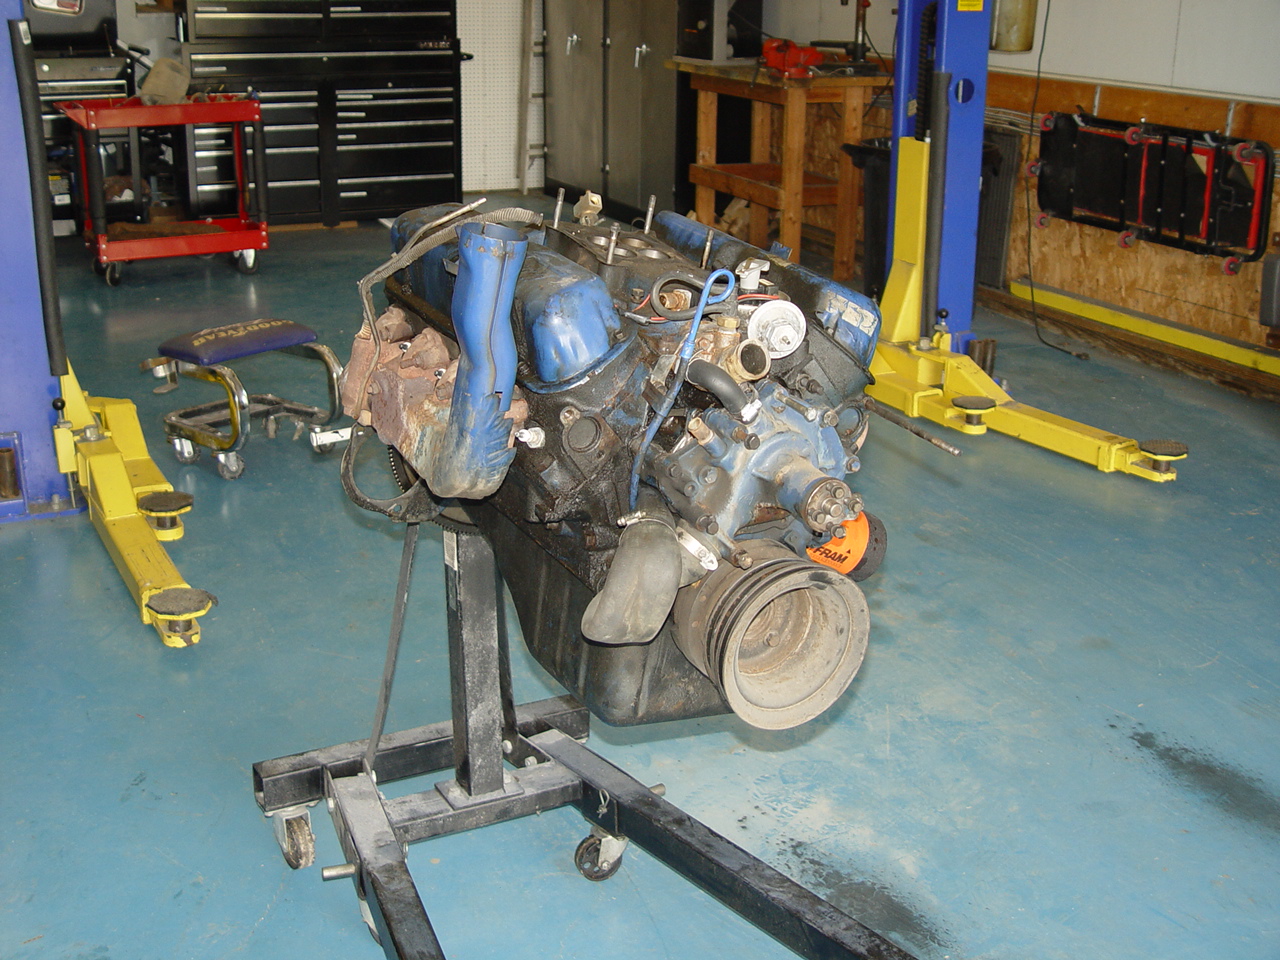
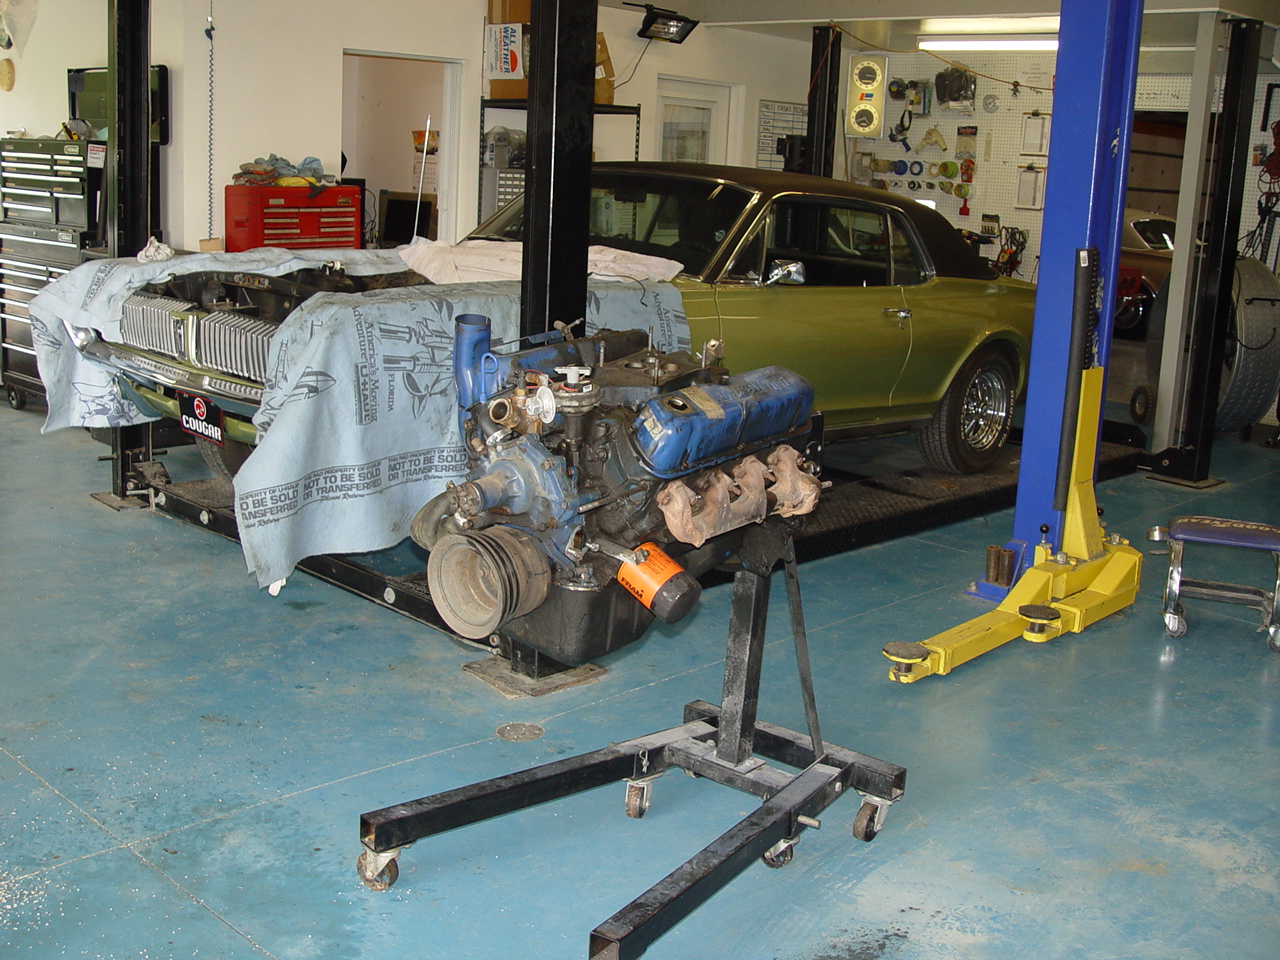
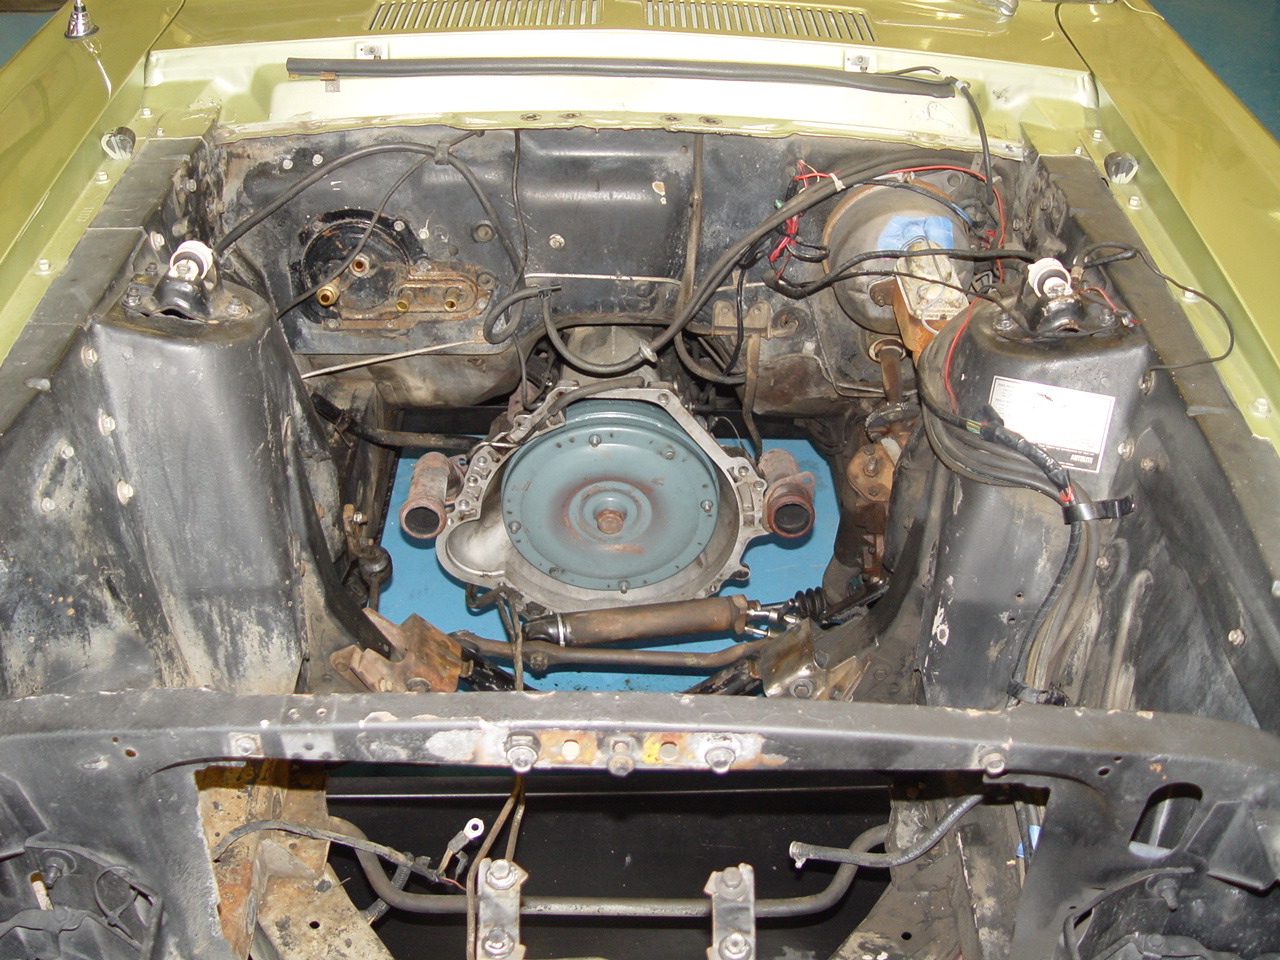
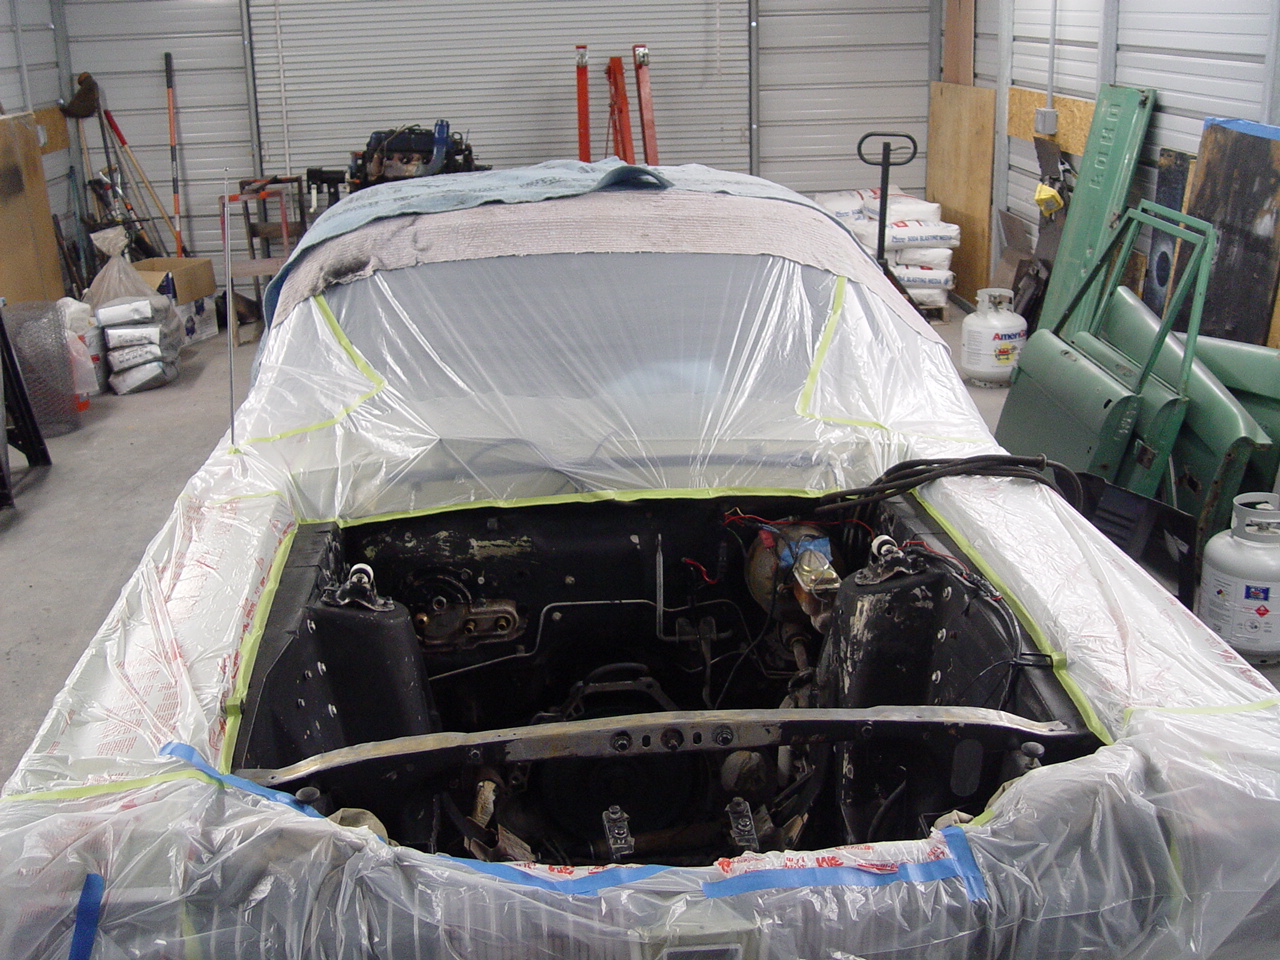
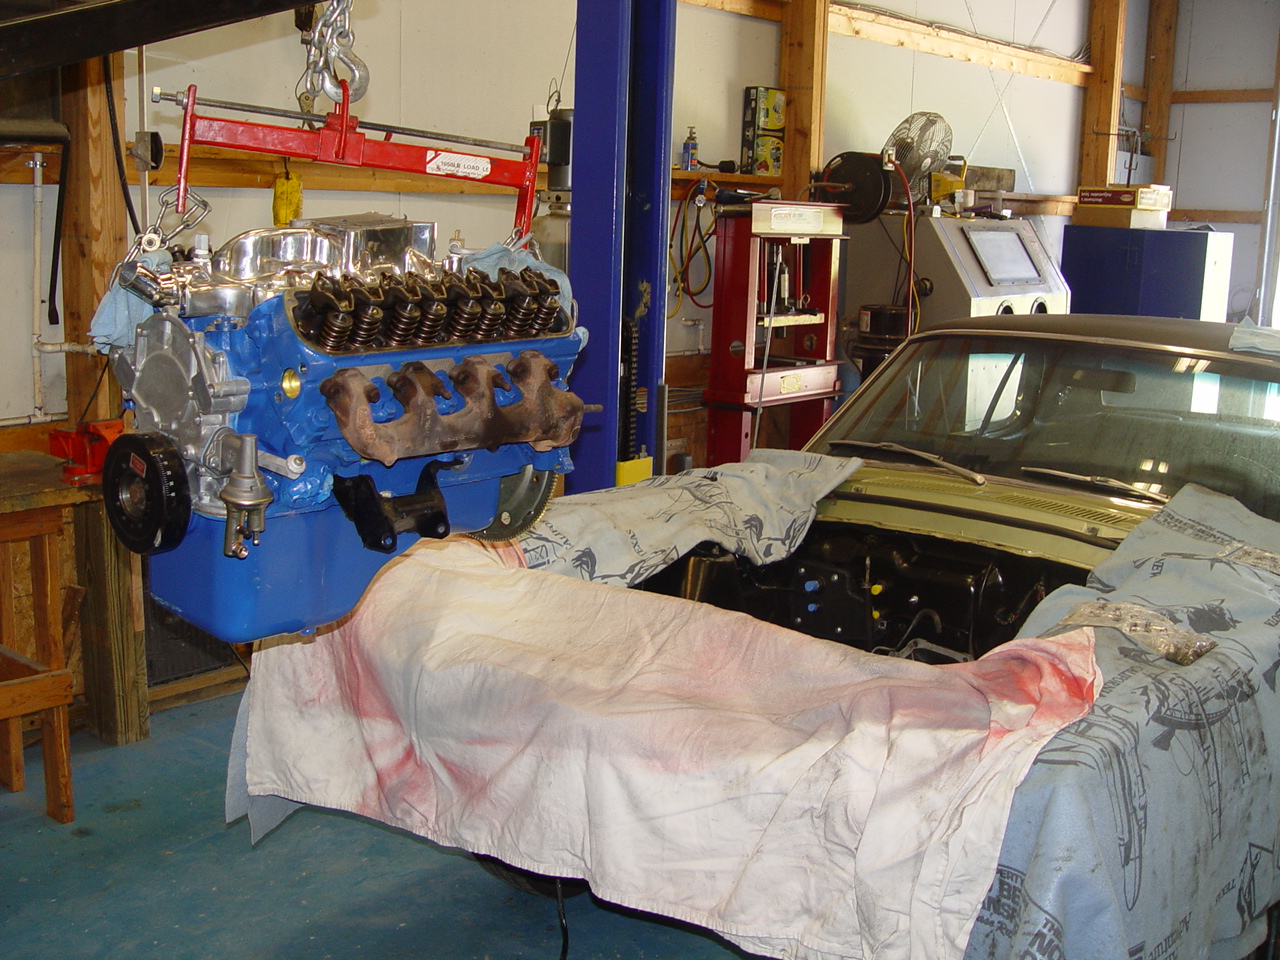
Once the crate engine arrived, we pulled the old motor without any difficulty. We're dying to pull the old motor apart to determine just exactly where the bearing pieces came from. But, that will have to wait for a rainy day when we have fewer pressing matters to attend to. The new engine came complete from oil pan to air filter and flexplate to pulleys. So, aside from a few fittings, sending units and the year-old motor mounts, not much will be salvaged from the old engine.
|
||||||
 |
 |
 |
 |
 |
||
 |
 |
 |
 |
 |
||
 |
 |
 |
 |
 |
||
 |
 |
 |
 |
 |
||
| Click on an image for a larger view | ||||||
ENGINE BAY | ||||||
|
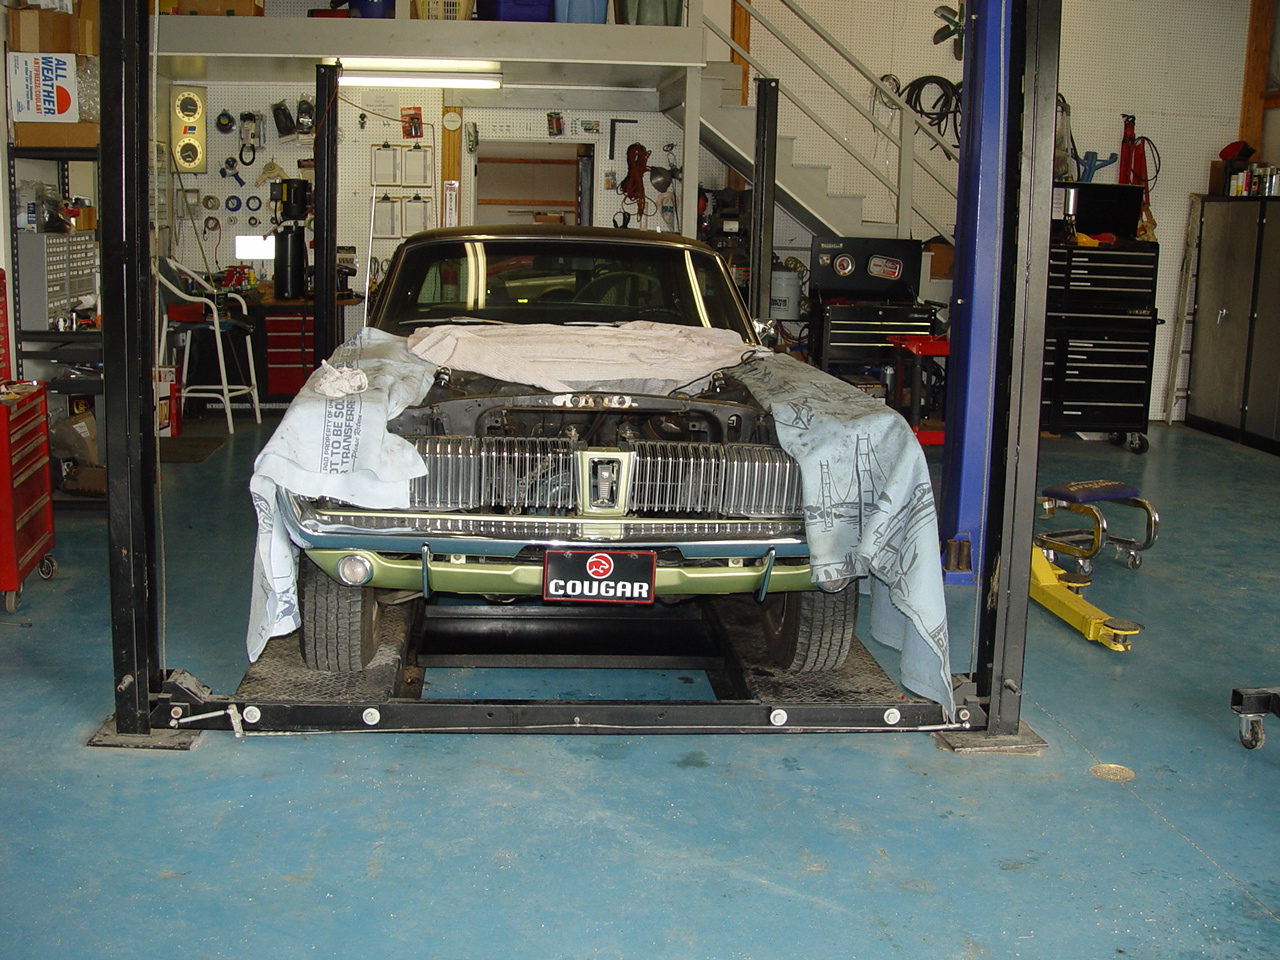
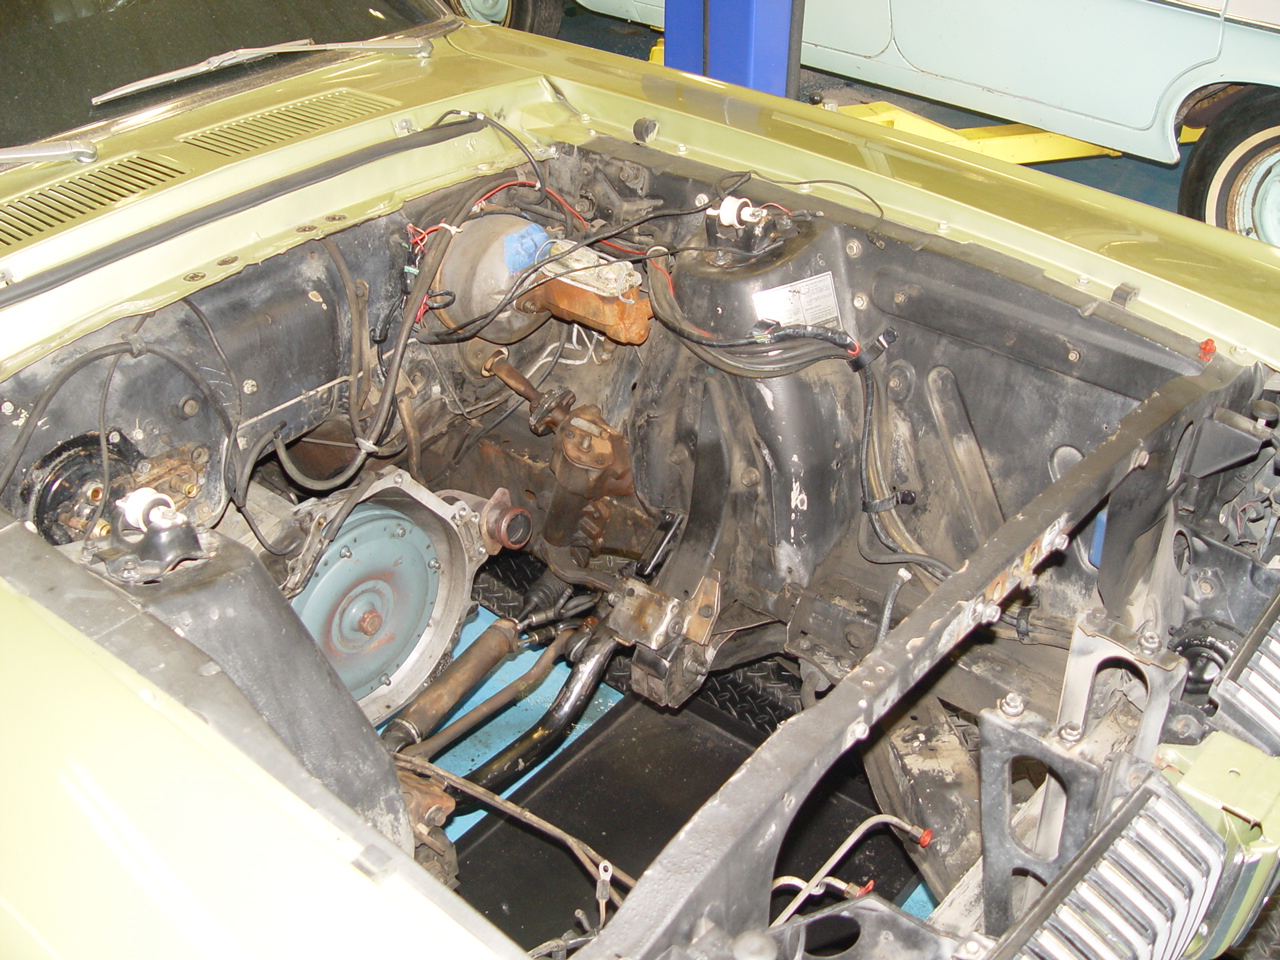
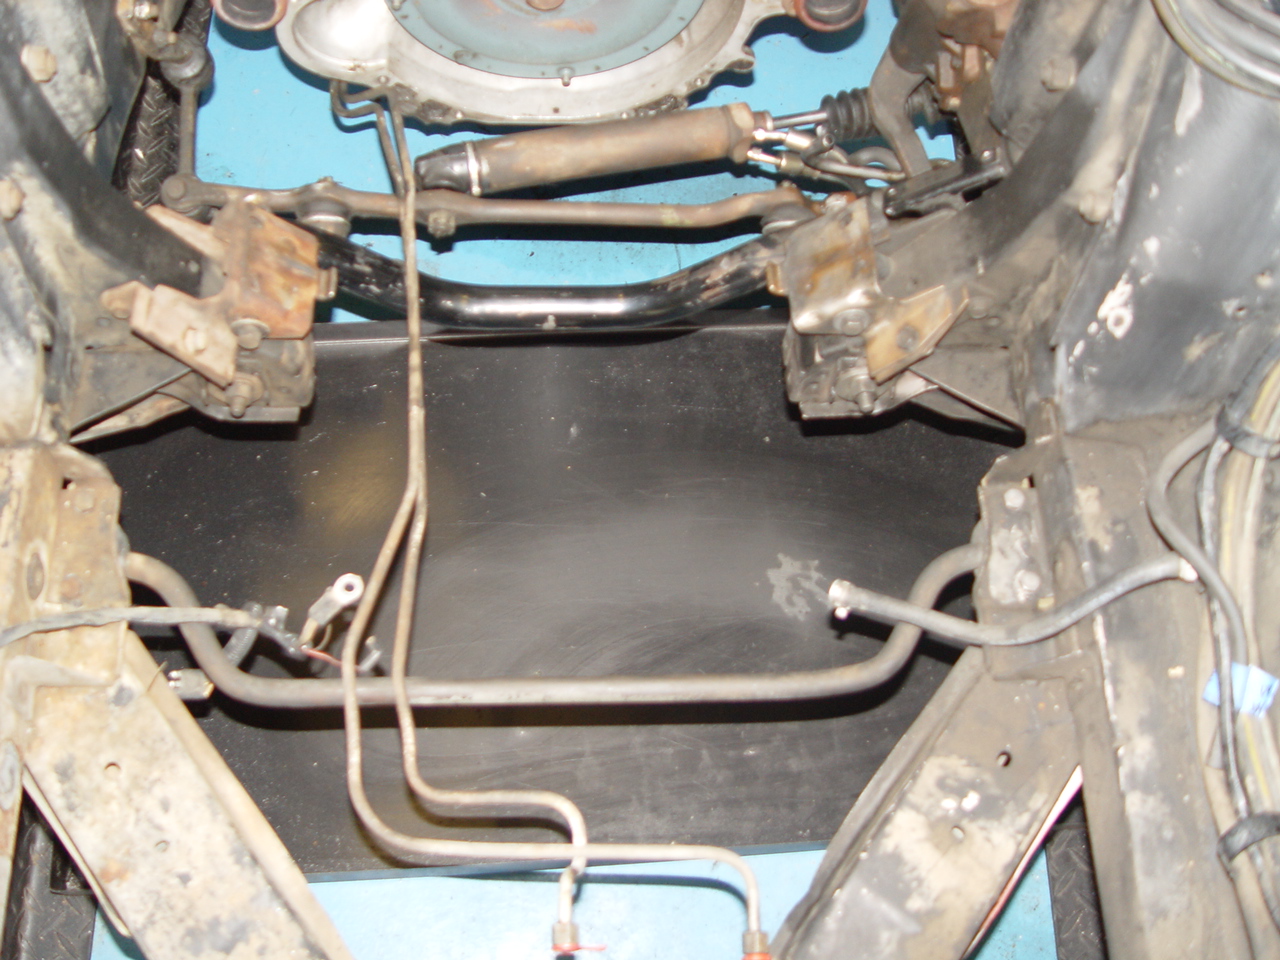
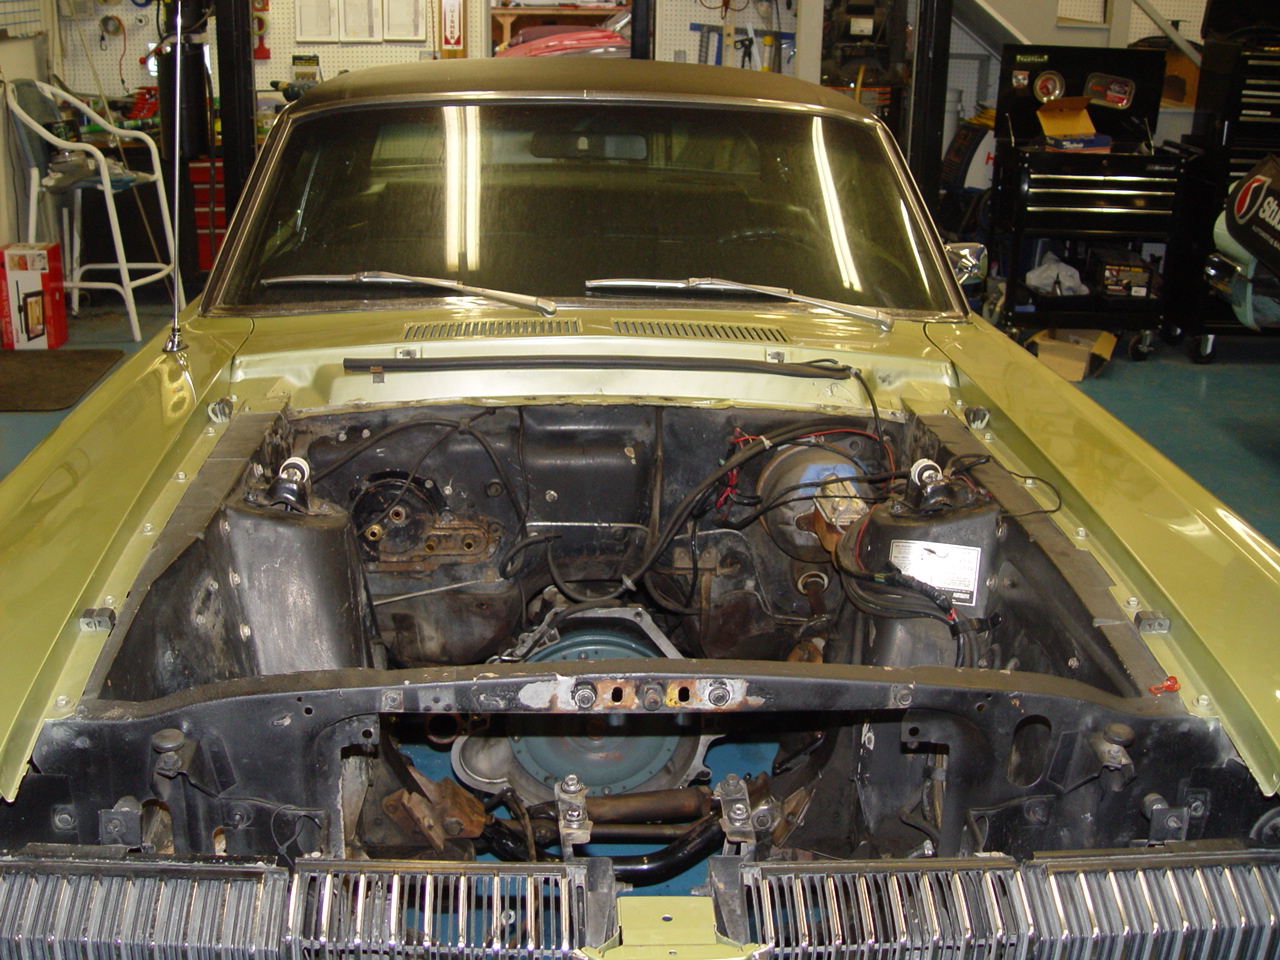
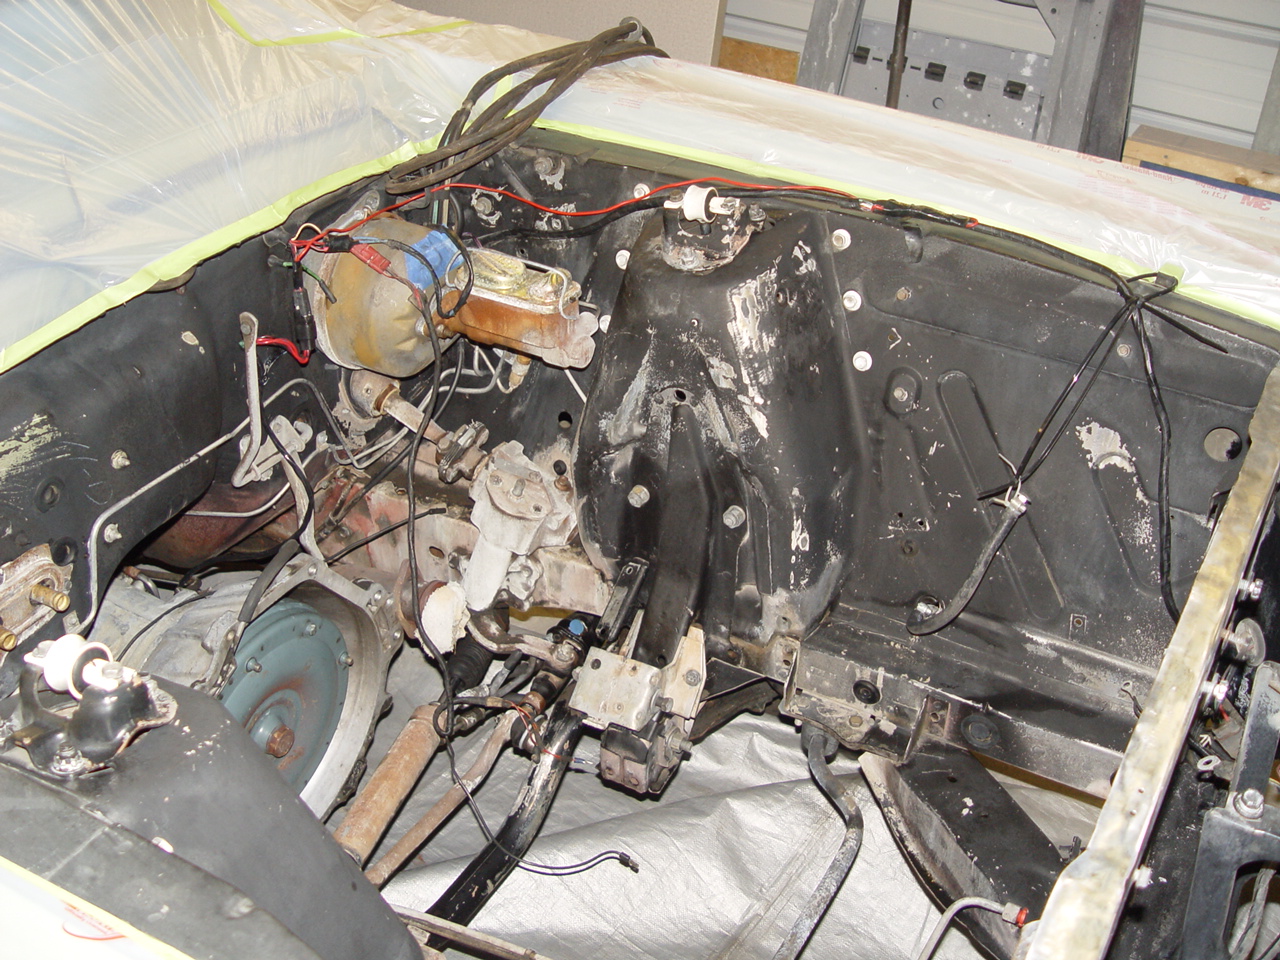
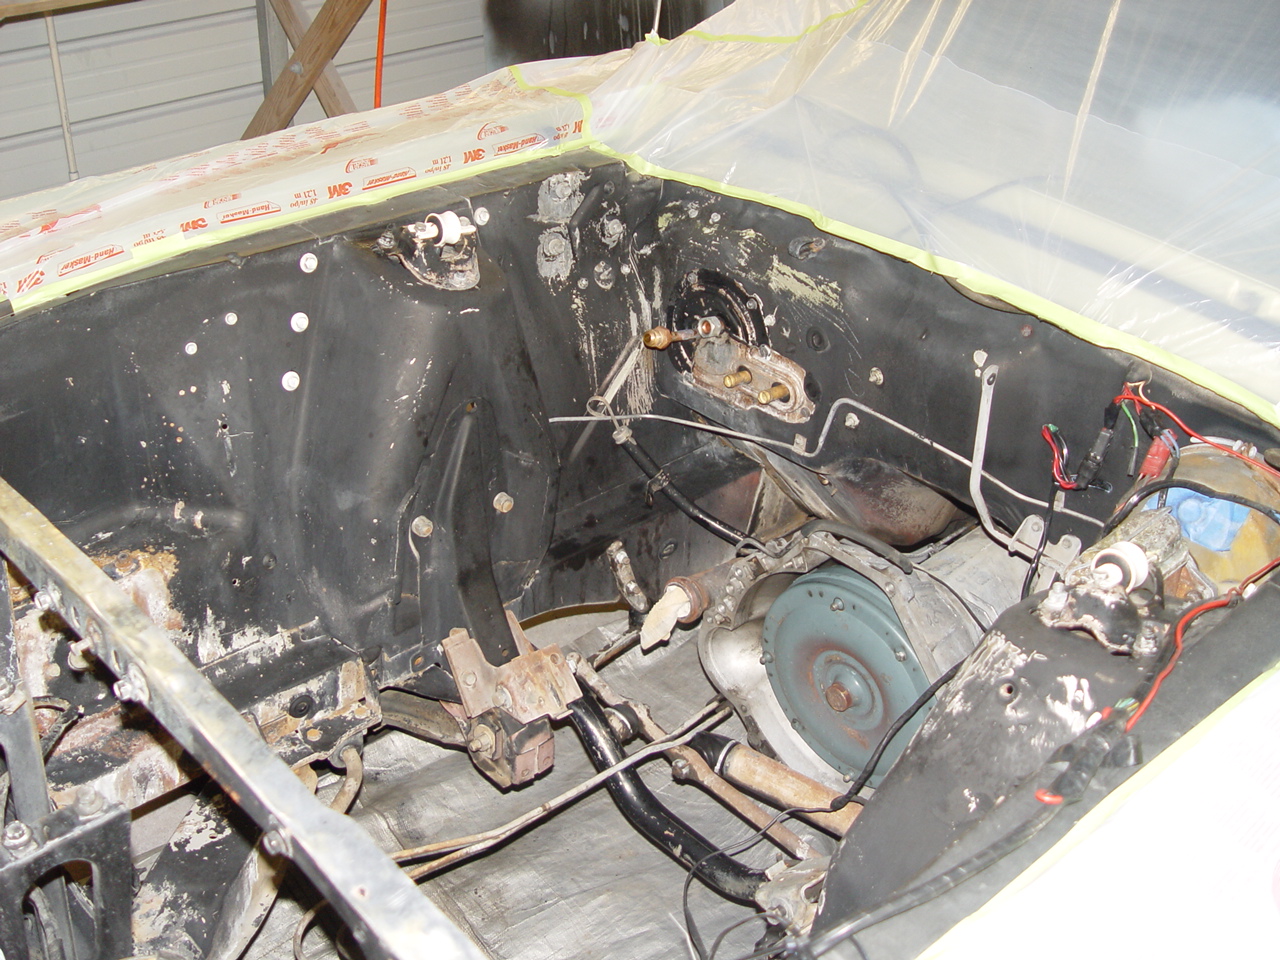
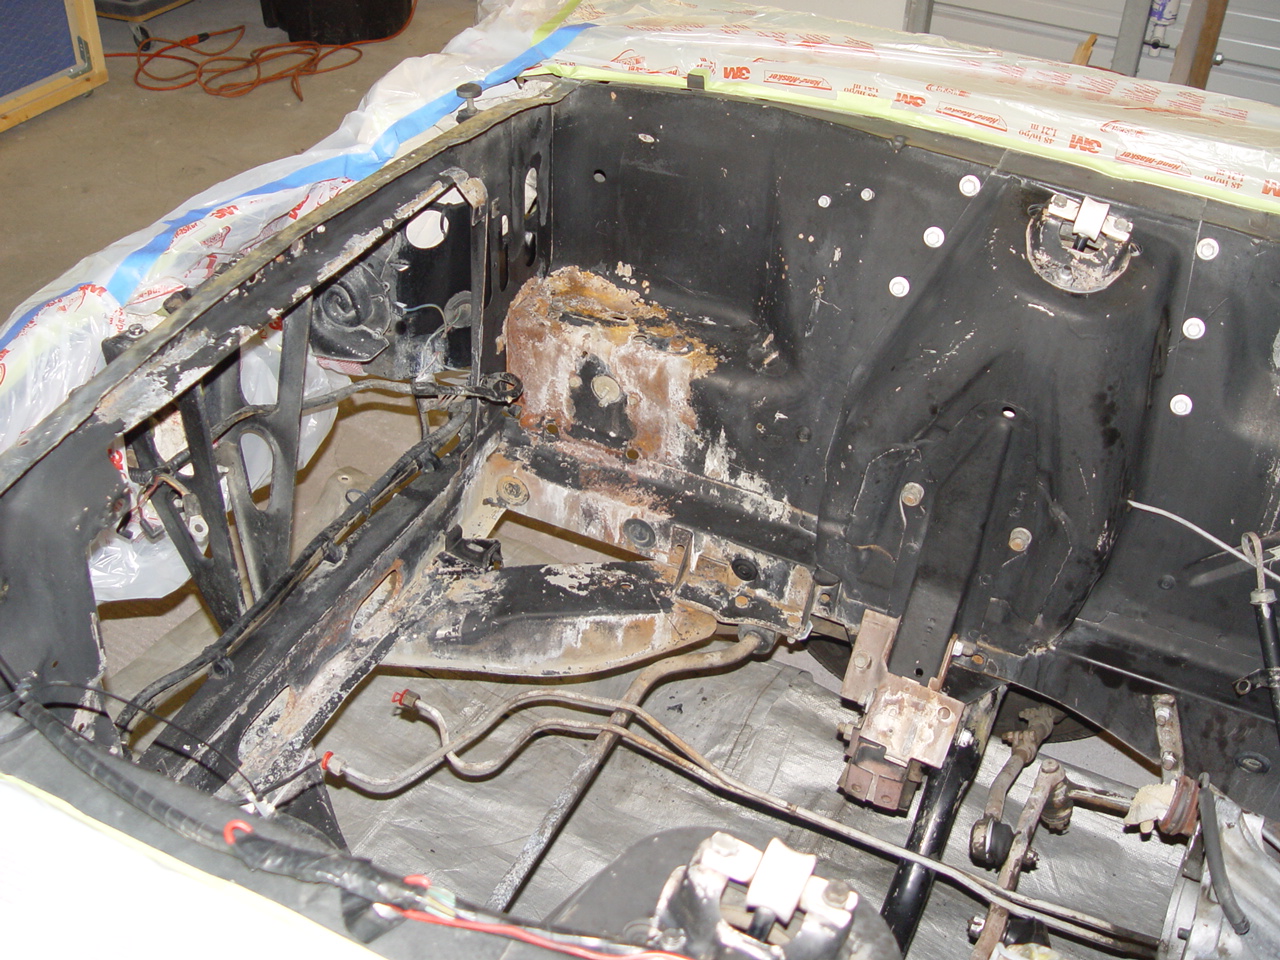
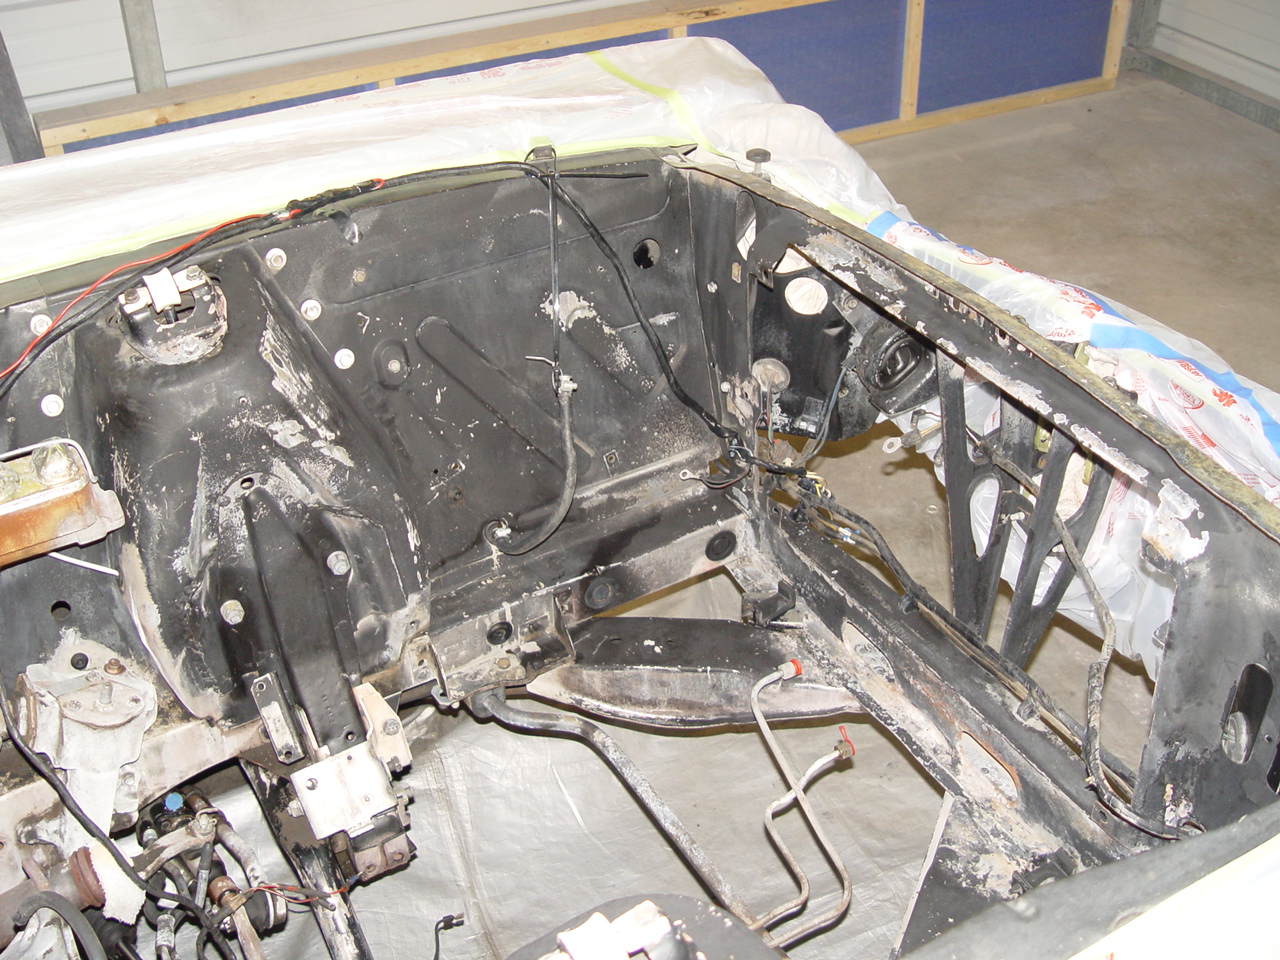
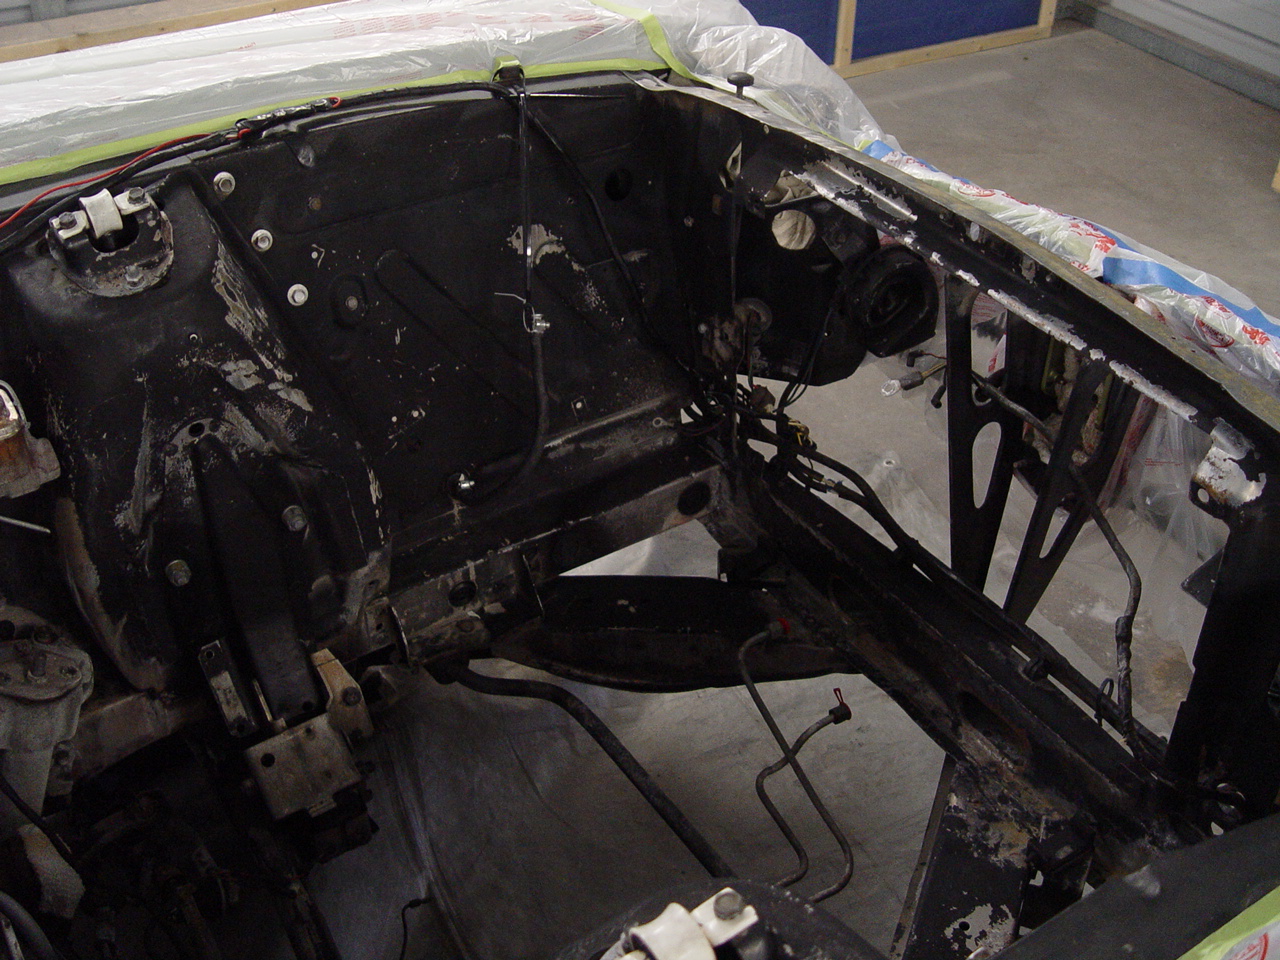
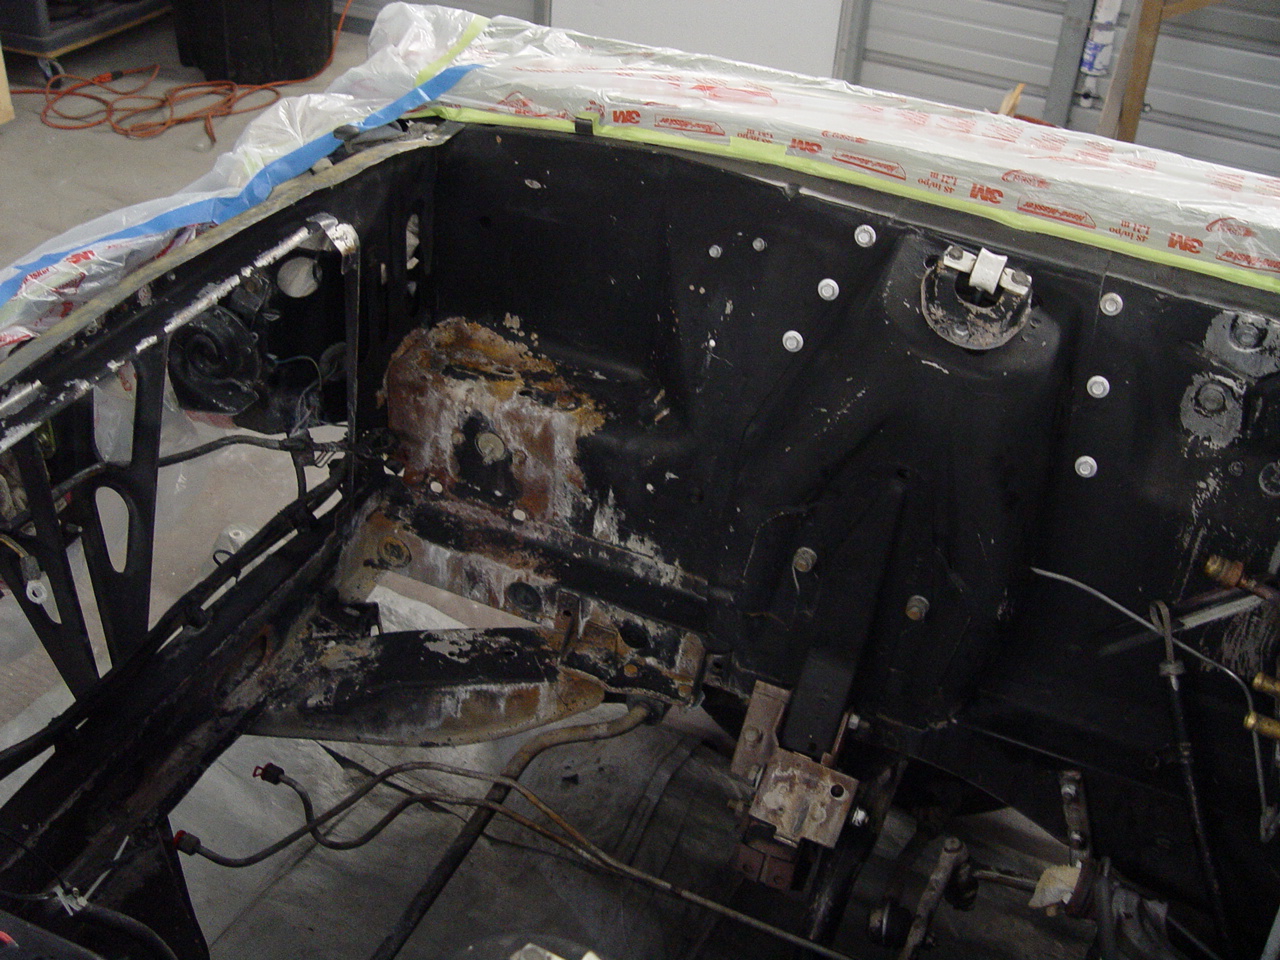
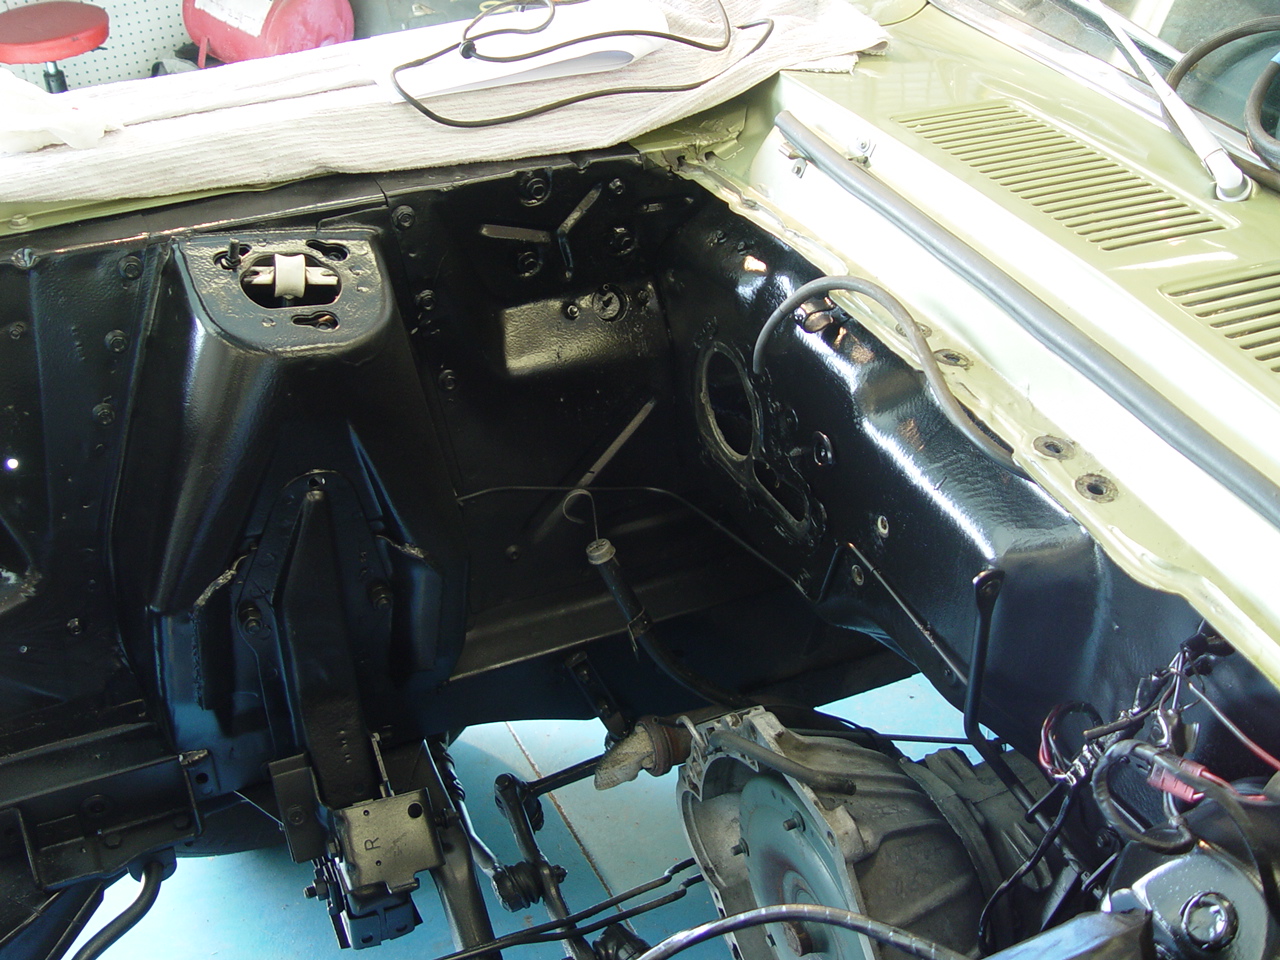
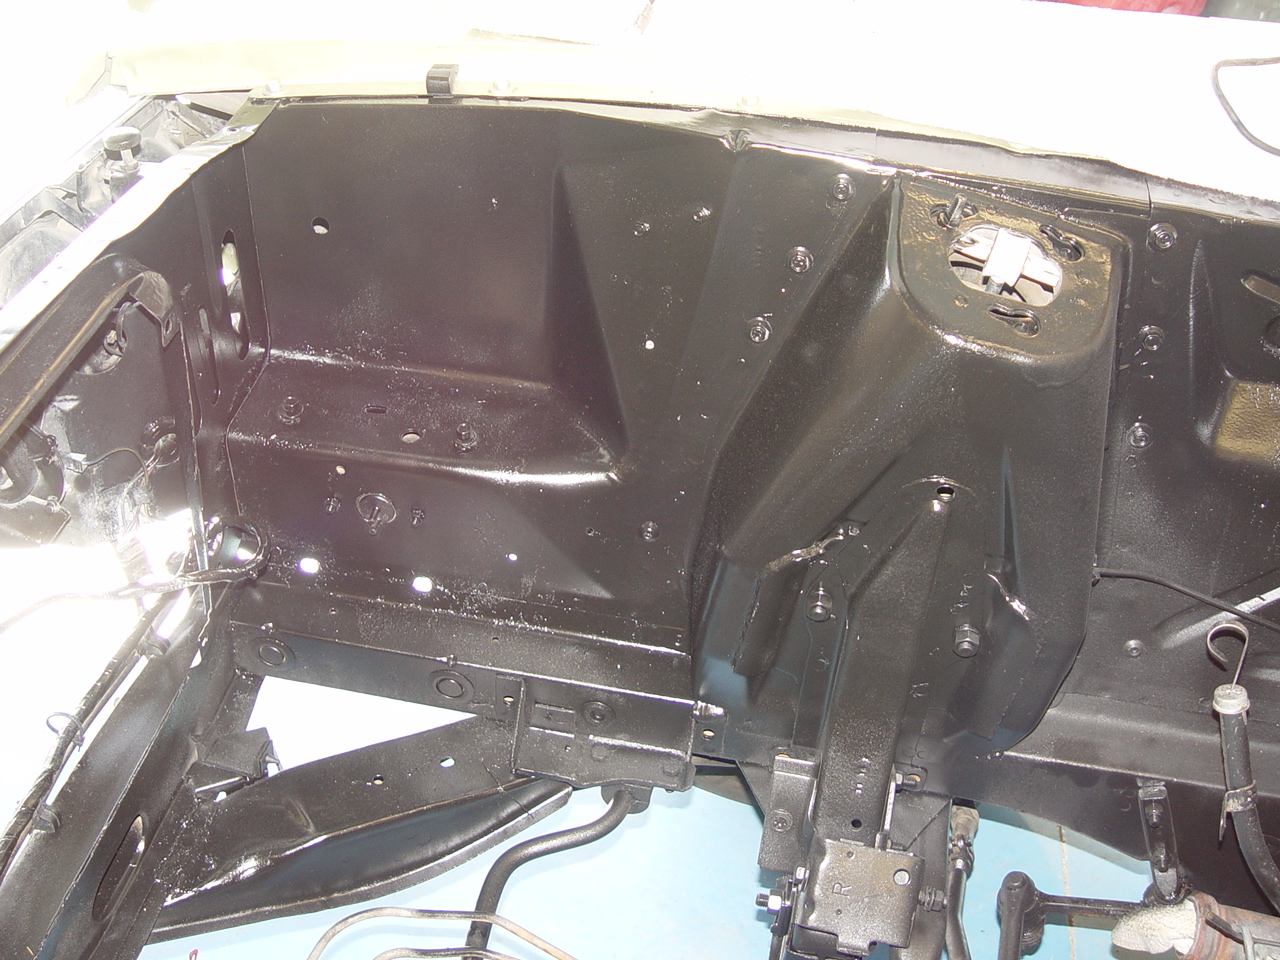
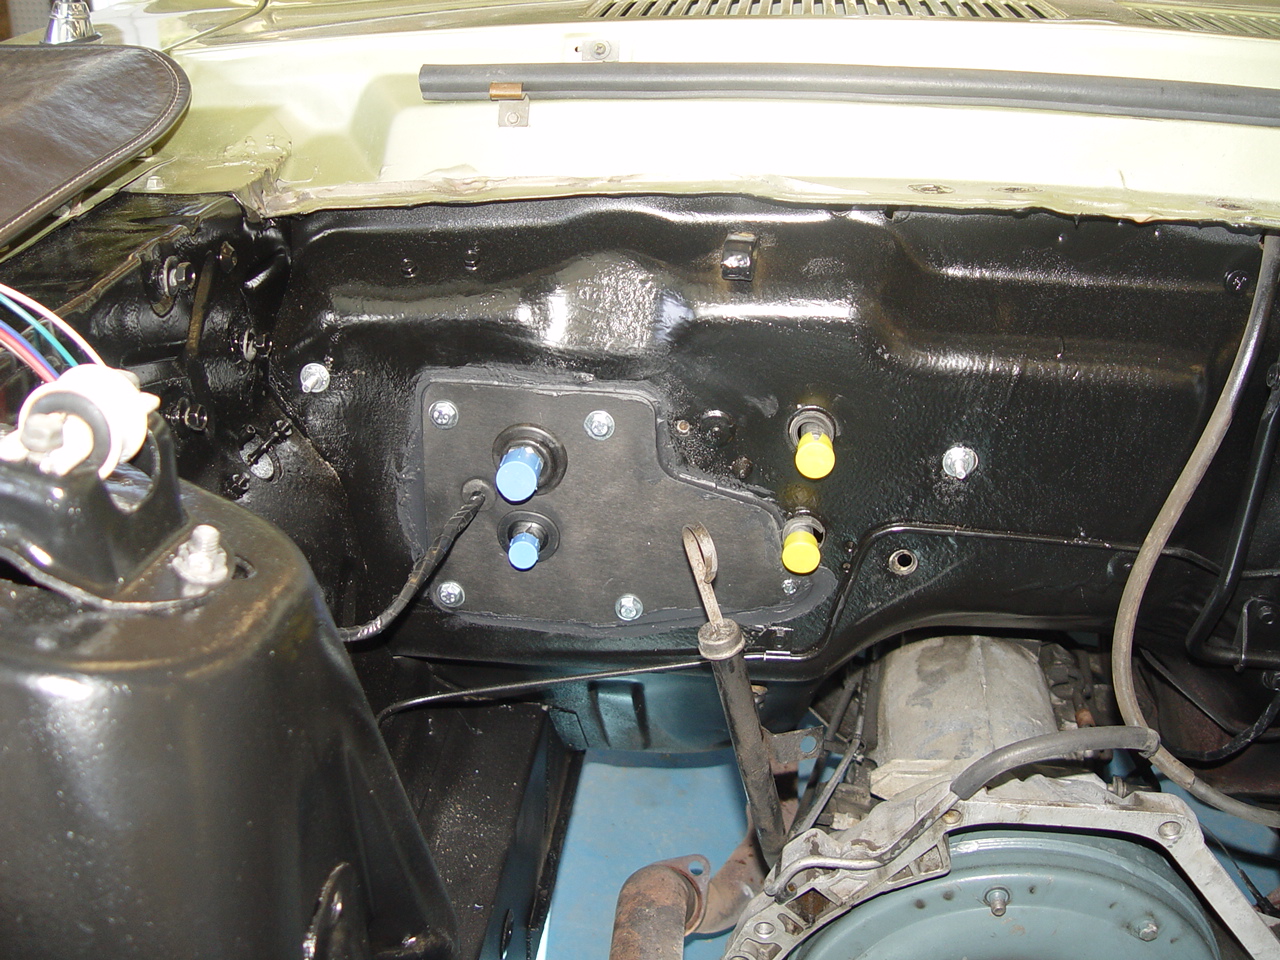
We began refurbishing the engine bay by first removing every part and component that we could without disrupting the brake hydraulics or disassembling any of the steering components. Once we had it stripped of everything that might get in the way, we sprayed everything with Gunk degreaser, followed by a thorough scrubbing and bath with our pressure washer. Then, just to make sure we had it as clean as possible, we sprayed it with a couple of cans of Easy Off oven cleaner. We've found that Easy Off will remove any remaining paint that might flake off - a must before applying a fresh coat of POR-15. With the entire engine bay clean, it was time for the application of POR-15's Metal Prep to properly treat the remaining rust. With that done, everything was masked off and the entire engine bay was sprayed with two coats of POR-15's Chassis Coat.
|
||||||
 |
 |
 |
 |
 |
||
 |
 |
 |
 |
 |
||
 |
 |
 |
 |
 |
||
 |
 |
 |
 |
 |
||
| Click on an image for a larger view | ||||||
AIR CONDITIONING | ||||||
|
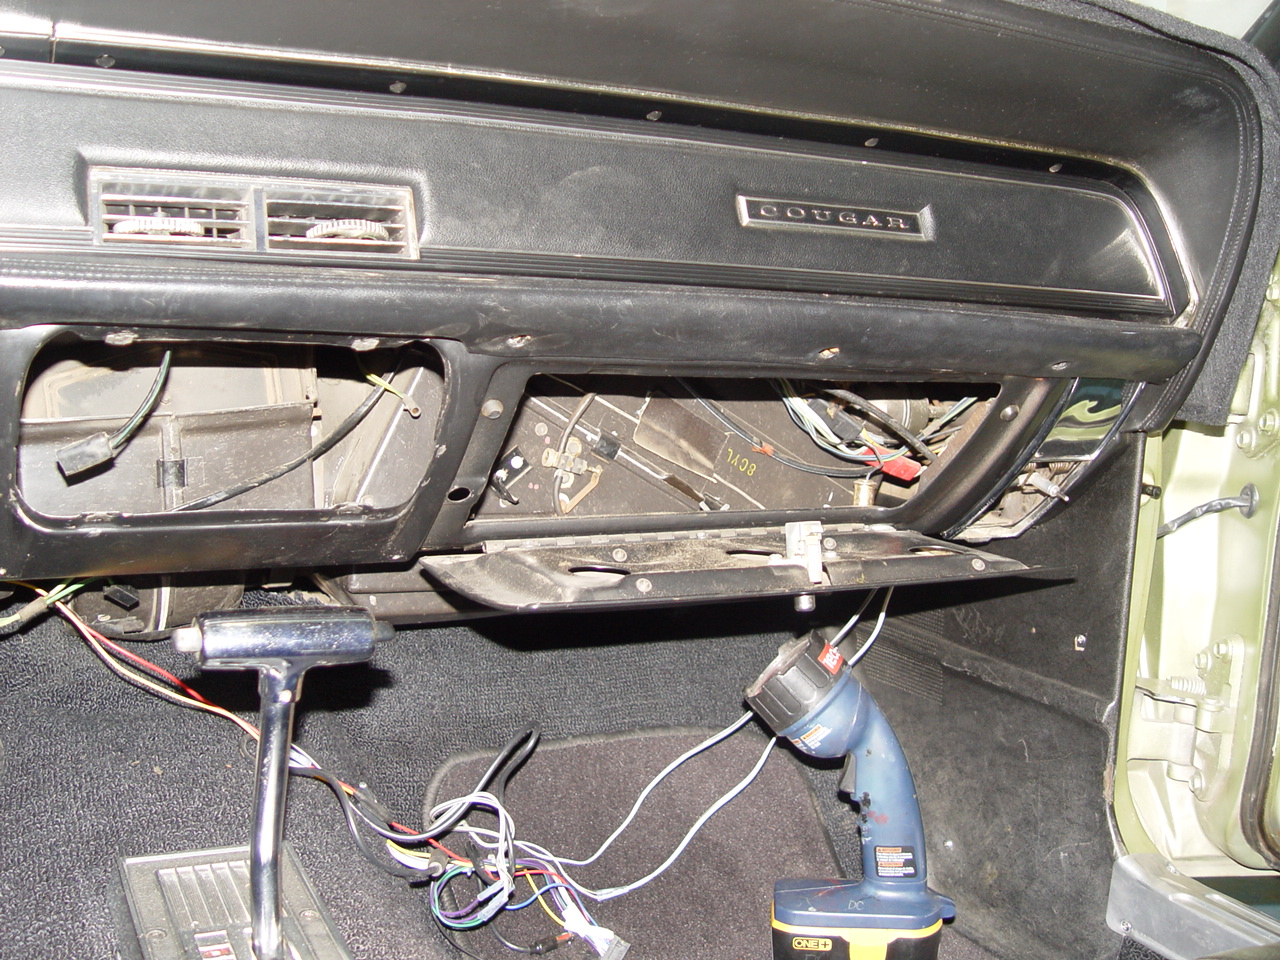
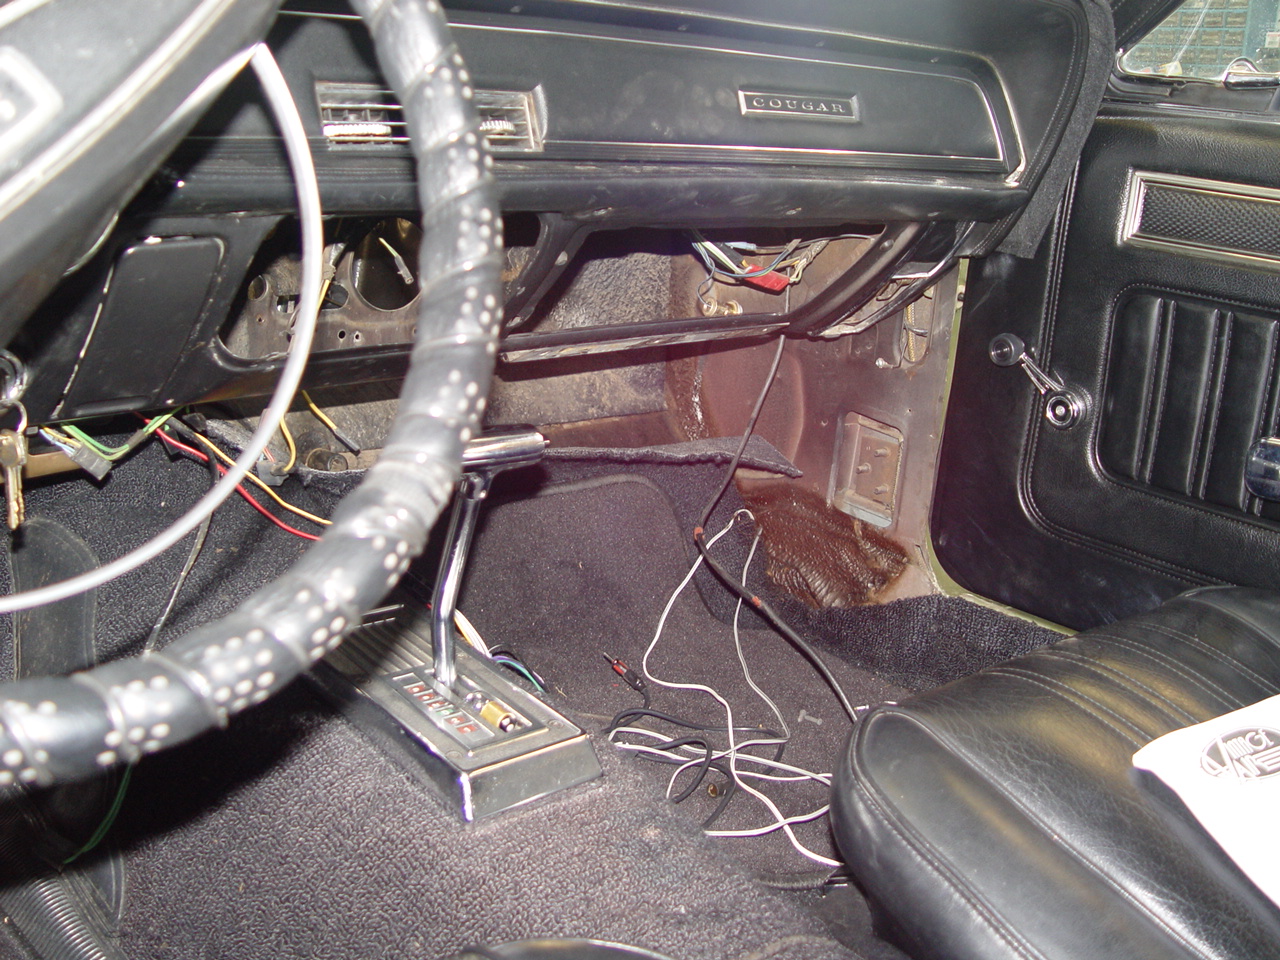
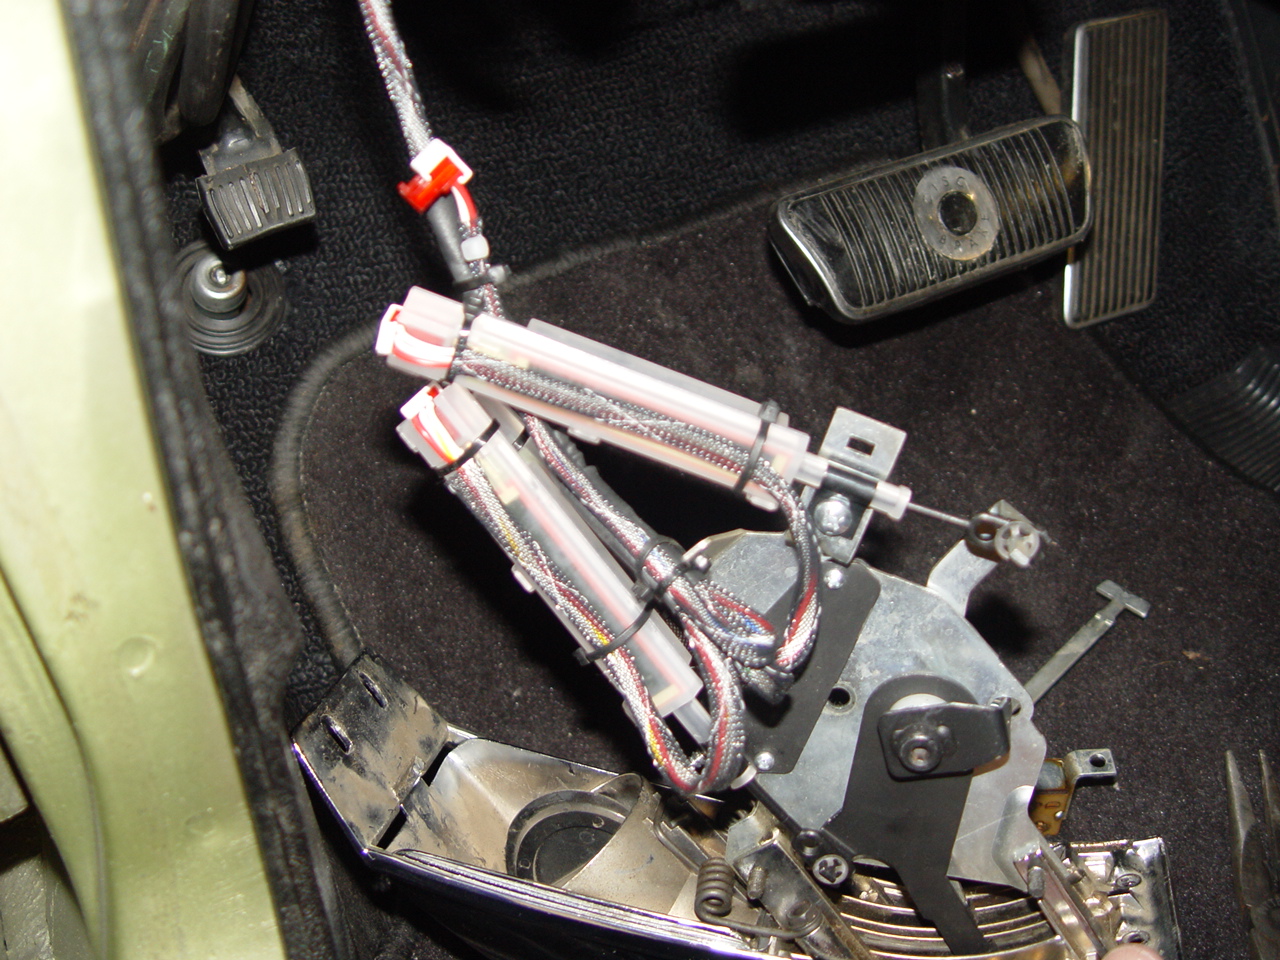
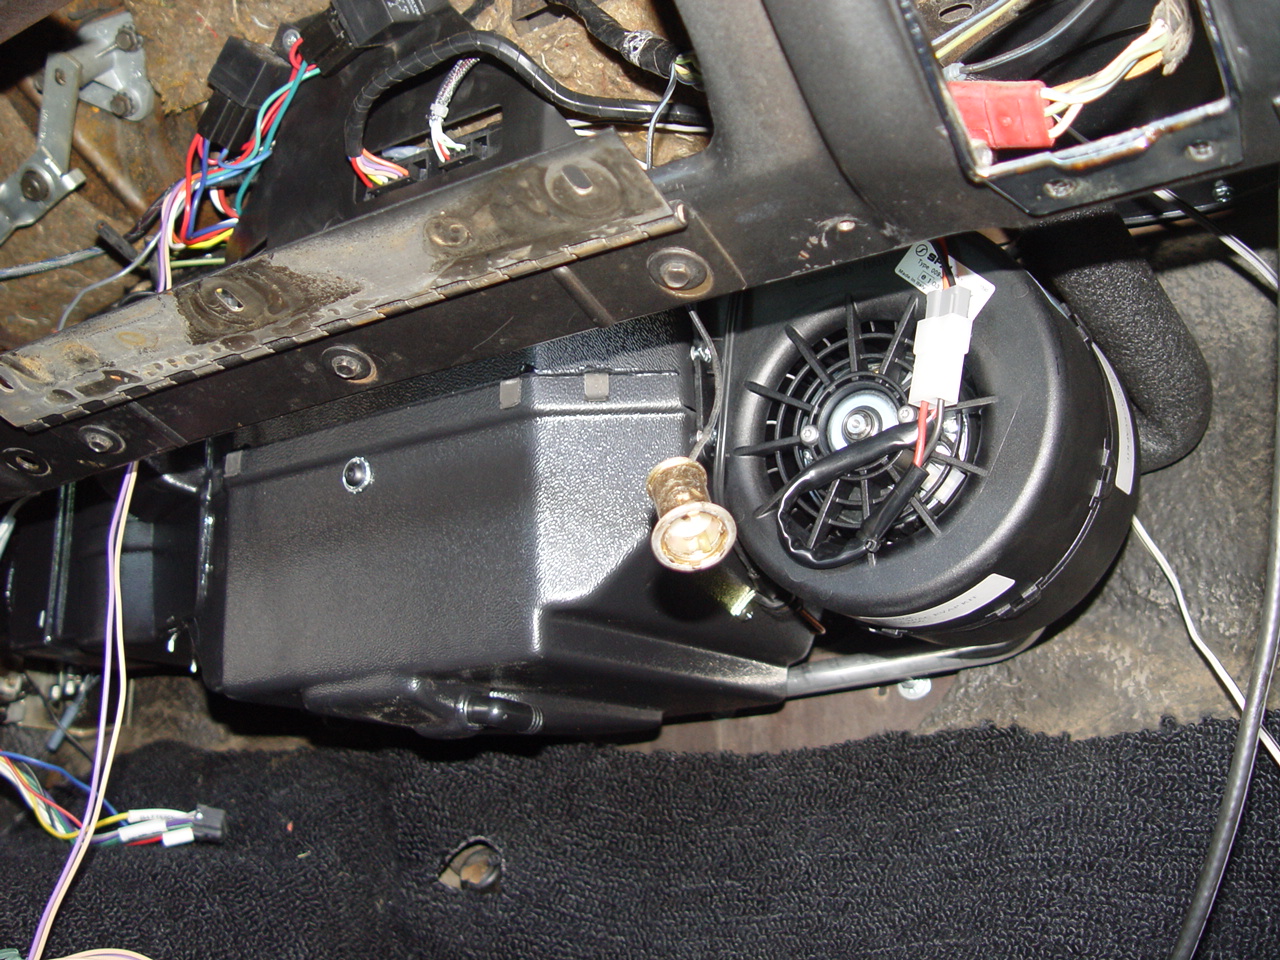
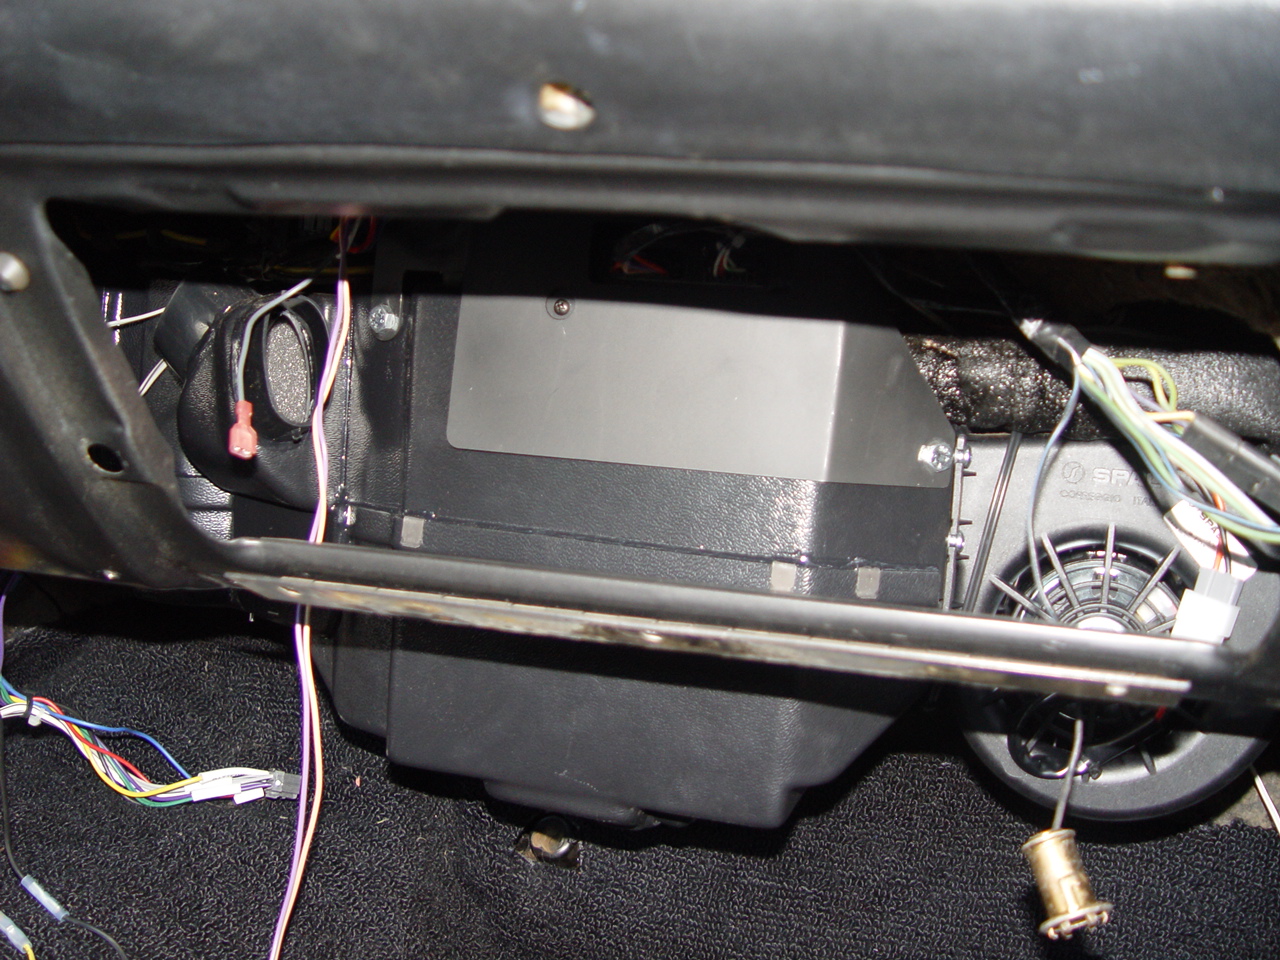
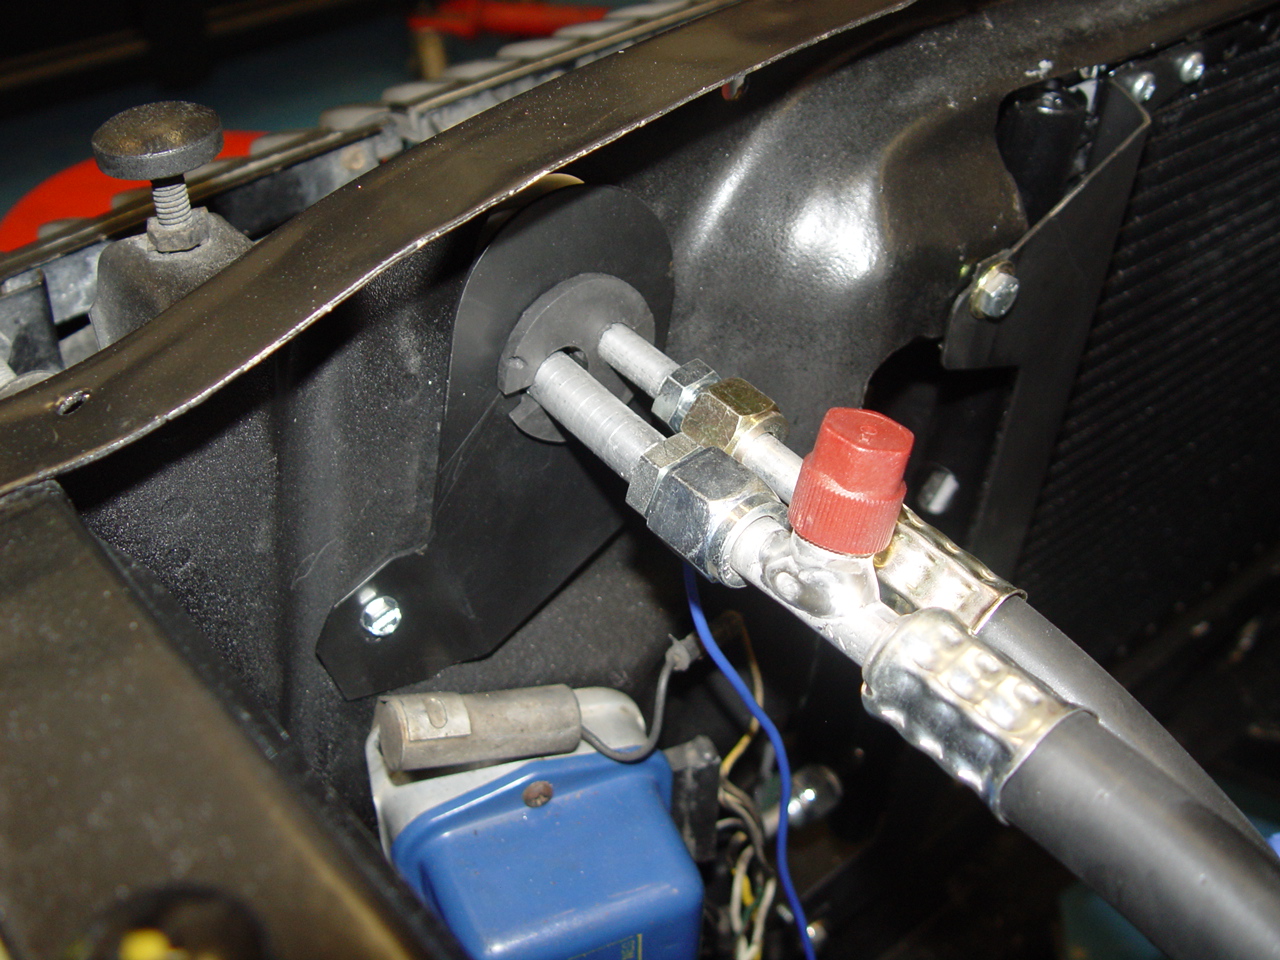
This Cougar came equipped with factory air conditioning. However, with the conversion to R-134A refrigerant - and the resultant 15% reduction in efficiency - the old York-style A/C compressor just couldn't keep up with the demands of a Texas summer. So, we ordered up Vintage Air's "Sure Fit" system for an A/C-equipped 1968 Mustang and converted the old vacuum-controlled heat & A/C system over to a modern fully-electronic system.
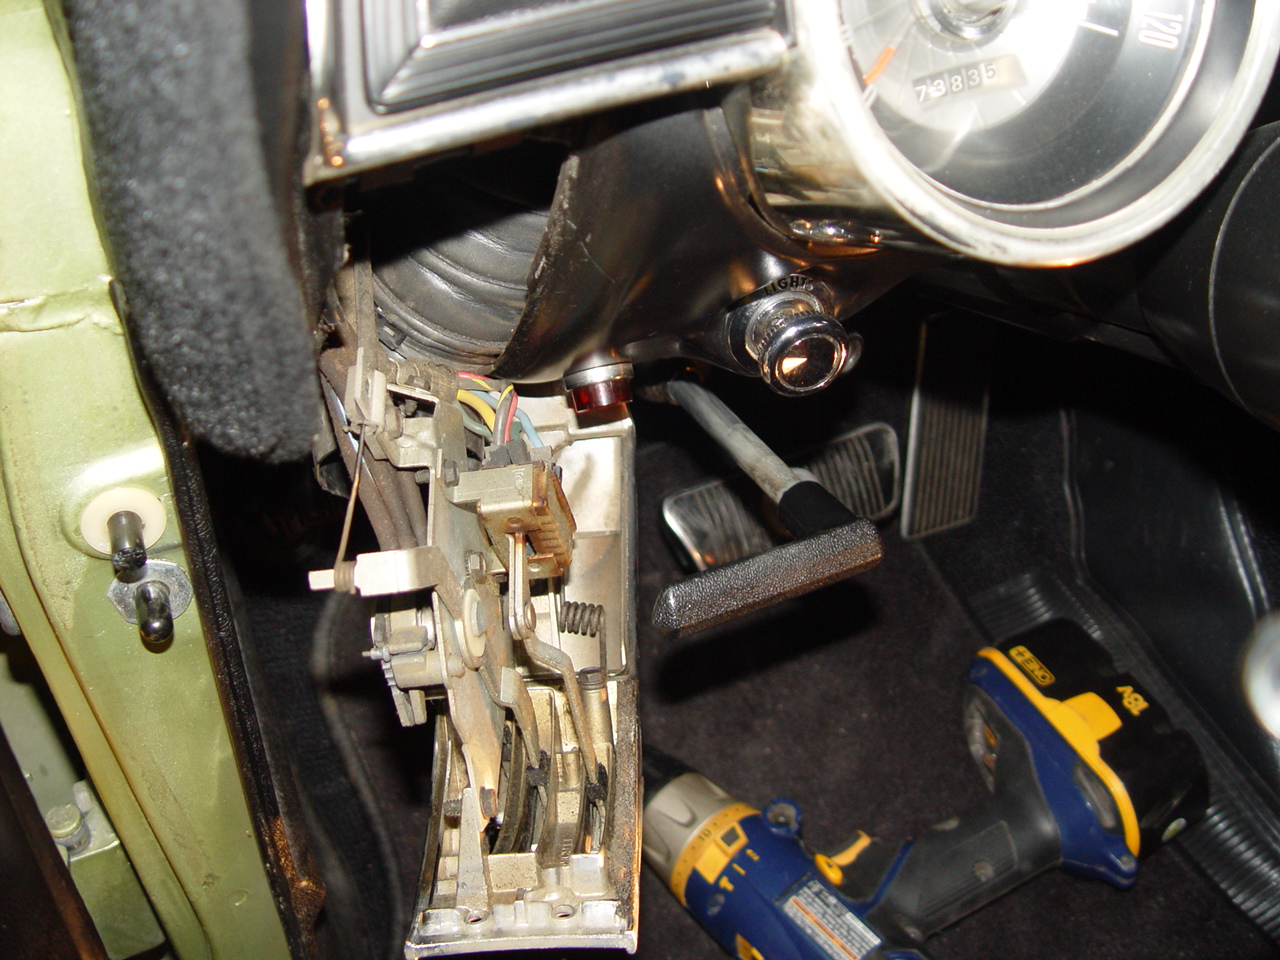
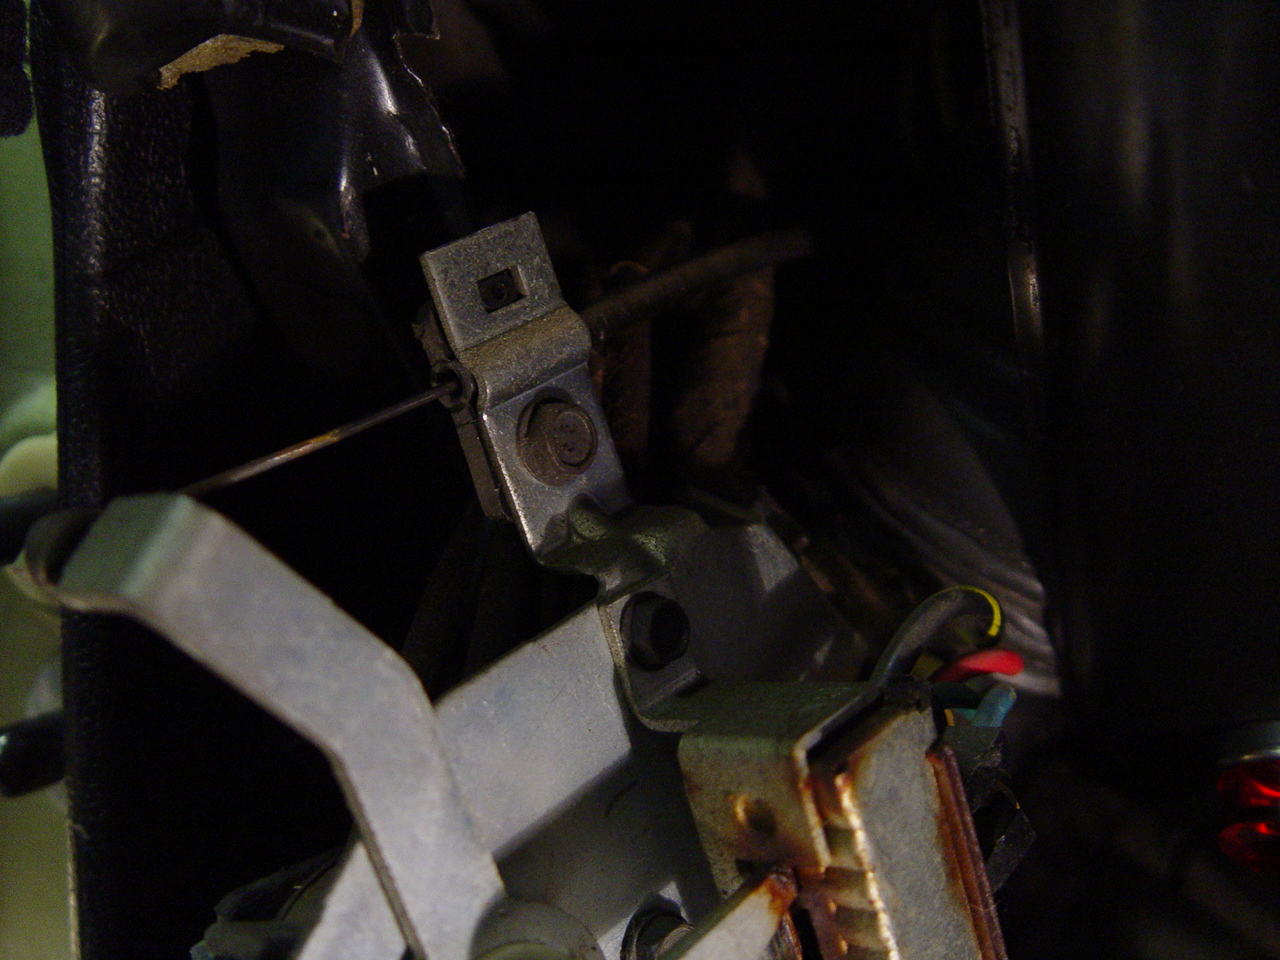
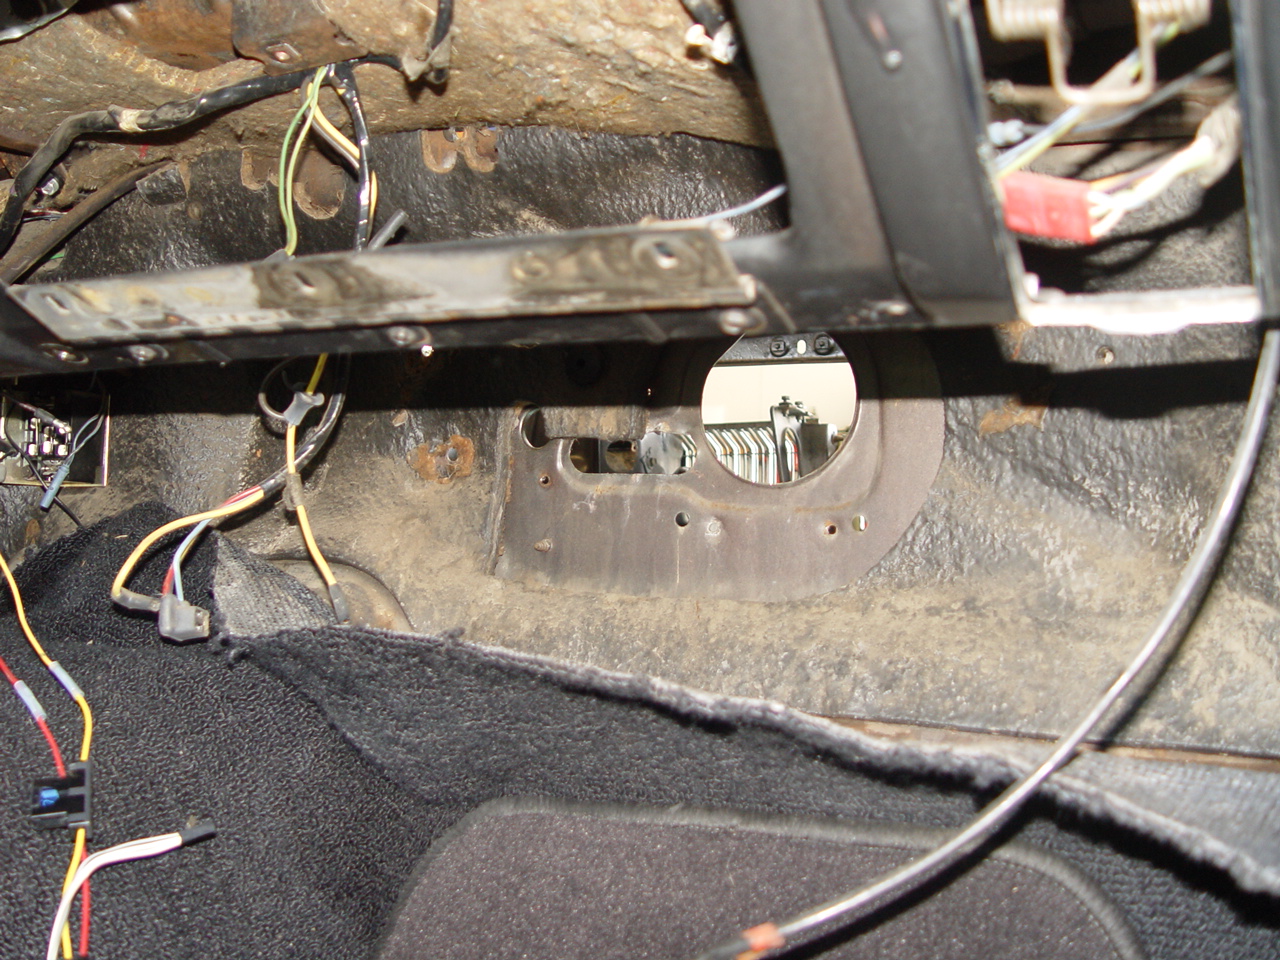
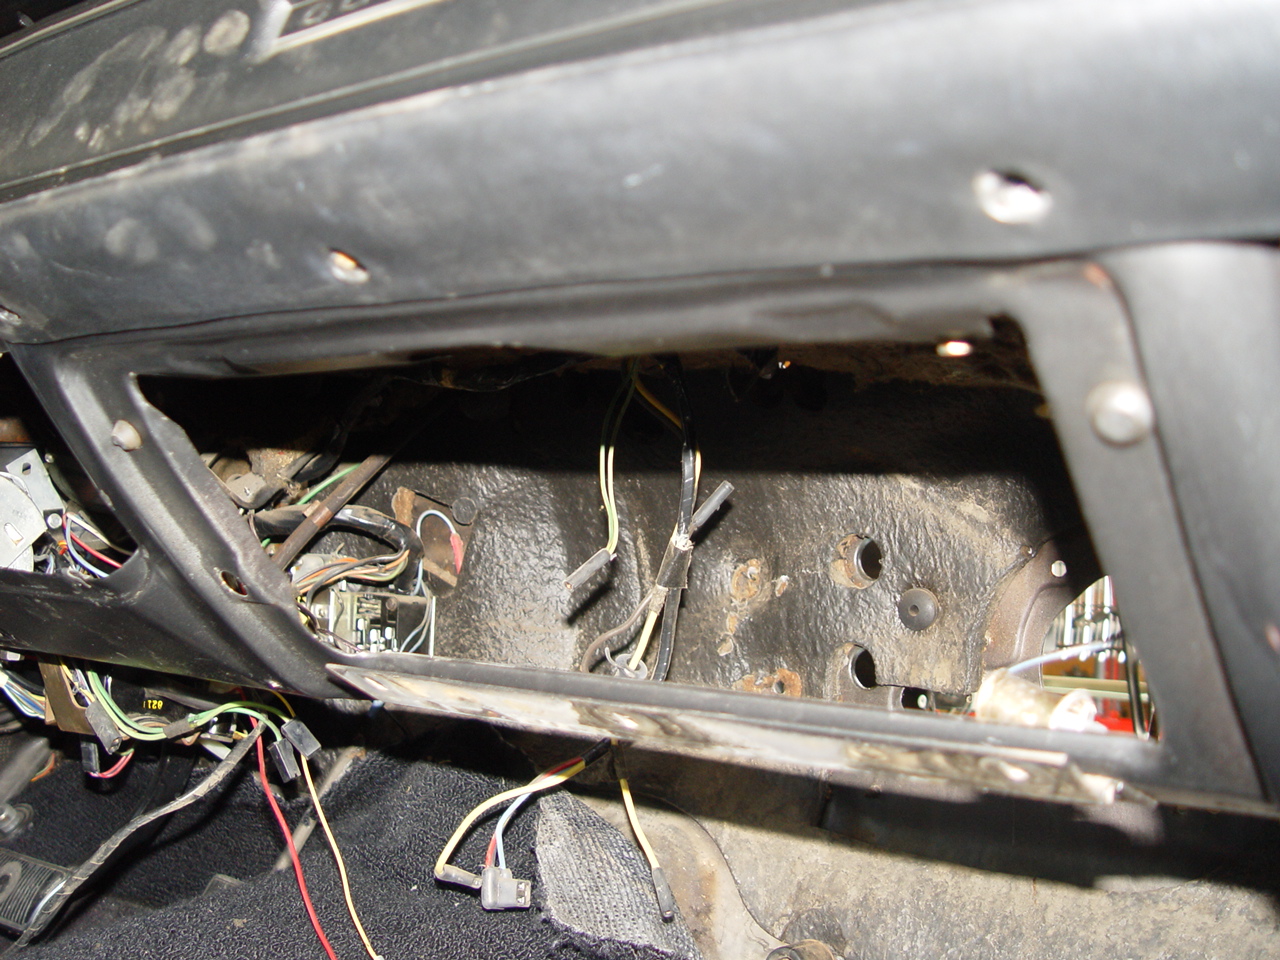
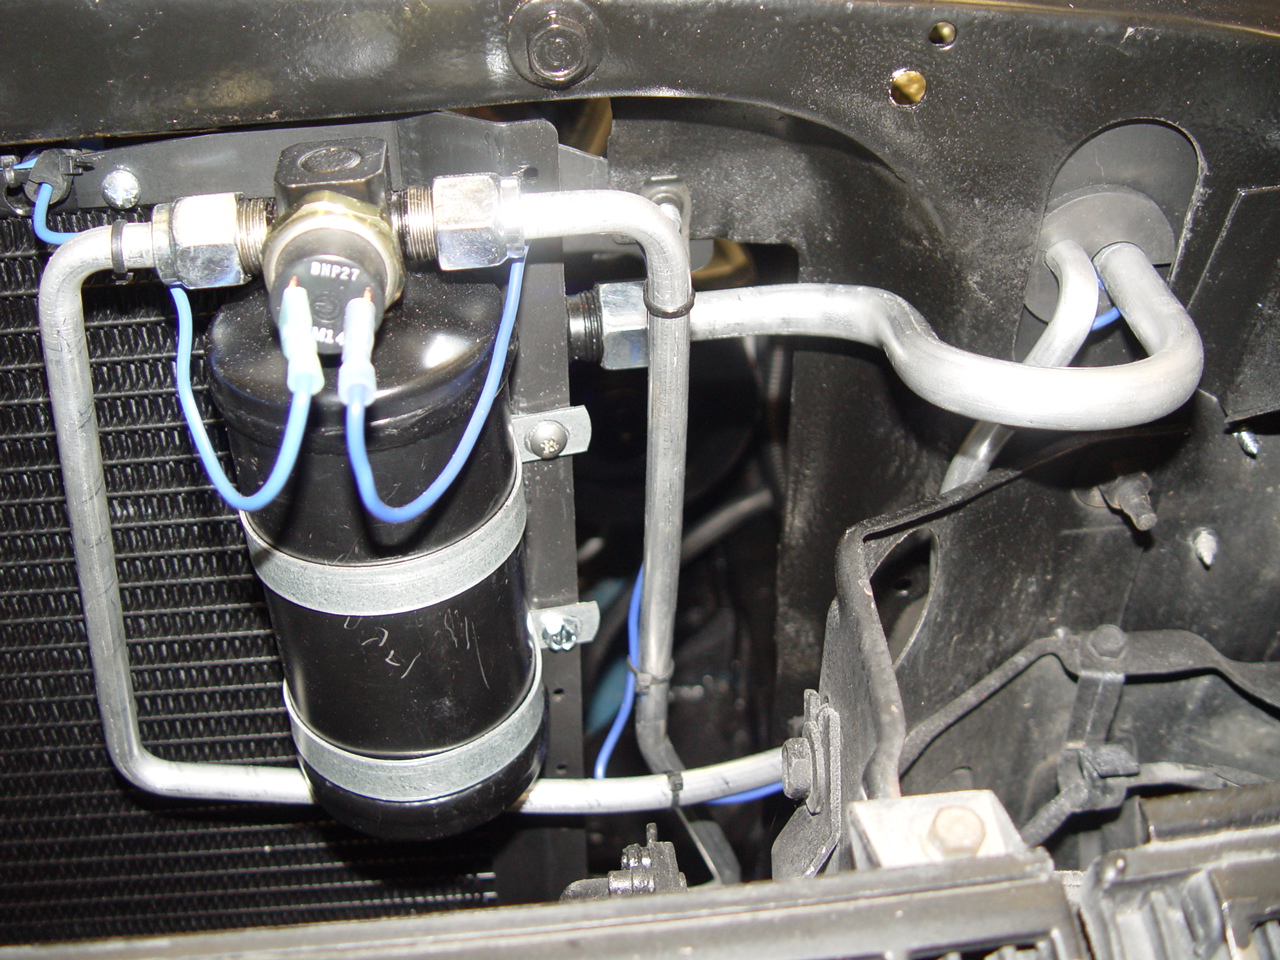
The kit came with a Sanden compressor, modern highly-efficient condensor, complete heat & A/C evaporator box, an electronic heater control valve, prefabricated hoses and hard lines and a really cool set of linear resistors to convert the original cable-actuated control head over to electronic. The entire conversion went without a hitch until it came to the hard lines. While everyone knows that Mustangs and Cougars share the same basic chassis, one thing that didn't occur to us - at first - was that the hidden headlight mechanism's bracketry would get in the way. Well, one of the two lines was easily manipulated to work. However, the high pressure hard line that runs through the radiator core support to the dryer had to be fabricated from a 12" straight piece of #8 hard pipe that we got from Vintage Air. So, for those of you considering this conversion for your Cougar, that one pipe is the only difference you need to worry about.
|
||||||
 |
 |
 |
 |
 |
||
 |
 |
 |
 |
 |
||
 |
 |
 |
 |
 |
||
| Click on an image for a larger view | ||||||
COOLING SYSTEM | ||||||
|
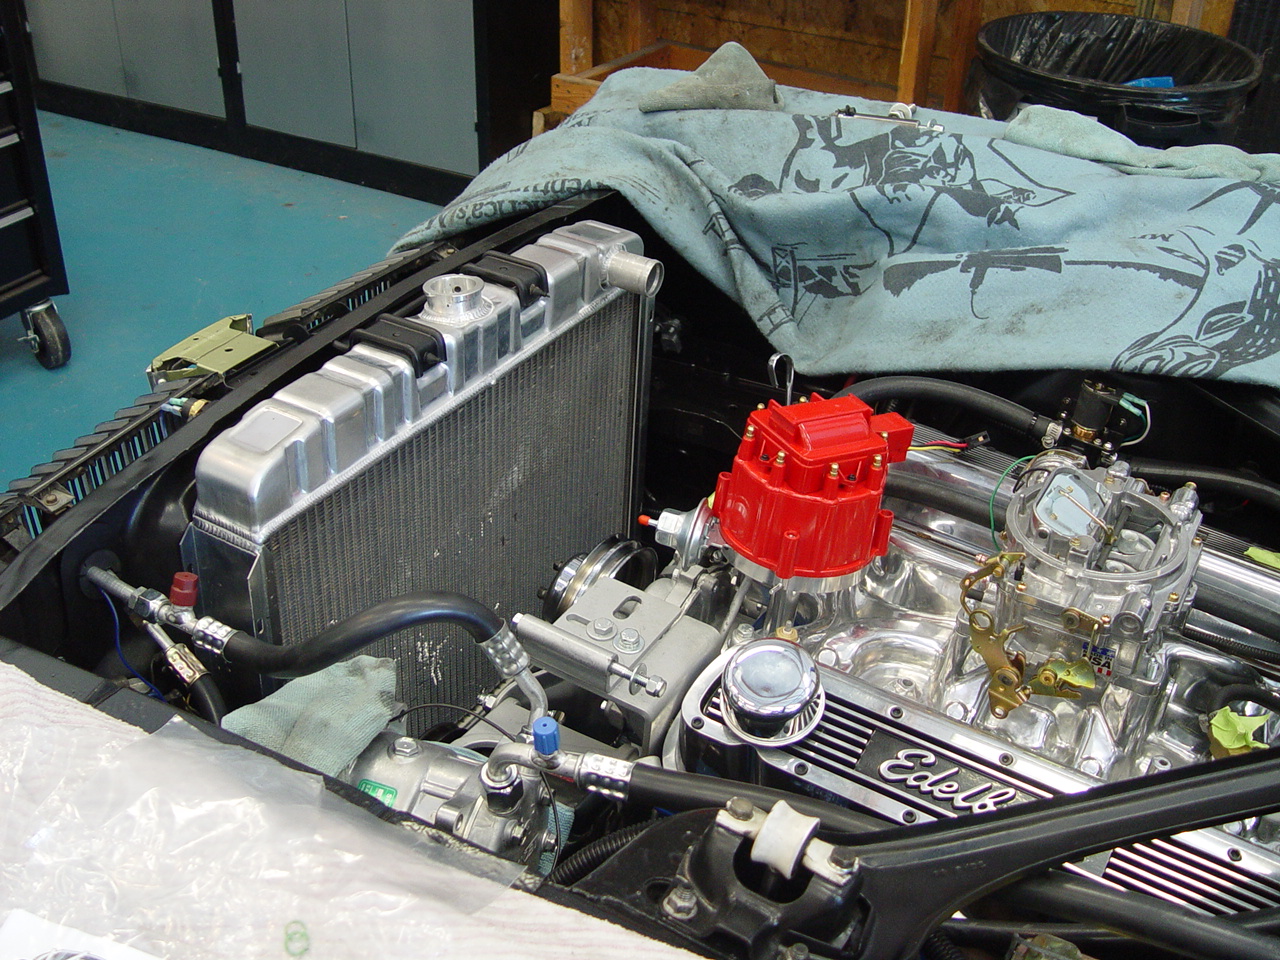
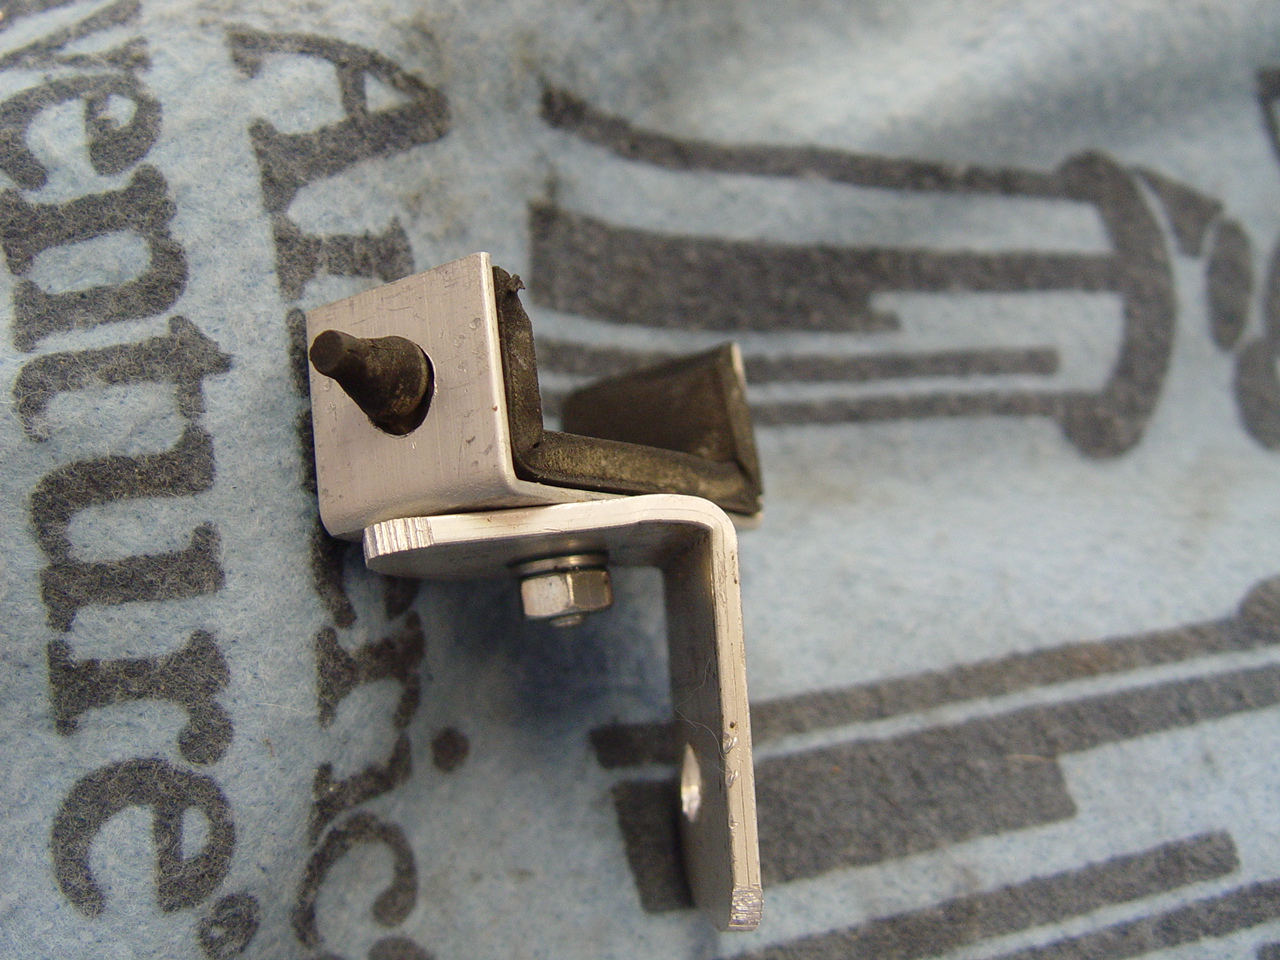
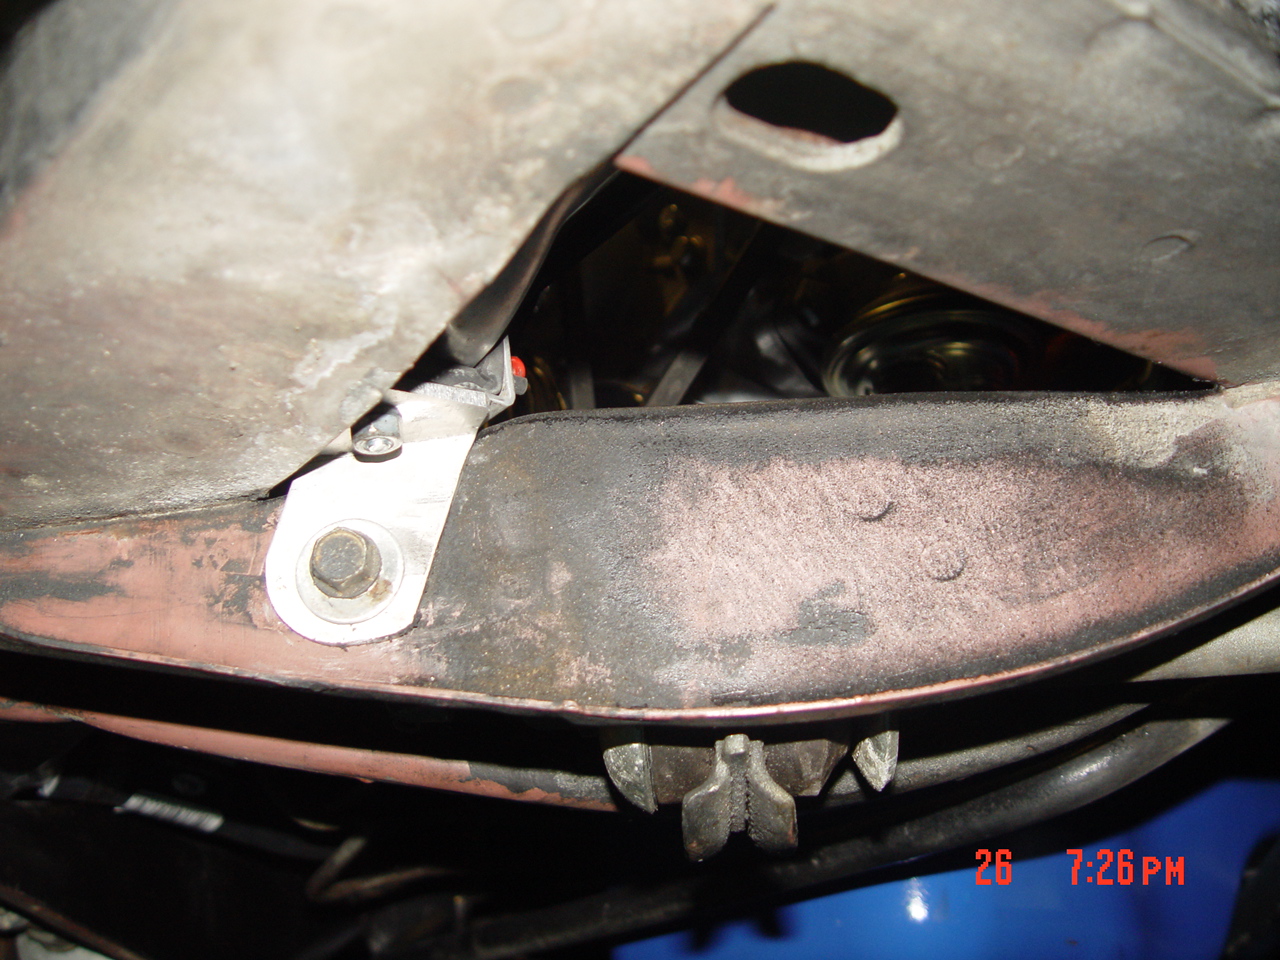
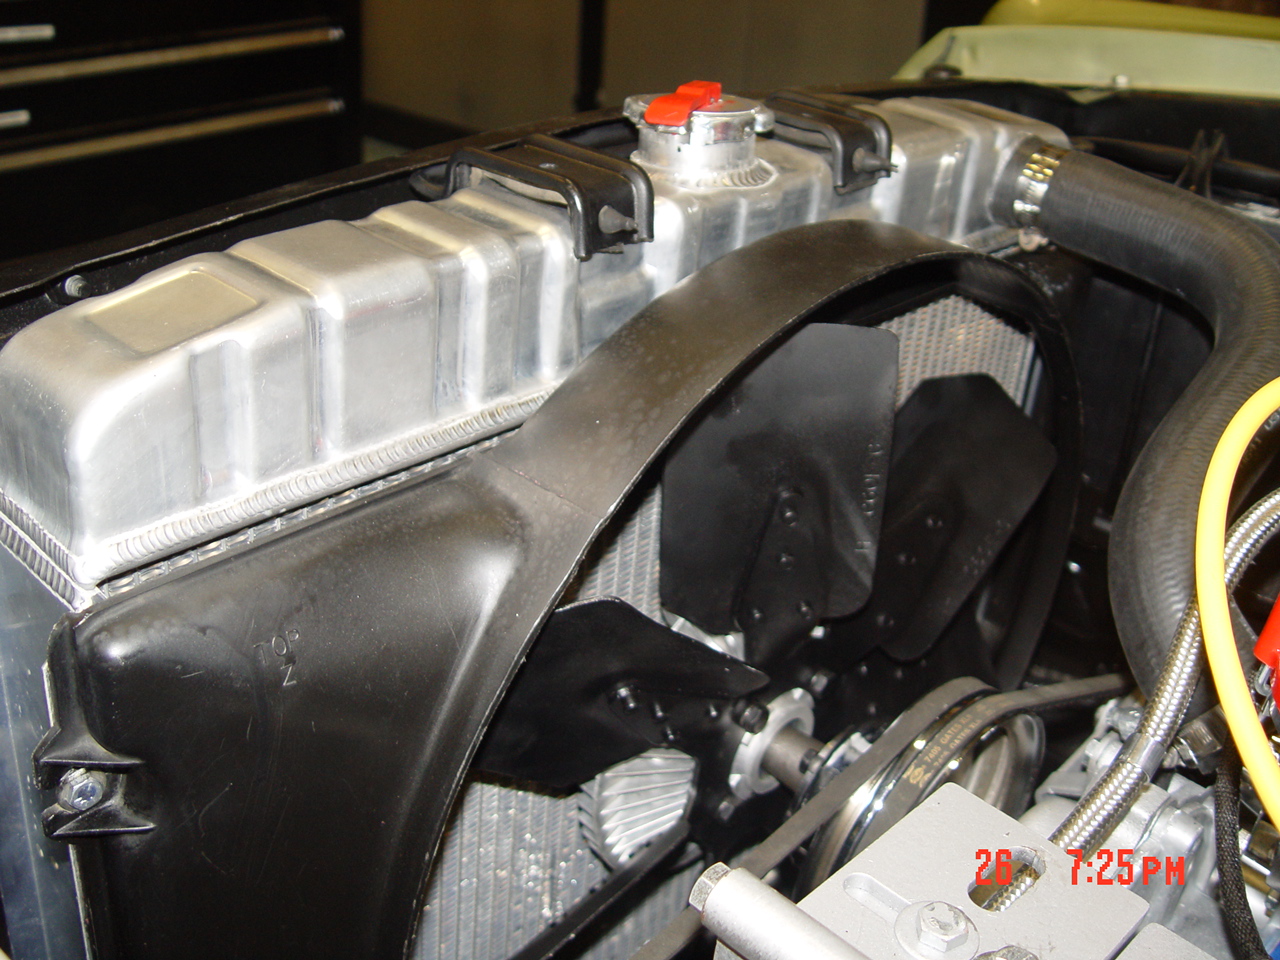
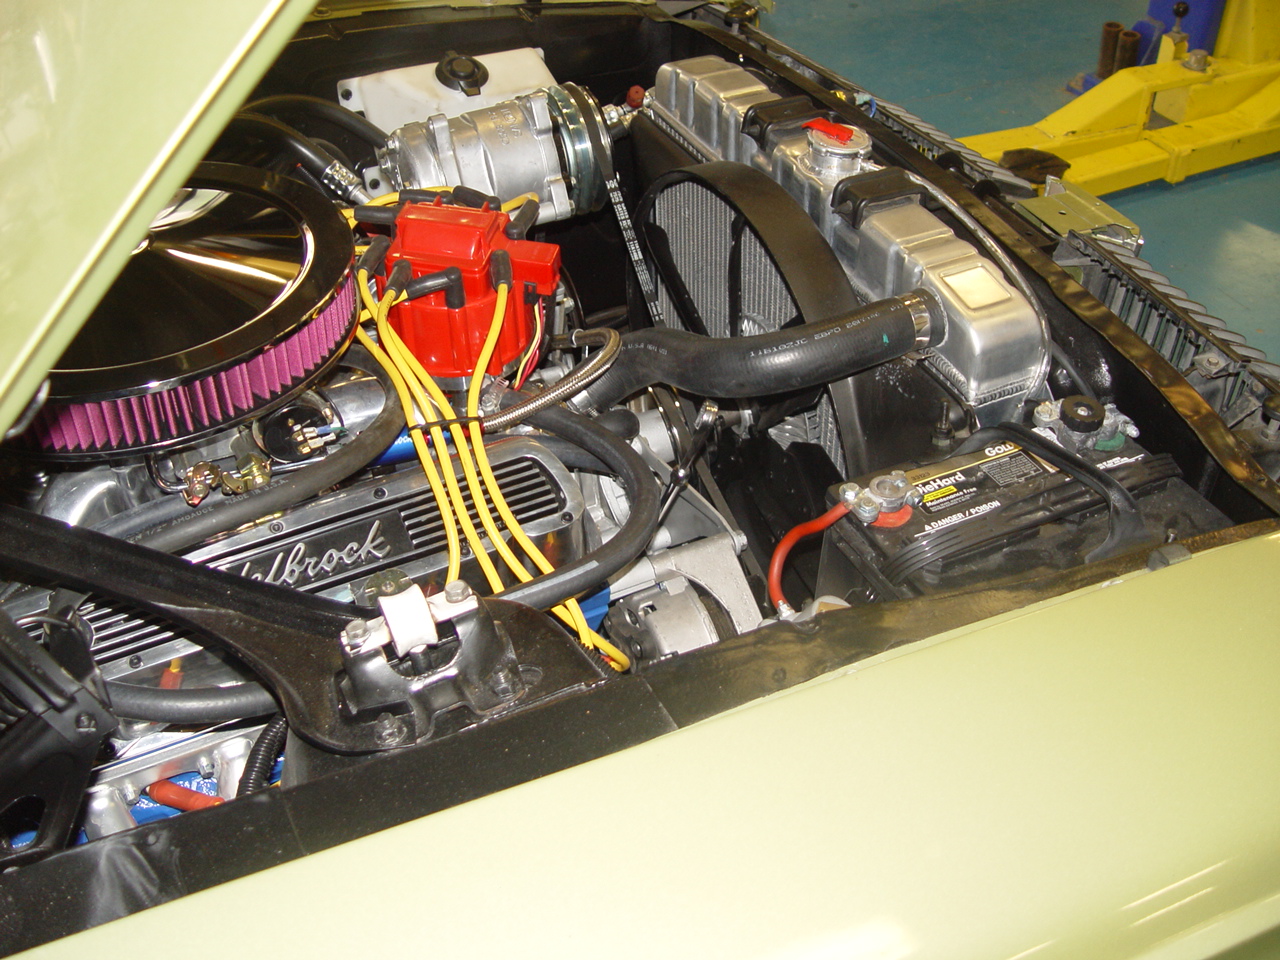
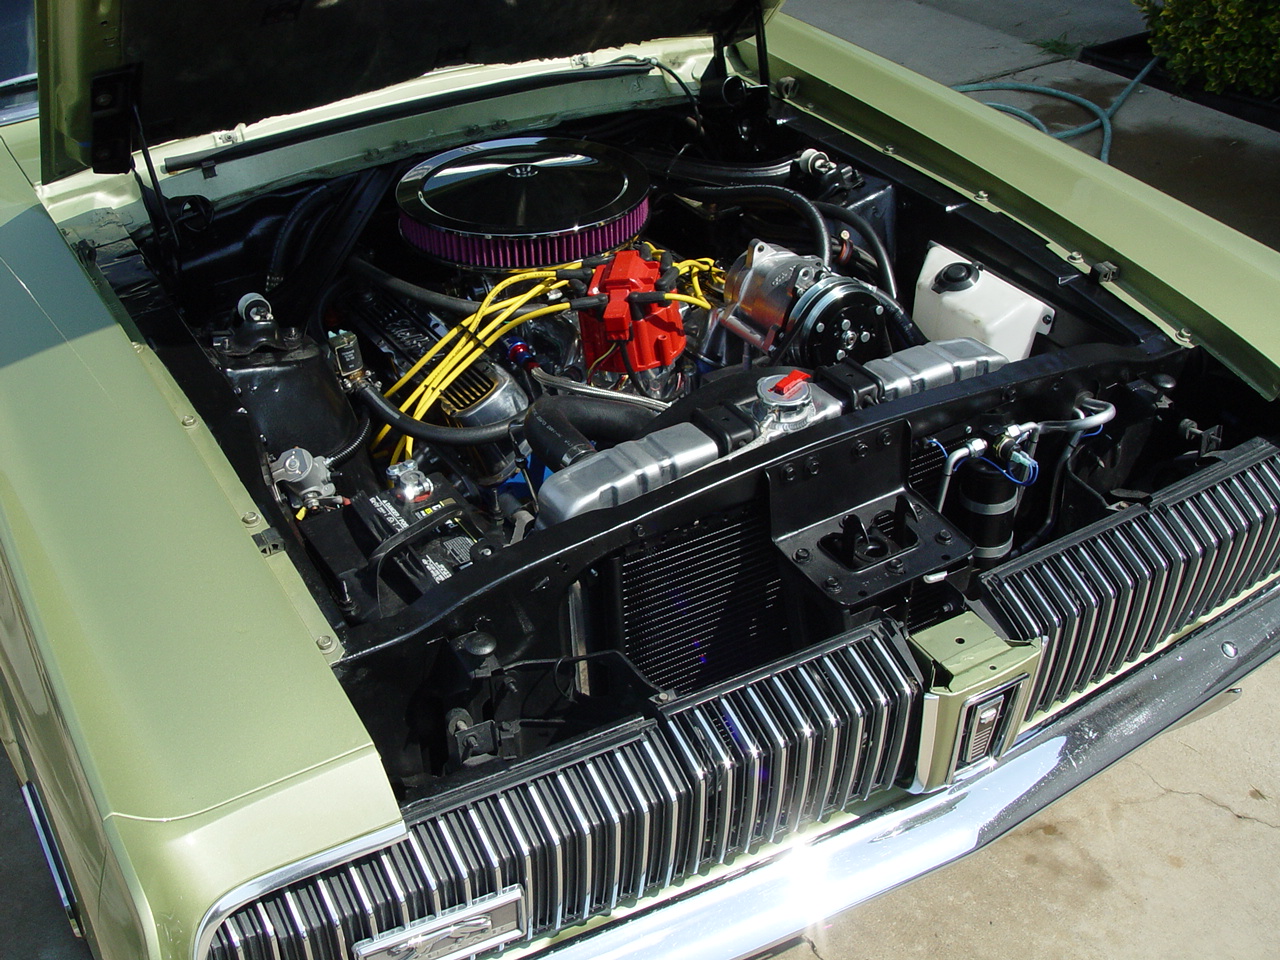
The Cougar's original cooling system - as configured for A/C - worked fine so long as you didn't attempt to run the A/C traffic on a hot day. With a claimed 50% increase in horsepower from the new engine and installation of a new A/C system, the original cooling system just wasn't going to cut it.
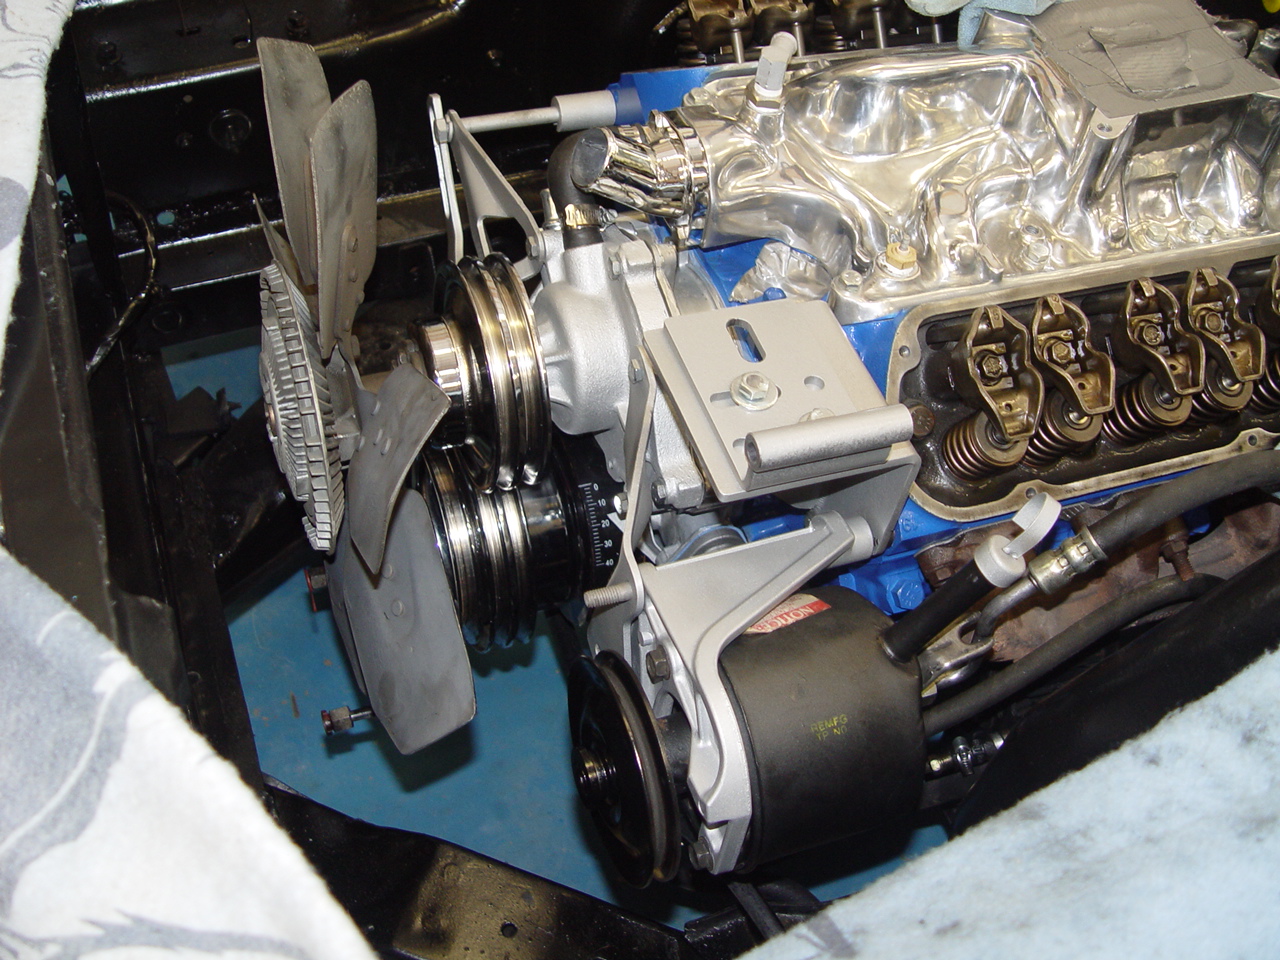
So, a call to Griffin Thermal Products got us a new 3-row core aluminum radiator rated to over 450 horsepower with A/C. There were just two minor hitches in the installation. First, custom mounts were required for the bottom of the radiator since its thicker profile meant that the original brackets were too close to the core support. Second, the increased thickness of the radiator caused interference with the engine-driven fan. This was resolved by replacing the original fan clutch with one that was a bit shorter. Surprisingly, according to the parts store, the shorter one is what is called for as an OEM replacement.
After getting everything together, the cooling system performs flawlessly. Even during the cam break-in (gruelling test of a cooling system), coolant temperature climbed to and held fast at a very acceptable temperature.
|
||||||
 |
 |
 |
 |
 |
||
| Click on an image for a larger view | ||||||
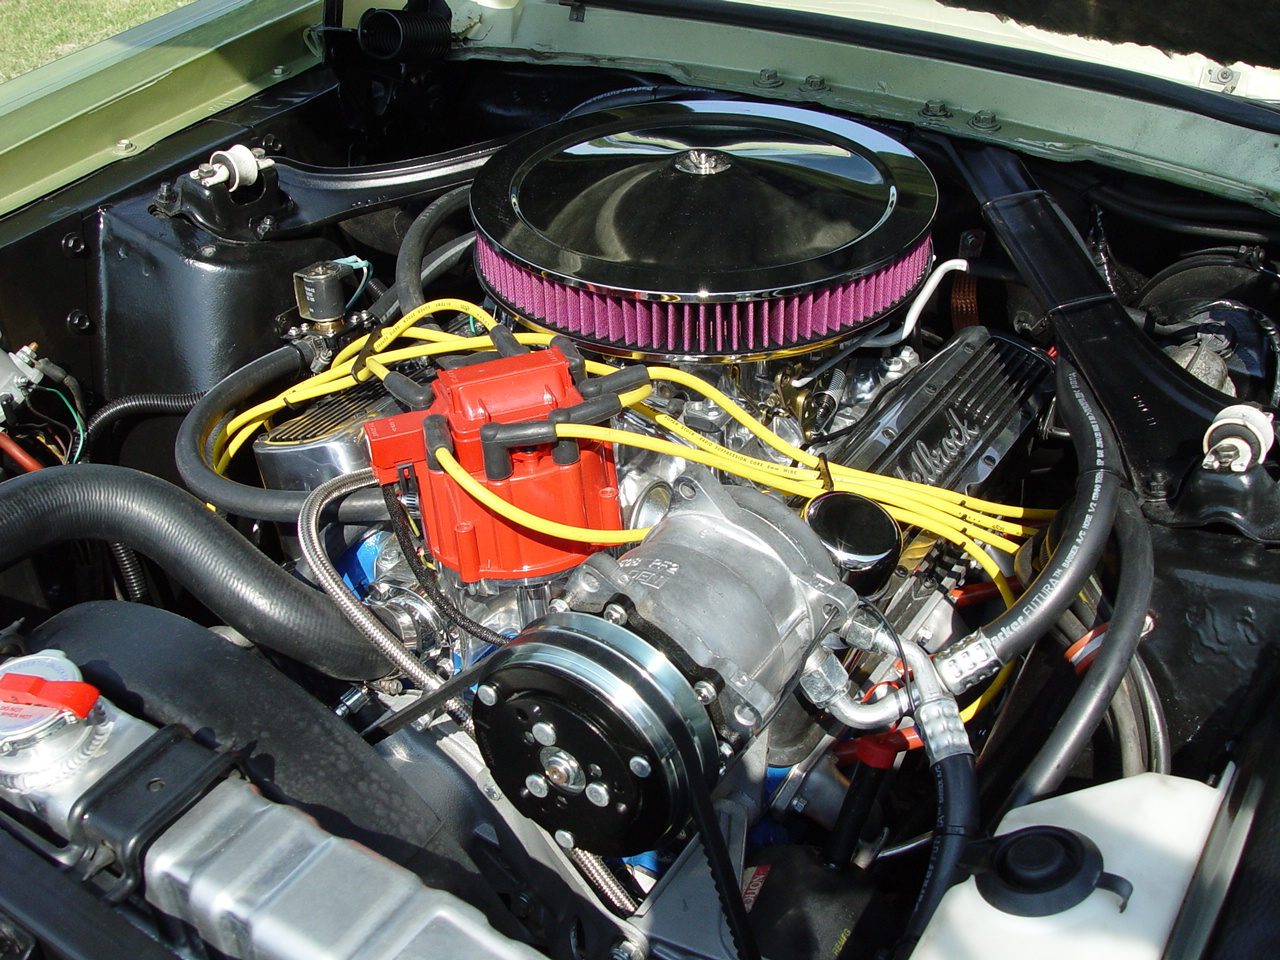
ENGINE | ||||||
|
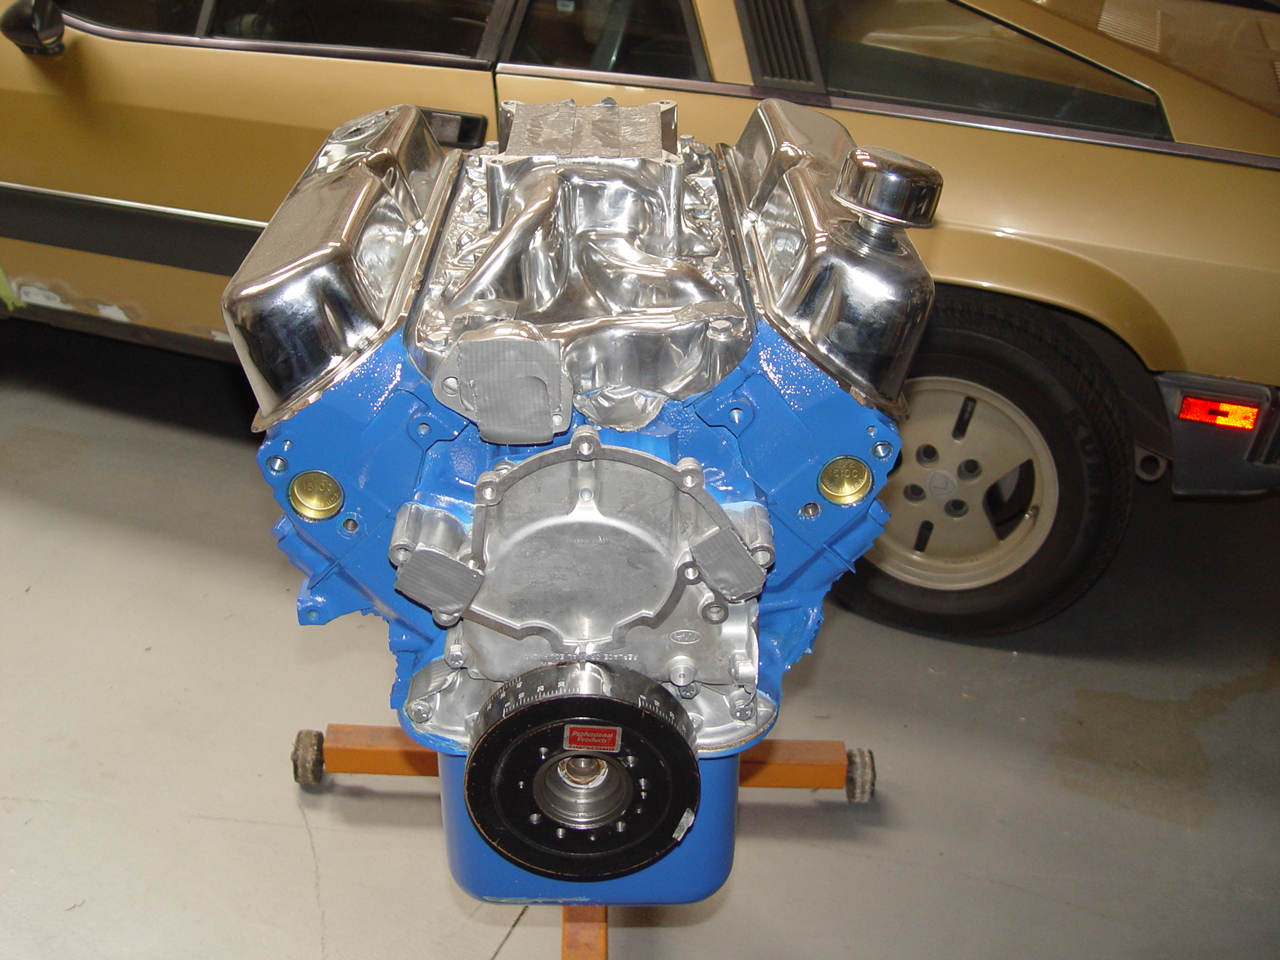
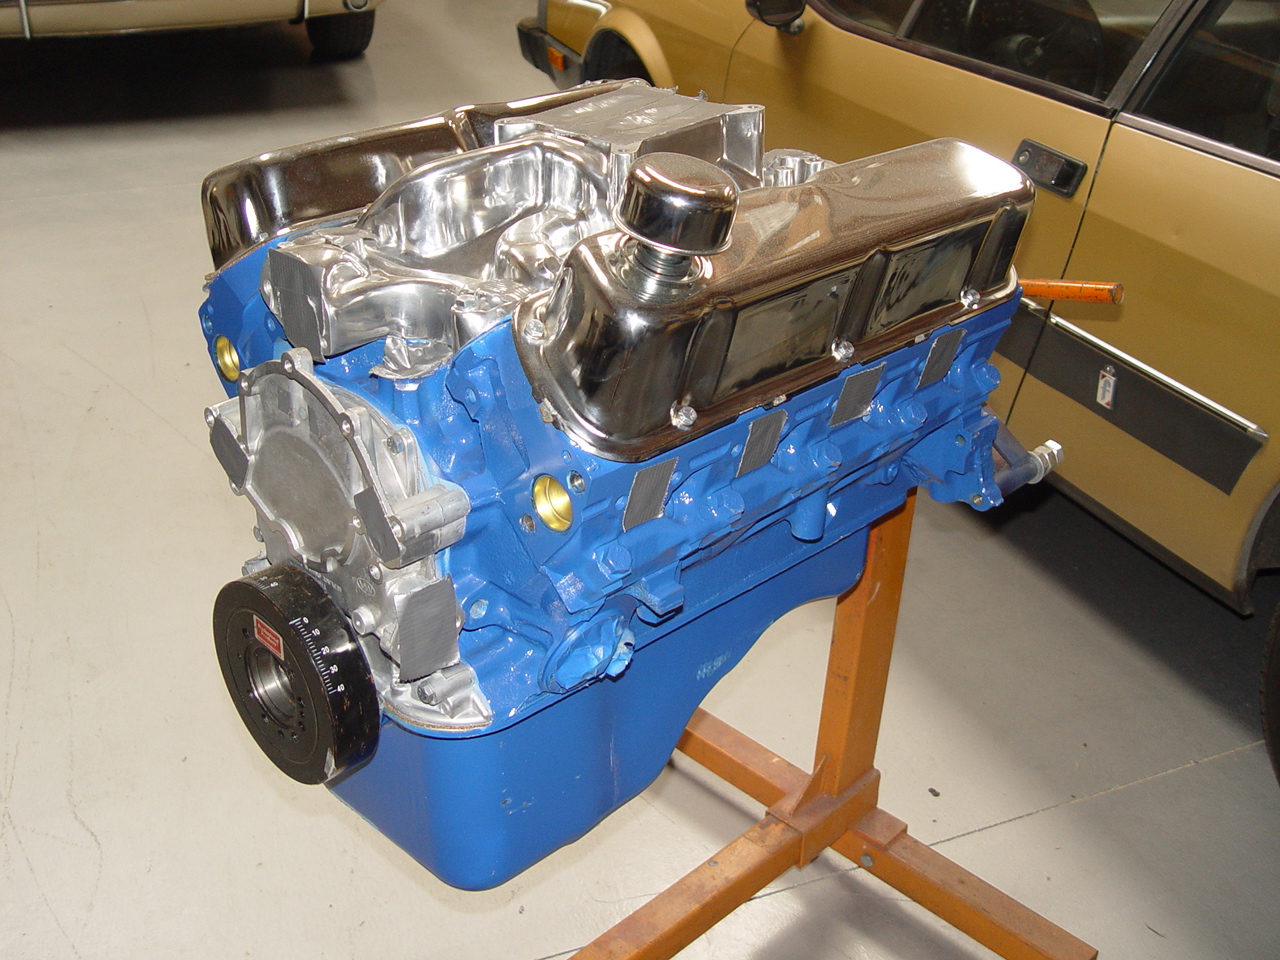
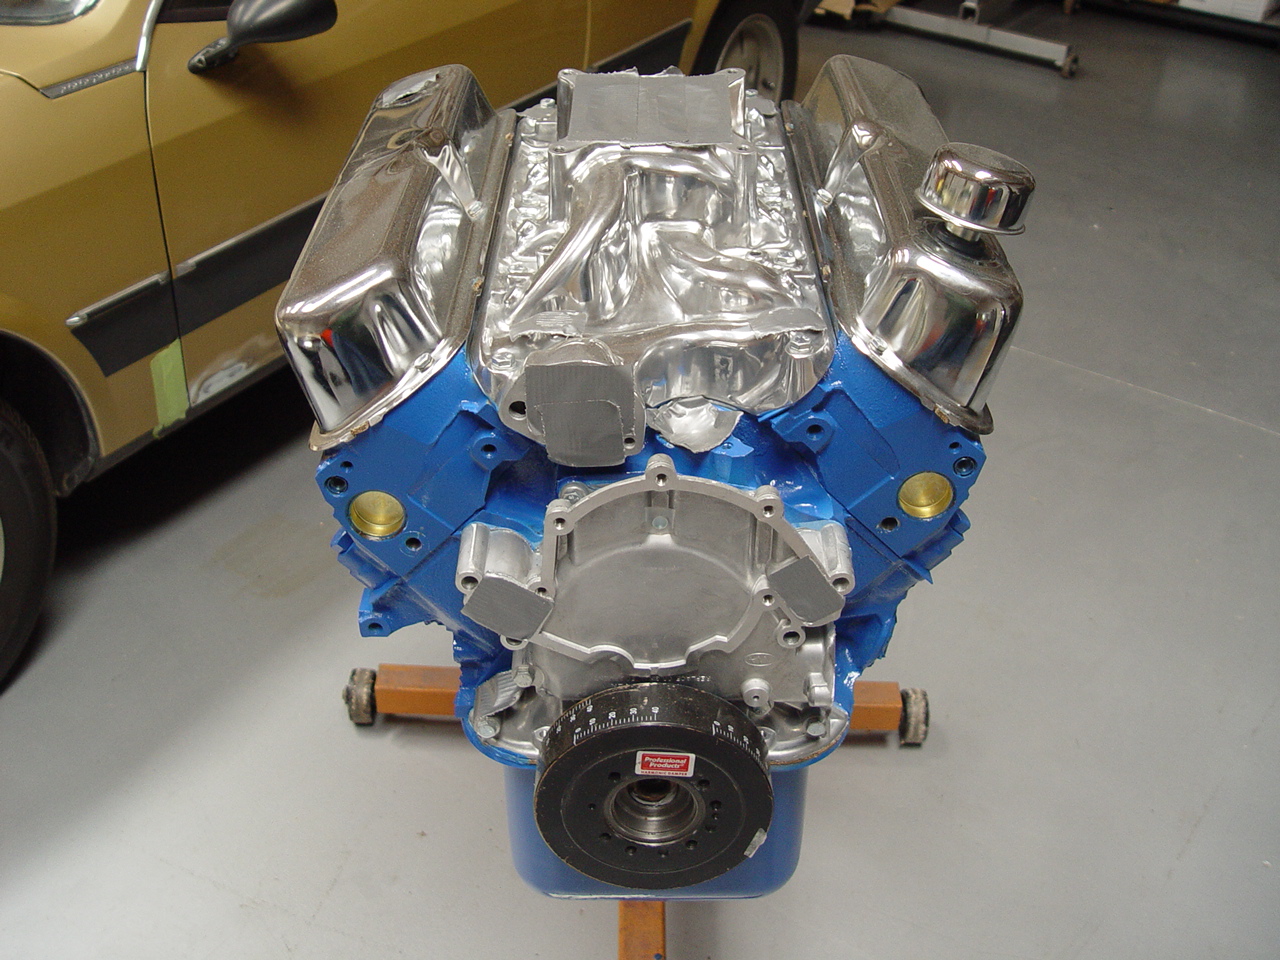
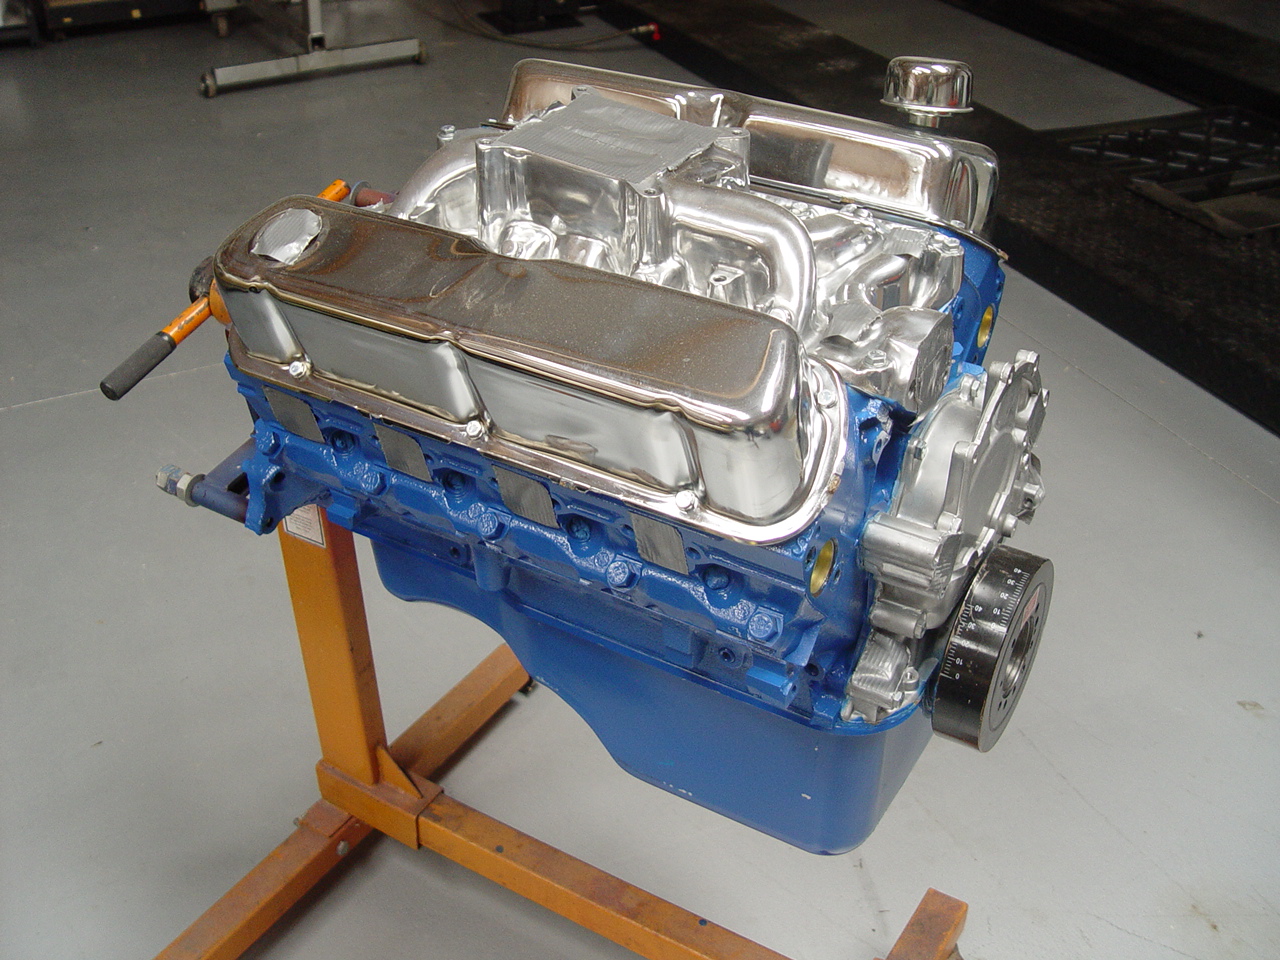
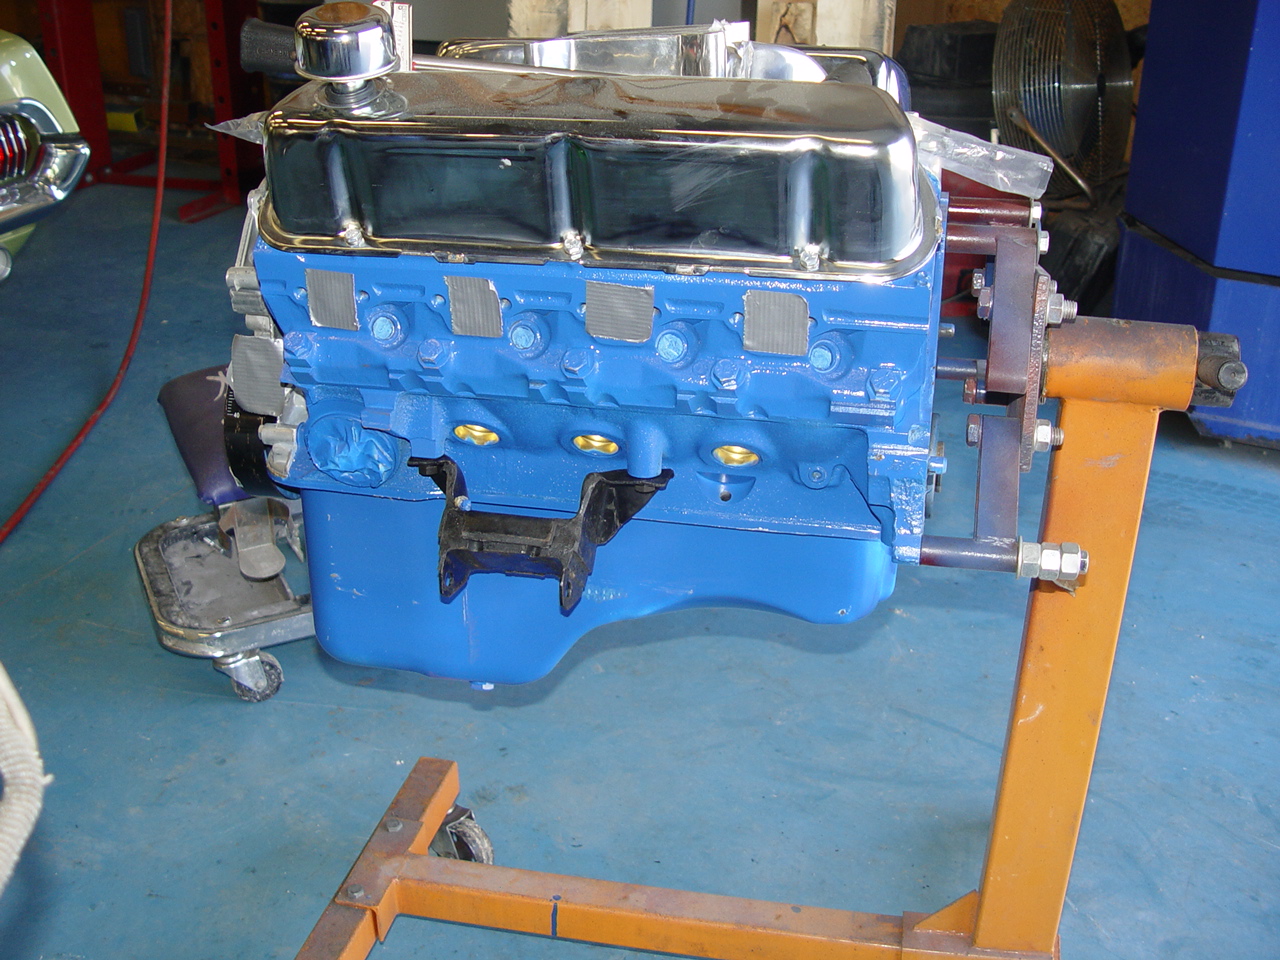
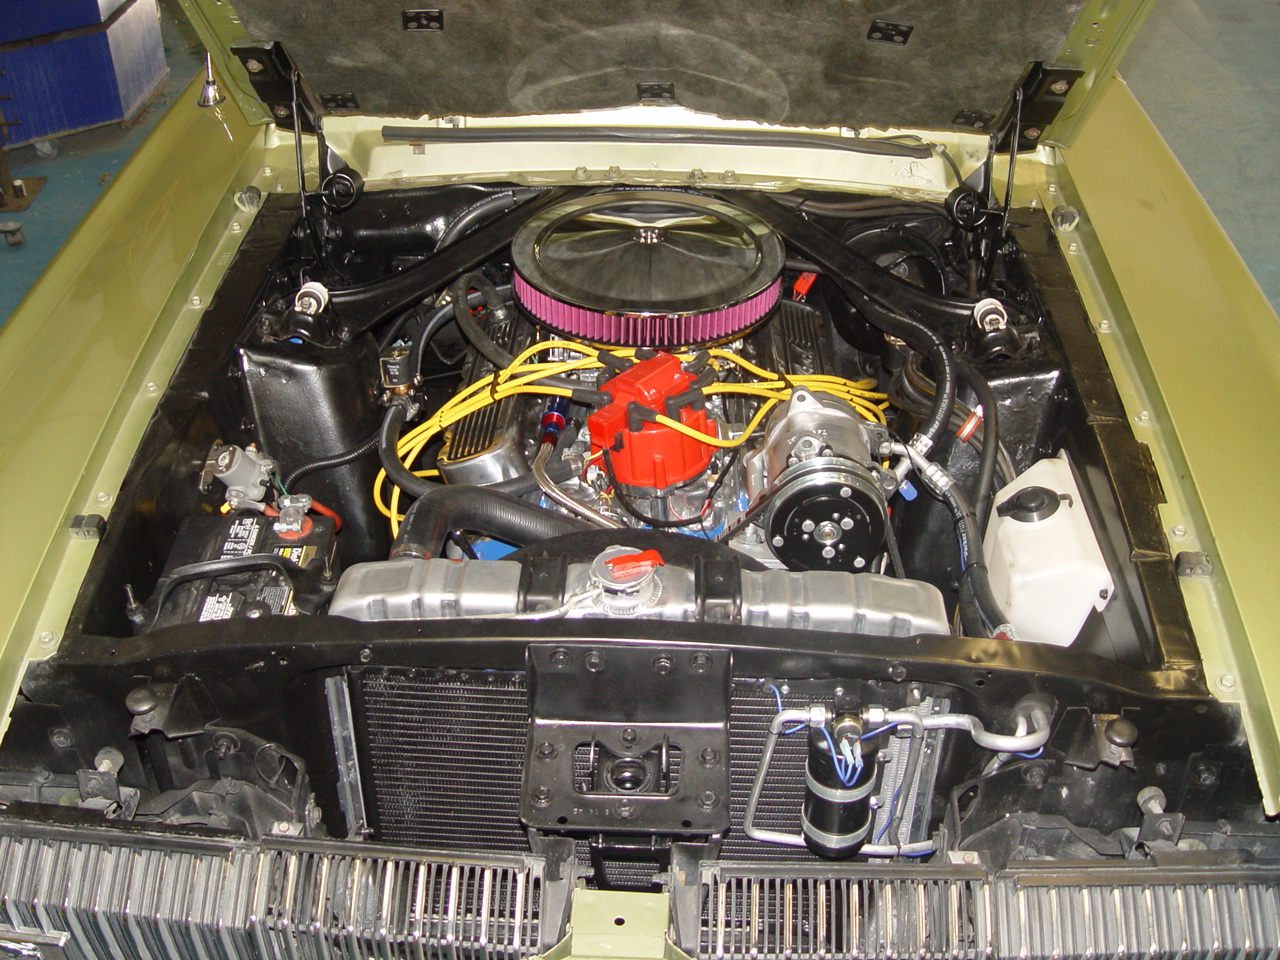
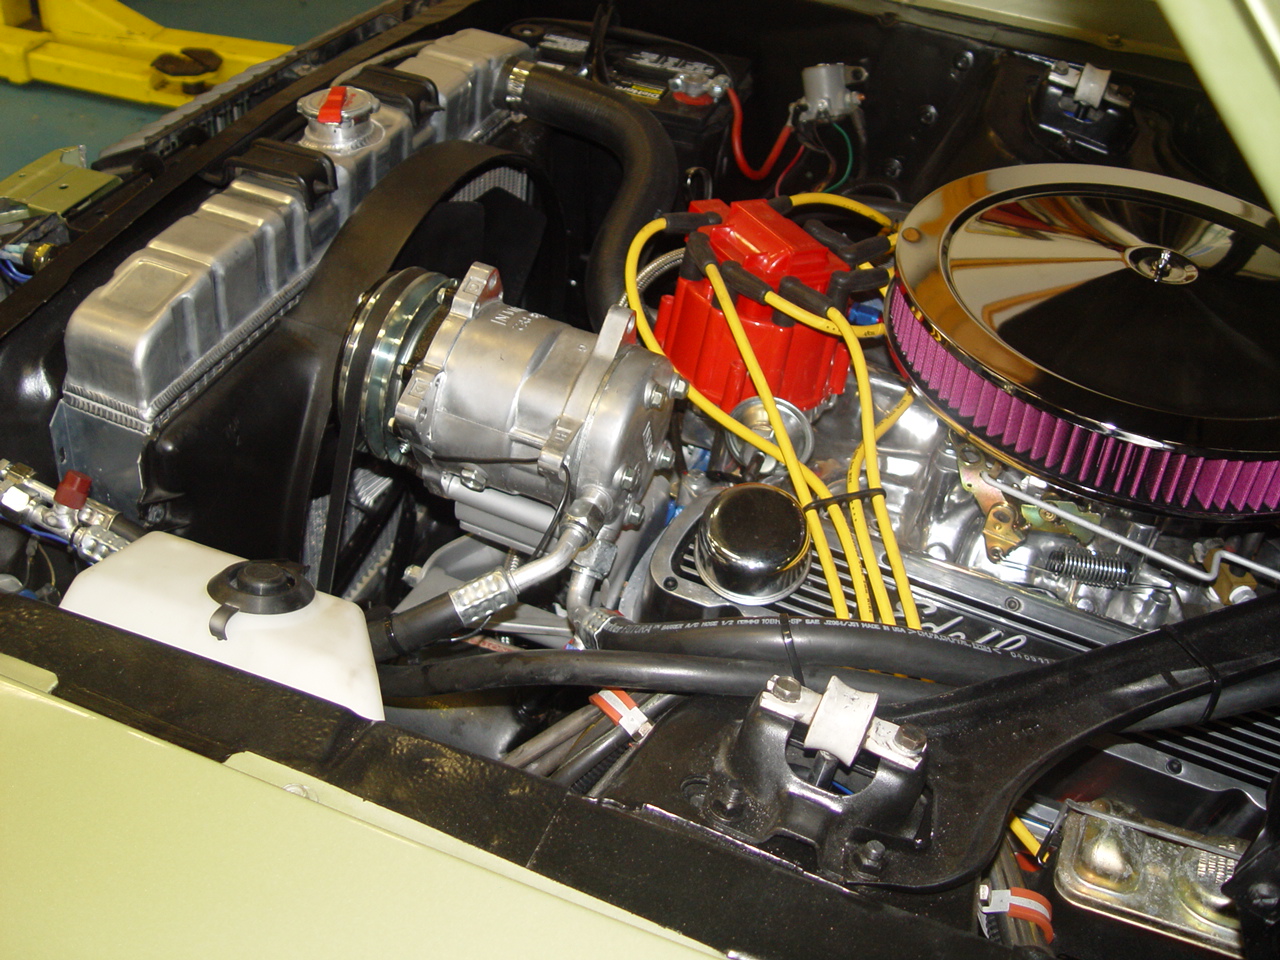
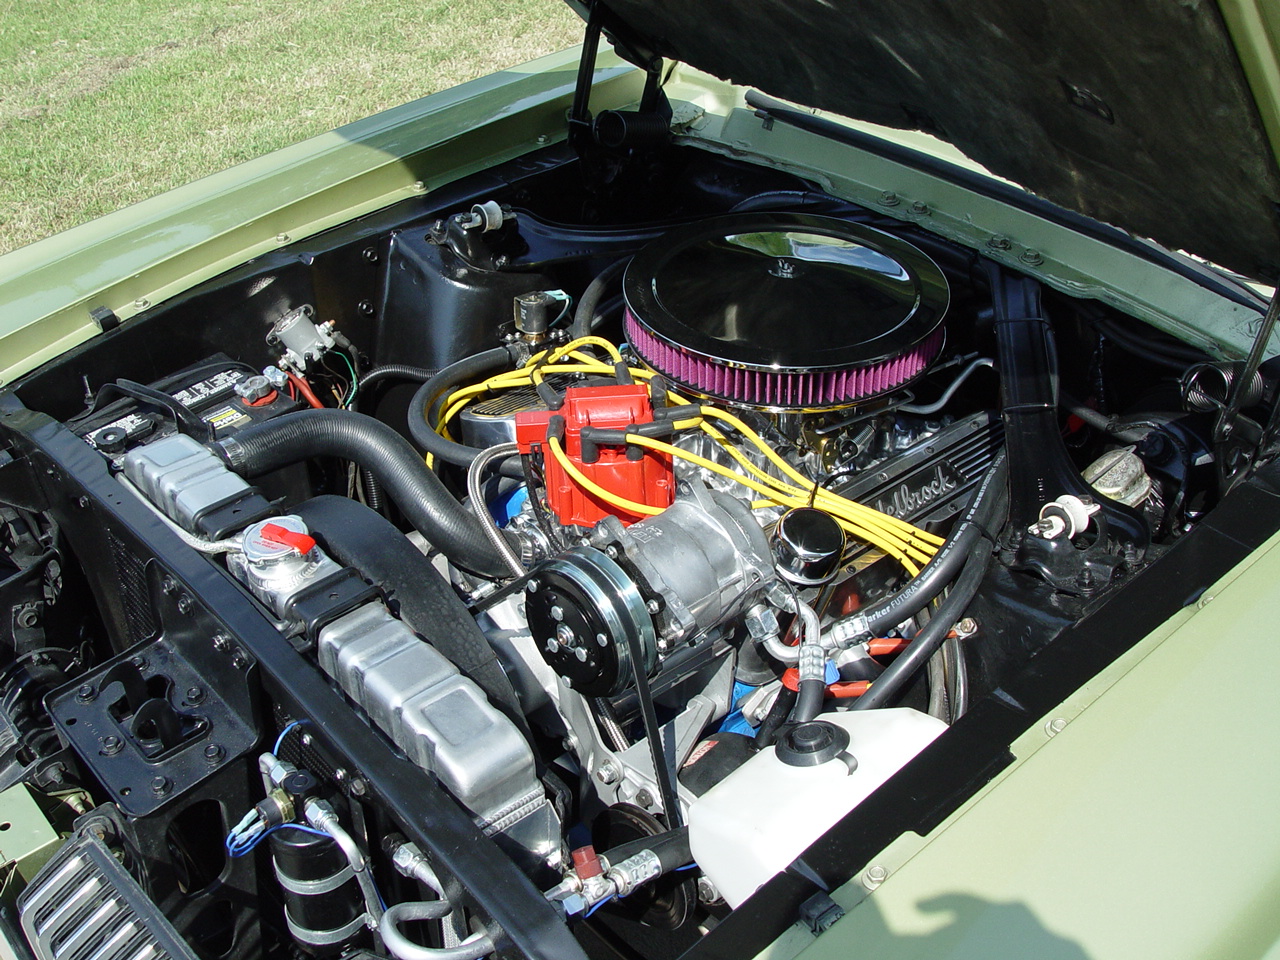
The original engine's pending failure was the instigator of this entire project. Rather than replace it with a basic remanufactured long block, the client opted for a high performance "crate" engine from Phoenix Engine Rebuilders. The engine arrived as a complete turn-key engine with everything necessary from air cleaner to oil pan and from flex plate to pulleys. Of course, we were informed in advance that "some assembly is required". Basically, the only assembly required was to install the pulleys, flexplate, distributor, fuel pump carburetor and air cleaner.
A boatload of documentation came with the engine - most of it stating what went into the engine along with initial tuning settings and a bevy of warranty and break-in requirements. We did, however, run into a few minor irritations. First, the newer-model block had an unnecessary dipstick hole in the left side of the block that the builders hadn't bothered to plug. If it were apart, we would have tapped the hole for an allen set screw. Phoenix said they just fill it with silicone. We opted for a fix just one more step above cheesy and filled it with JB Weld. Next we discovered that in the front of the left side cylinder head, two of the bolt holes were stripped out and the other one (used for the power steering pivot bolt) had already been drilled and fitted with an oversized 7/16" helicoil. After searching all over (unsuccessfully) for a long enough 7/16" bolt to mount the power steering pump, we settled on a piece of all-thread and drilled out the pumps mounting bracket holes to accomodate the oversized bolt. The other two bolt holes were drilled and fitted with proper helicoils. Then we discovered the engine was shipped with a set of spark plugs that wouldn't fit into the heads. Finally, when we were setting up for our first start, the fuel pump outlet fitting leaked. Tightening it down "just a bit more" resulted in the pump's fitting spreading wide open - requiring a new (quality) pump. After all the fuss they made about documenting the build and all the requirements they have to maintain their warranty (which requires that you take the engine back to them), these minor annoyances - when found together in the same build - don't do a lot to build confidence in the engine.
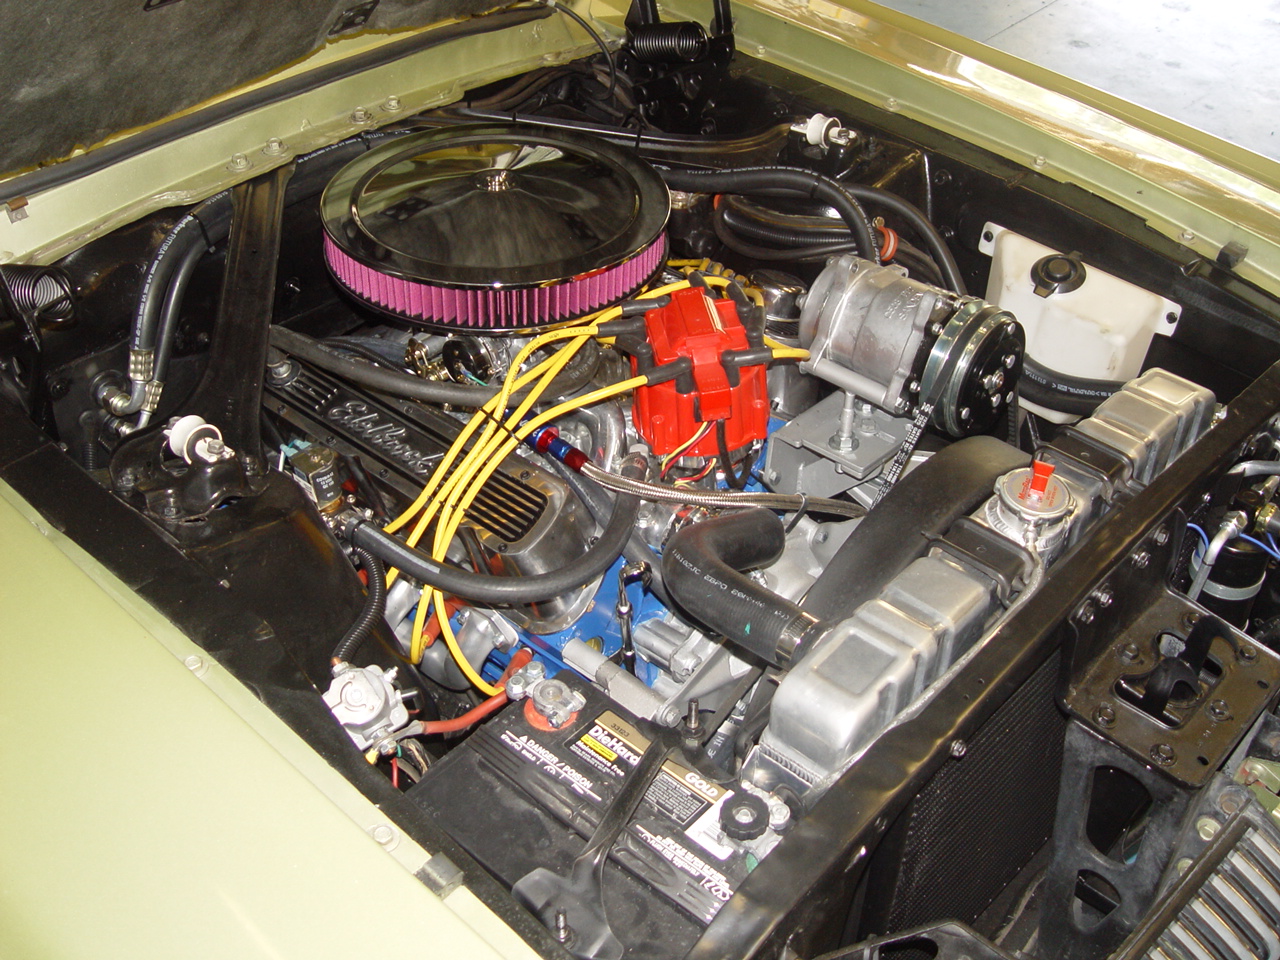
While new ceramic-coated Heddman "Shorty" headers were purchased for the new installation, the original exhaust manifolds were fitted temporarily. We did this so that we could connect the existing exhaust system up to the manifolds for the initial start up and cam break-in. The 30-minute running of a new - and not-yet-tuned - engine at 1800-2000 rpm is a good way to overheat the new headers and potentially compromise the ceramic coating.
With everthing ready and all the checklists run through, we were ready for our first start and cam break-in. While it started right up (with a little distributor twisting), it ran like crap - literally as though it were only running on 4 cylinders. After inspecting all connections and verifying that we had the plug wires connected up for the standard 302 firing order (1-5-4-2-6-3-7-8), a bit of online research uncovered an alternate firing order for the H.O. engine (1-3-7-2-6-5-4-8). A call to Phoenix Engine Rebuilders verified that since our client opted for a roller cam, the firing order was now different. So, the H.O.'s firing order was used. Thanks guys...it really would have been nice to have seen that somewhere in that boatload of documentation you provided and made our client sign. It's a good thing our client's father (who was in attendance for the first start-up) has a strong heart.
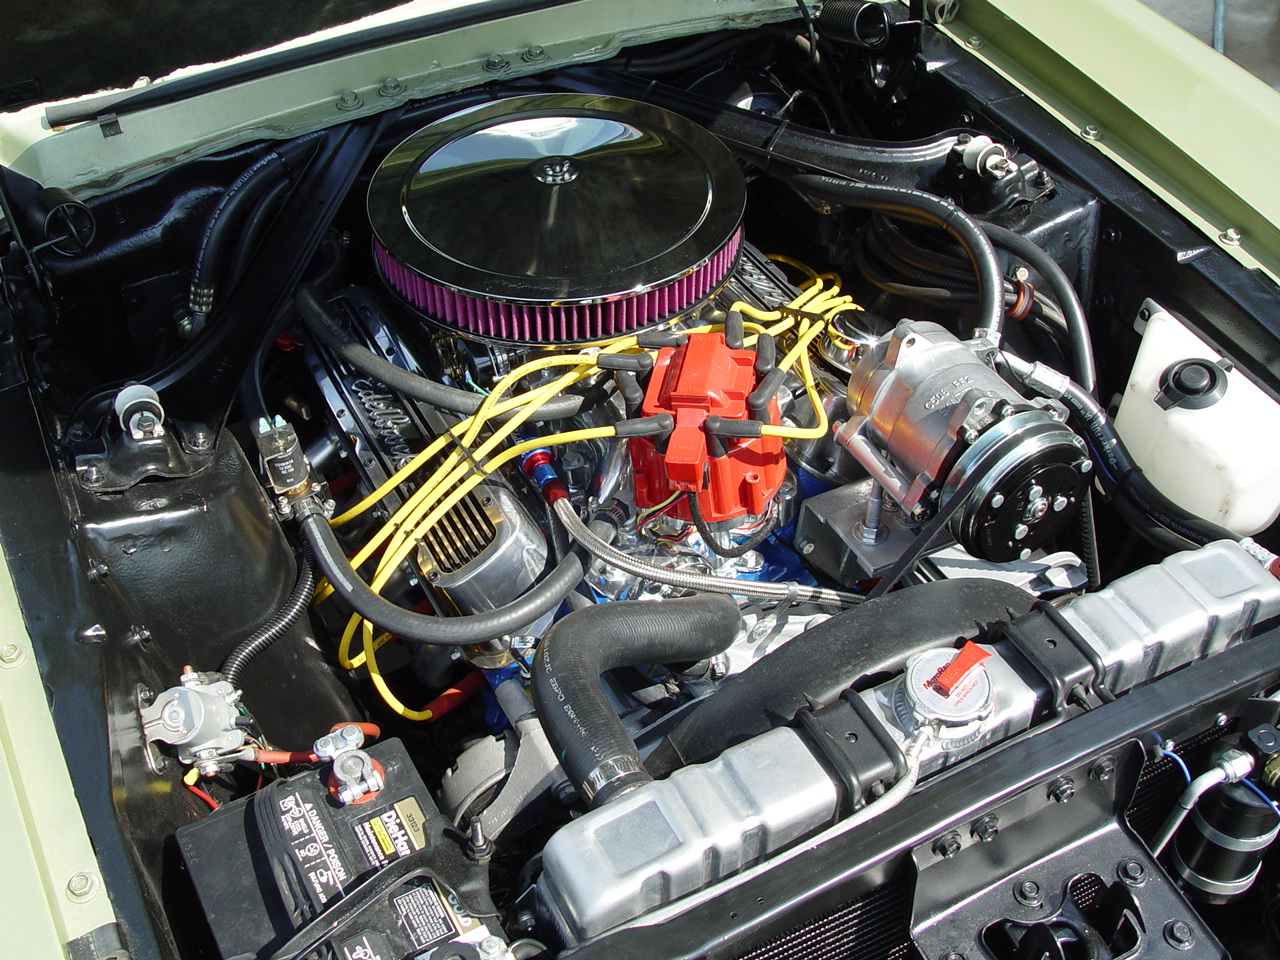
After sorting through the various minor issues, the engine fired up, ran like a champ through the 30-minute cam break-in and subsequent runs for tuning. After we were sure we had a winner on our hands, we retorqued the heads, installed the new headers and trailered the car to Performance Lube and Muffler to have the exhaust system modified to mate up to the headers. The drive back to the shop was our first chance to feel out the new engine - and it didn't disappoint. Even though it was technically the first break-in drive (with several constraints and requirements imposed by Phoenix), it was clear that even at moderate throttle settings, the engine pulled strong and smooth.
The only remaining tasks were to first modify the power steering's pressure hose so that it would safely clear the headers. With that done, we finished the A/C compressor installation, evacuated and charged up the system. The Vintage Air system performed flawlessly and cranked out impressively cold air on a day where it was 85 degrees inside the shop.
|
||||||
 |
 |
 |
 |
 |
||
 |
 |
 |
 |
 |
||
| Click on an image for a larger view | ||||||
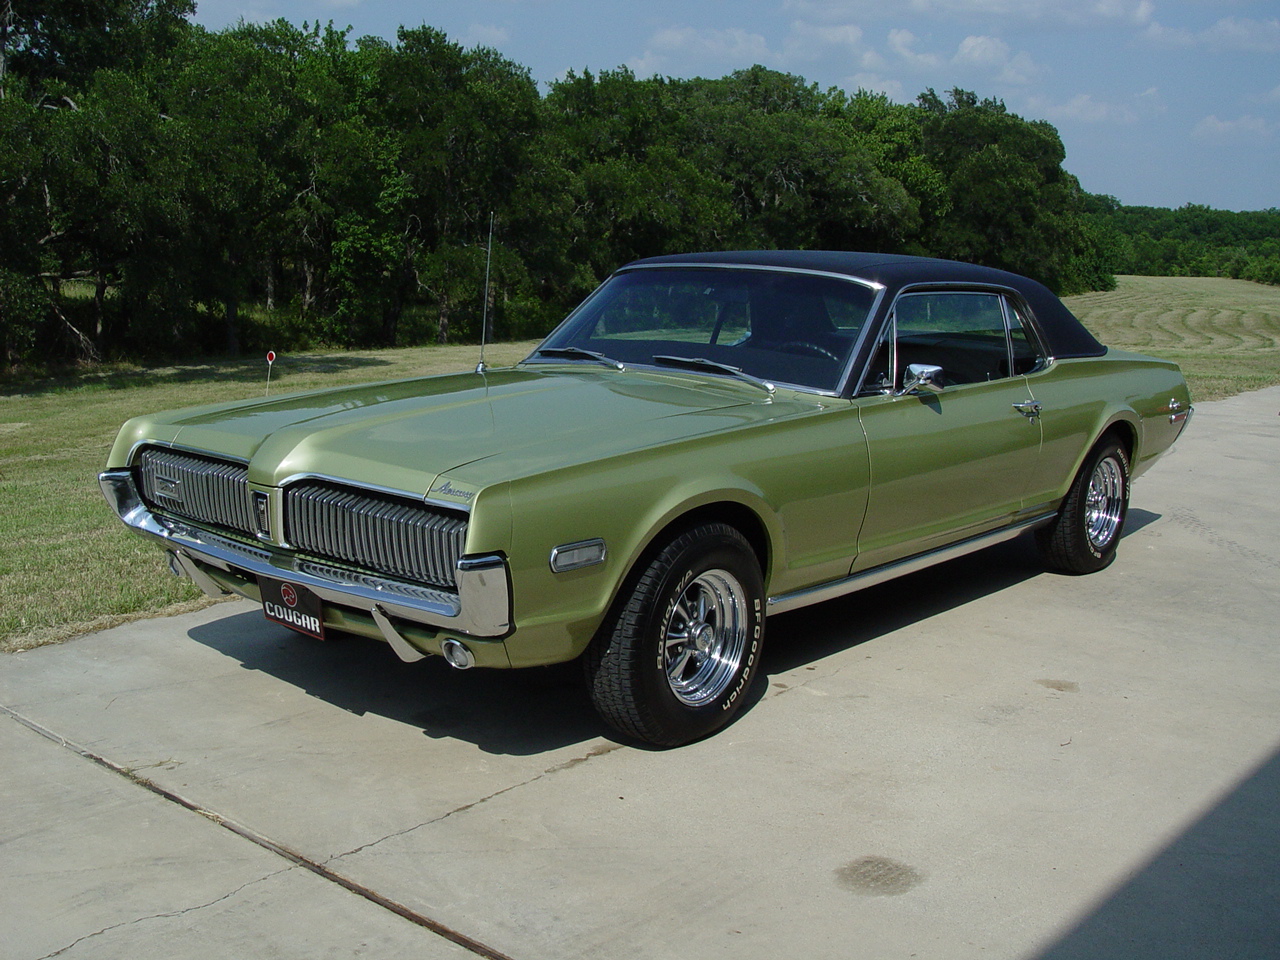
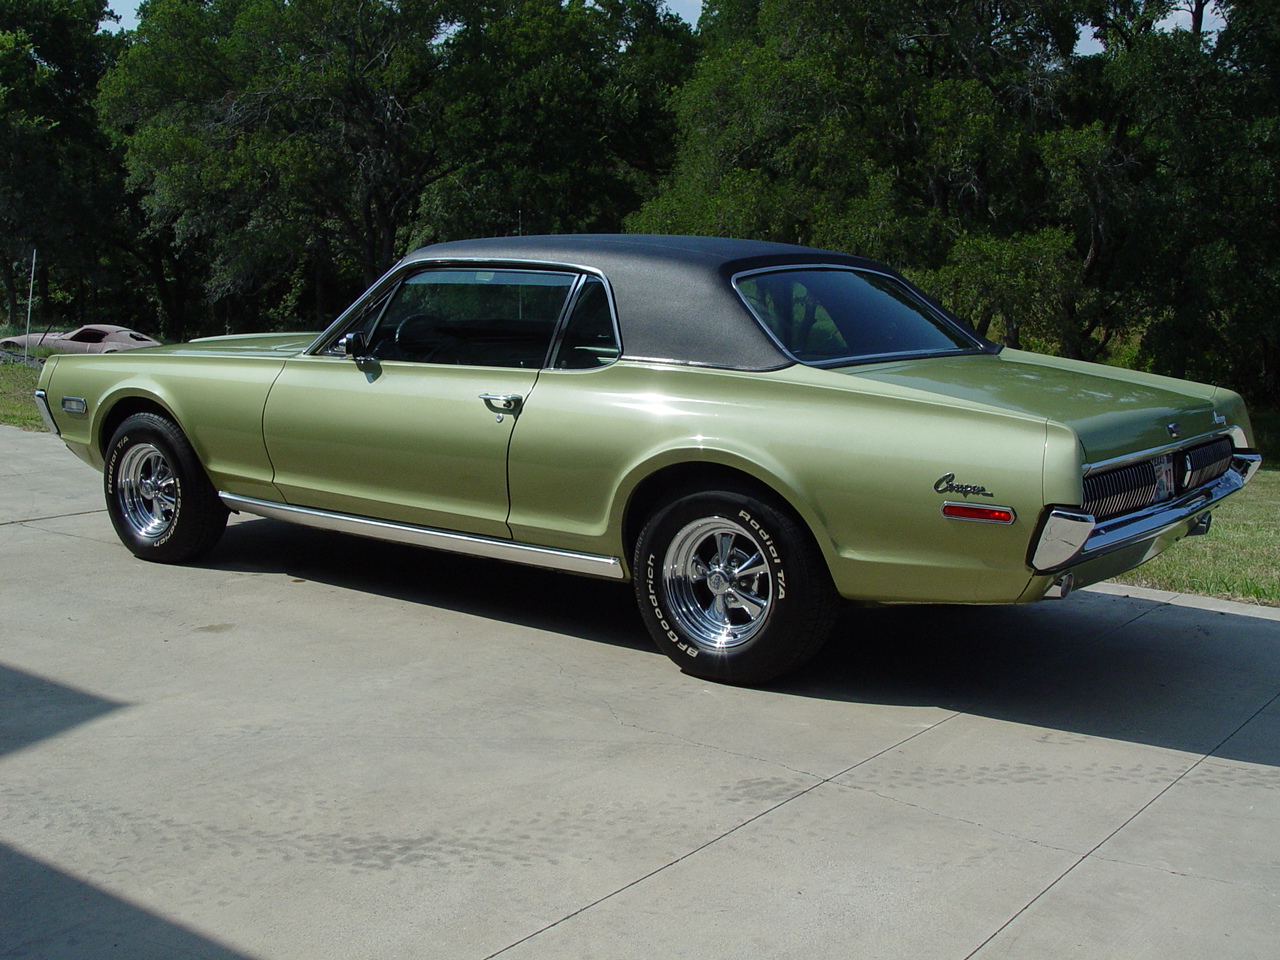
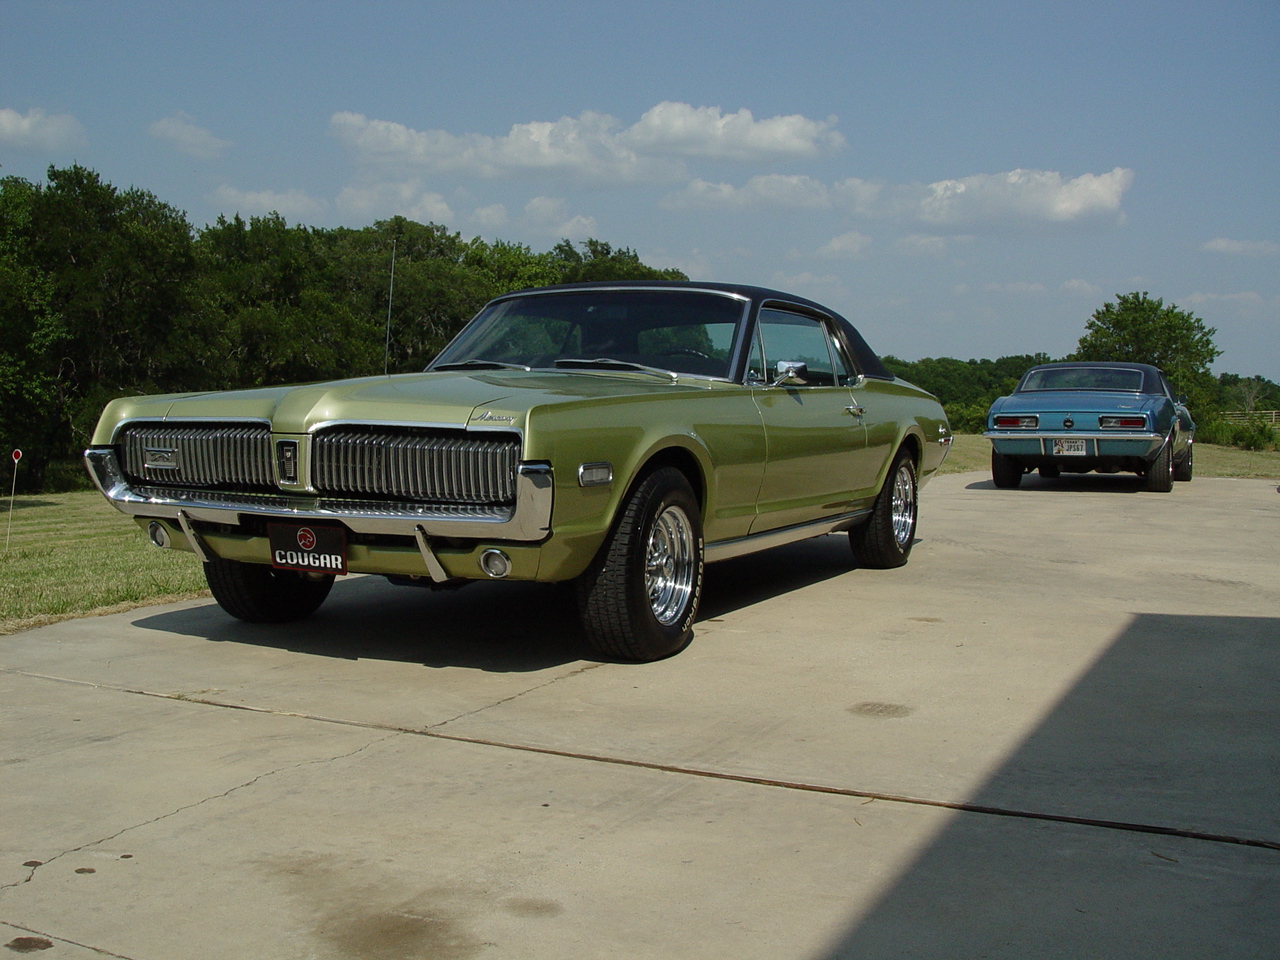
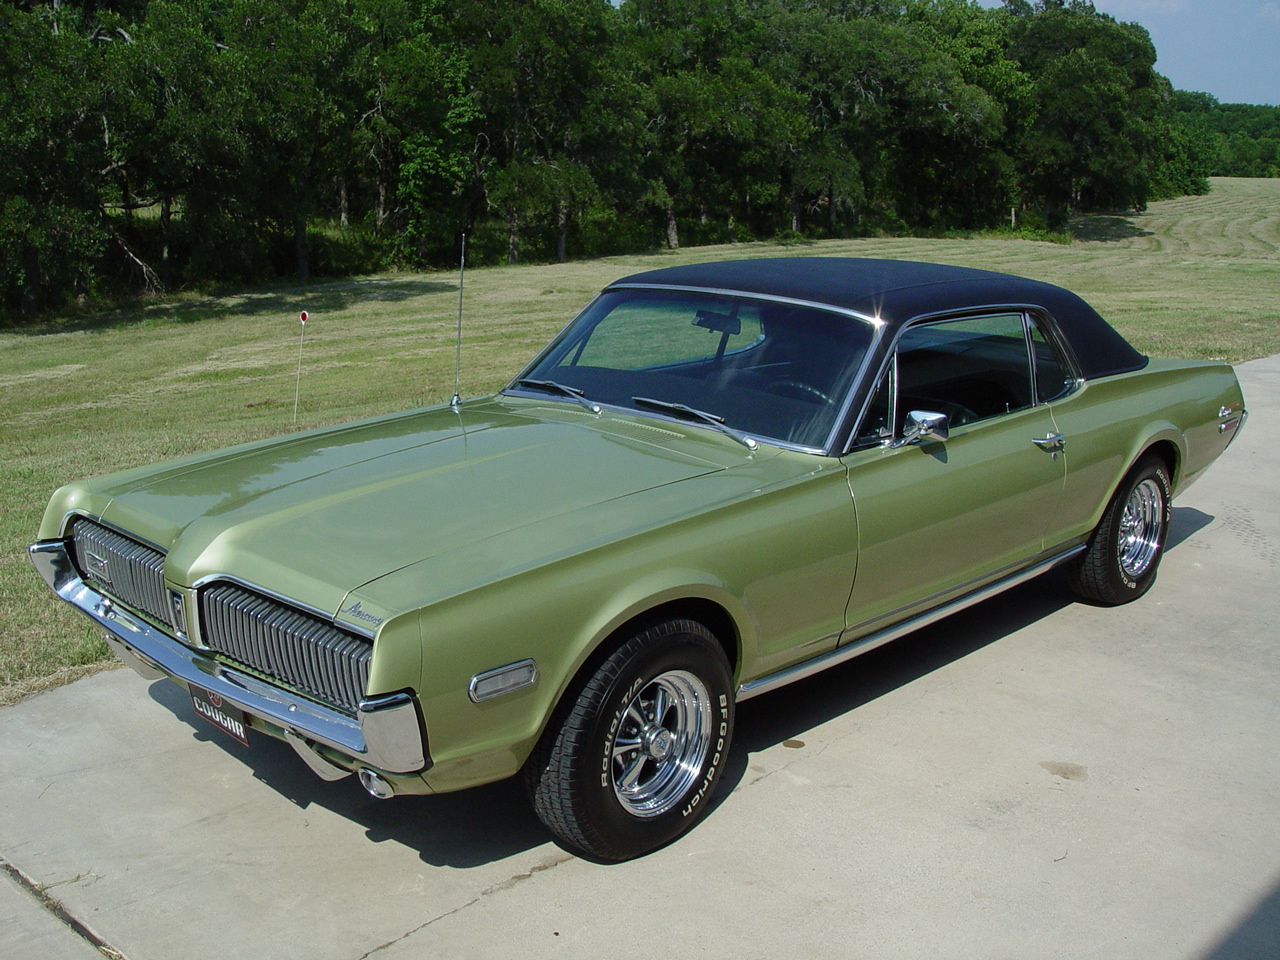
COMPLETION | ||||||
|
Note from Bob (Midlife's owner): "I saw this Cougar months before having a chance to meet its proud owner. It's always been an impressive looking car. And, owning a Cougar of my own, I've always felt a certain kinship with this particular client. Well, now I'm just downright envious!"
|
||||||
 |
 |
 |
 |
 |
||
 |
 |
 |
 |
 |
||
 |
 |
 |
 |
 |
||
 |
|
 |
 |
 |
||
| Click on an image for a larger view | ||||||
| |
| Send Mail to |
| bob@midlifeclassics.com |
| |