|
| |
|
|
BEFORE
|
|
 |
 |
 |
 |
 |
|
|
 |
 |
 |
 |
 |
|
|
Click on an image for a larger view
|
|
| |
|
|
RETURN TO SERVICE
|
|
The owner trailered the car to Midlife Classics and a Return to Service project was scheduled. Once completed, the engine ran perfectly and the car was fitted with a completely new suspension and brakes. The cooling system had been completely rebuilt and the entire fuel system had been overhauled.
|
|
 |
 |
 |
 |
 |
|
|
 |
 |
 |
 |
 |
|
|
 |
 |
 |
 |
 |
|
|
Click on an image for a larger view
|
|
| |
|
|
PHASE I
|
|
After driving it around for a few months, the owner has now decided to complete the job by having the car completely restored.
|
|
|
 |
 |
 |
 |
 |
|
|
 |
 |
 |
 |
 |
|
|
 |
 |
 |
 |
 |
|
|
 |
 |
 |
 |
 |
|
|
 |
 |
 |
 |
 |
|
|
 |
 |
 |
 |
 |
|
|
 |
 |
 |
 |
 |
|
|
Click on an image for a larger view
|
|
| |
|
|
PHASE II
|
|
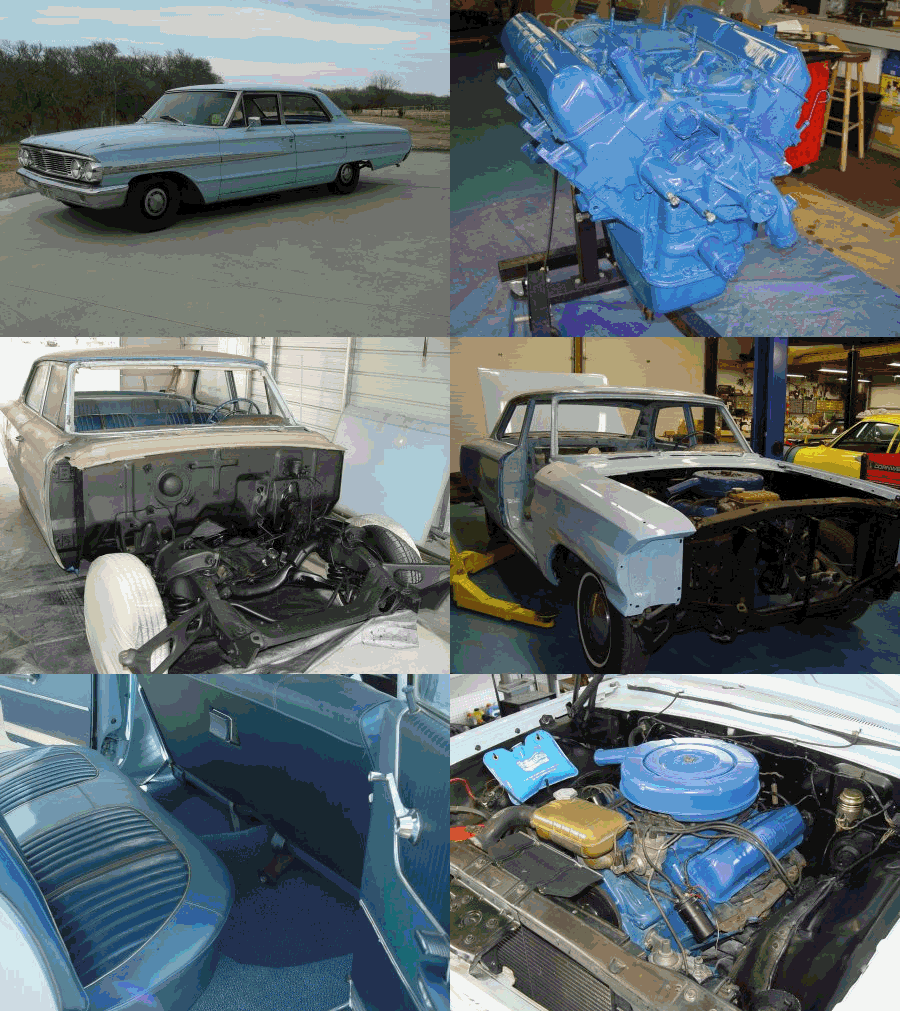
The engine in this car was running smooth and strong following the Return to Service project. However, within the first hundred miles or so of driving, the intake manifold gasket gave way and started spewing oil all over the rear of the engine. The client opted to delay its replacement until the restoration. So, part of the restoration involved cleaning up the resulting mess, removing the intake manifold and replacing the gasket.
However, once the valve covers and intake manifold were removed, it was obvious that a lot of baked-on sludge was inside the motor. It might have gone on for a long while if it had been left undisturbed, but once the manifold came off, chunks of cooked sludge were everywhere. This necessitated a full cleaning and flushing of the inside of the engine.
After sodablasting the body and engine compartment, we repainted the engine compartment using POR-15's "Chassis Coat" for a tough satin-black finish that will hold up to almost anything. Since we didn't fully strip the underbody, we elected to coat it (after a thorough cleaning) with a rubberized undercoating.
|
|
|
 |
 |
 |
 |
 |
|
|
 |
 |
 |
 |
 |
|
|
 |
 |
 |
 |
 |
|
|
 |
 |
 |
 |
 |
|
|
 |
 |
 |
 |
 |
|
|
 |
 |
 |
 |
 |
|
|
 |
 |
 |
 |
 |
|
|
 |
 |
 |
 |
 |
|
|
 |
 |
 |
 |
 |
|
|
 |
 |
 |
 |
 |
|
|
 |
 |
 |
 |
 |
|
|
 |
 |
 |
 |
 |
|
|
 |
 |
 |
 |
 |
|
|
 |
 |
 |
 |
 |
|
|
 |
 |
 |
 |
 |
|
|
 |
 |
 |
 |
 |
|
|
 |
 |
 |
 |
 |
|
|
 |
 |
 |
 |
 |
|
|
 |
 |
 |
 |
 |
|
|
Click on an image for a larger view
|
|
| |
|
|
PHASE III
|
|
Following the paint job, it is now time to reassemble the car. We start with the drivetrain, followed by the exterior trim and weatherstripping. Then comes the headliner, windshield and backlight, and finally the carpet, seats and other interior miscellanea. In this particular case, supply issues with the beltline weatherstripping (for the door glass) may cause a delay in reassembling the doors since the beltline rubber is one of the first items that goes into the doors. However, the rest of the reassembly will continue until we such point where we just can't continue without the proper parts.
| |
|
 |
 |
 |
 |
 |
|
|
 |
 |
 |
 |
 |
|
|
 |
 |
 |
 |
 |
|
|
 |
 |
 |
 |
 |
|
|
 |
 |
 |
 |
 |
|
|
 |
 |
 |
 |
 |
|
|
 |
 |
 |
 |
 |
|
|
Click on an image for a larger view
|
|
| |
|
|
COMPLETED
|
|
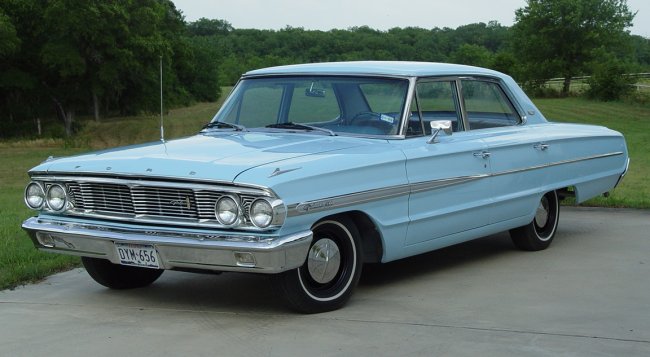
The completed project was delivered to the owner after more than 18 months of work. Much of the delay was due to the difficulties in sourcing not only salvagable body panels, but also locating much of the rubber weatherstripping and other trim.
Despite the lengthy process, the final product certainly outshines the original Ford paint job and the details make for a very nice overall package. Since the Return to Service Project took care of most of the mechanical concerns, once the body was reassembled, interior installed and all the miscellaneous trim items returned to their places, the completed car required little time to sort out and return it to its proud owner in time for summer.
| |
|
 |
 |
 |
 |
 |
|
|
 |
 |
 |
 |
 |
|
|
 |
 |
 |
 |
 |
|
|
 |
 |
 |
 |
 |
|
|
 |
 |
 |
 |
 |
|
|
 |
 |
 |
 |
 |
|
|
 |
 |
 |
 |
 |
|
|
 |
 |
 |
 |
 |
|
|
Click on an image for a larger view
|
|
| |
|
|


